
Bonus Room Remodel Complete!

Our Bonus Room is finished!
A few months ago, we decided to redo our upstairs bonus room. It is located above our garage, and has a ton of room in it. Since we’ve been in this house, it has been our room for a little bit of everything. Because of its size, we’ve used it as a combo space for my office (before we had the office in the venue), a music hangout room for all of my family’s instruments, and an area for us to do arts and crafts.
Over time, my office moved to the venue, the guitars moved downstairs with our piano, and we tend to do arts and crafts in our kitchen. Plus, I really wanted a space for when guests come over, as well as when the kids have sleepovers.
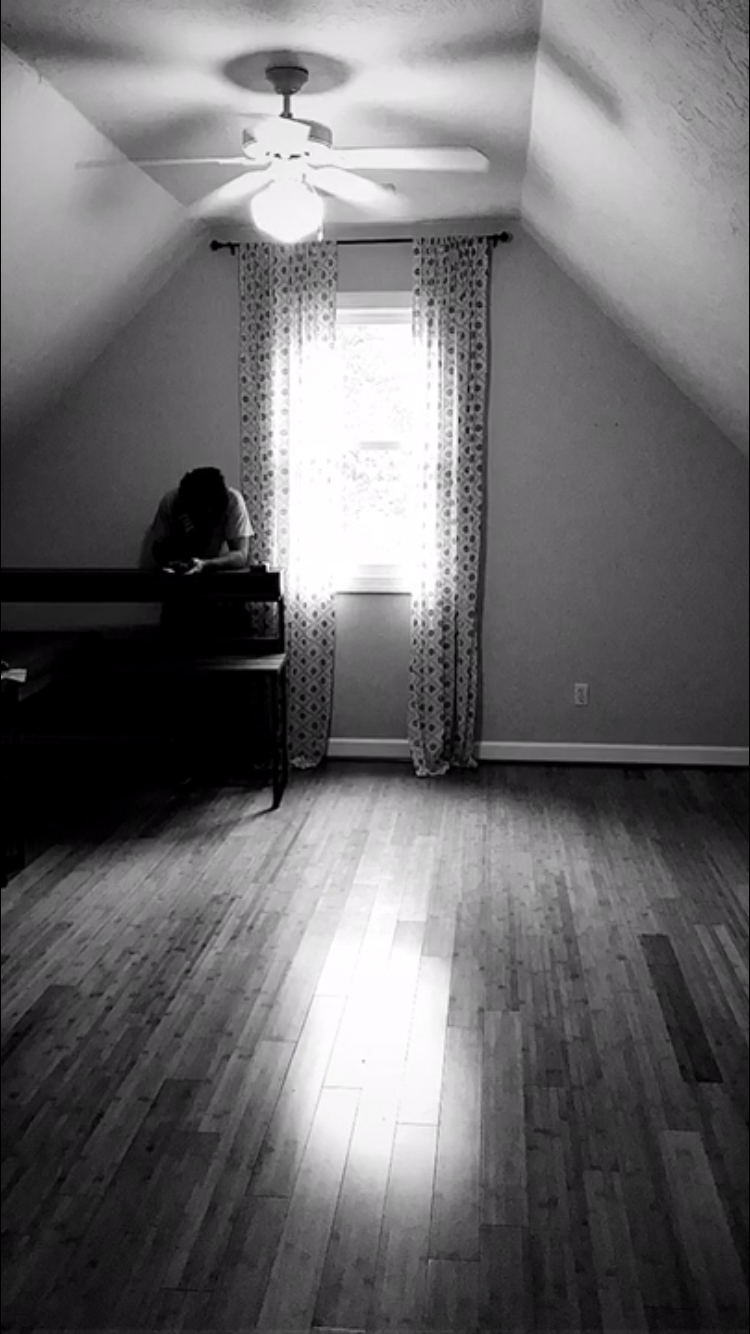
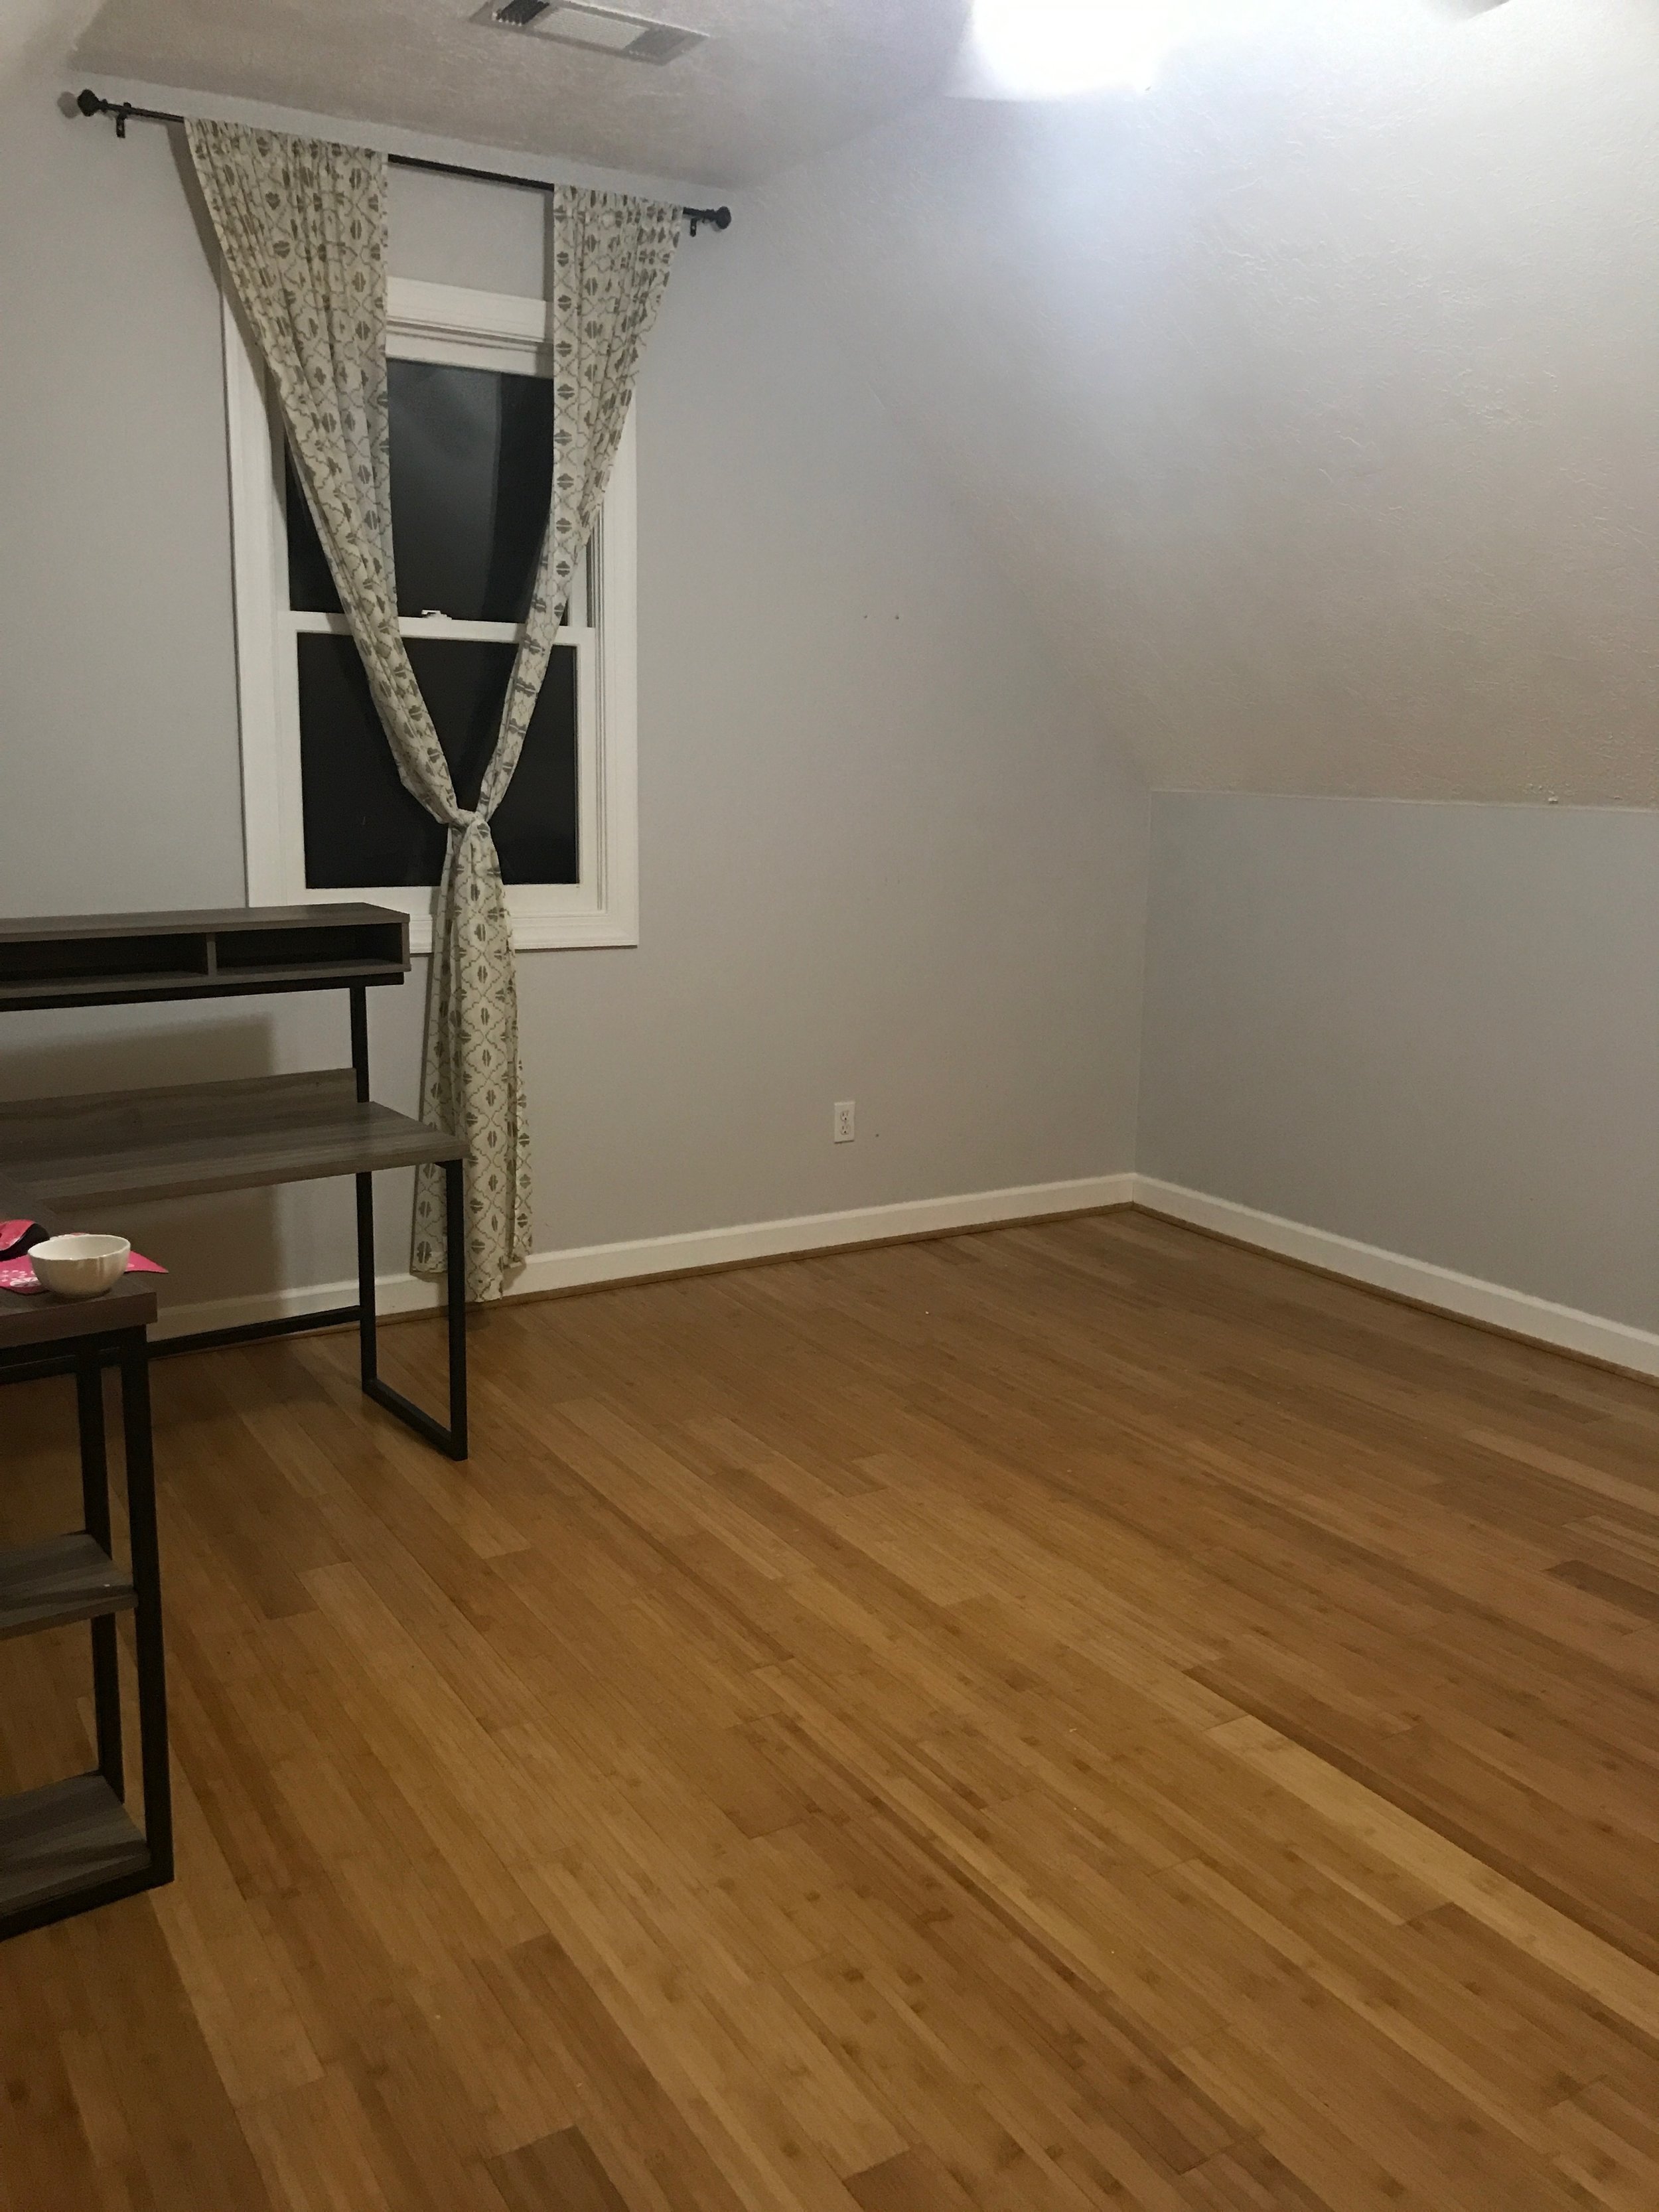
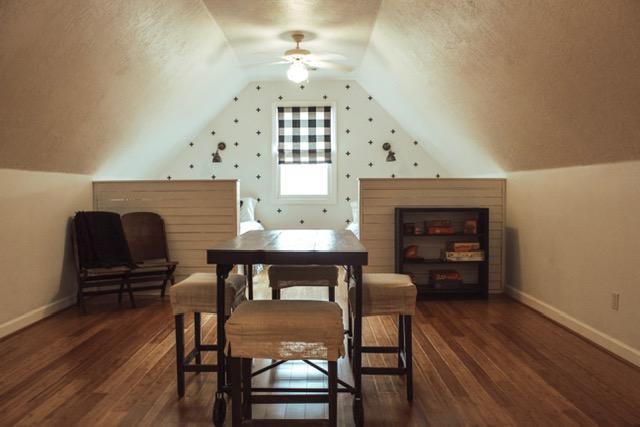
Before Images
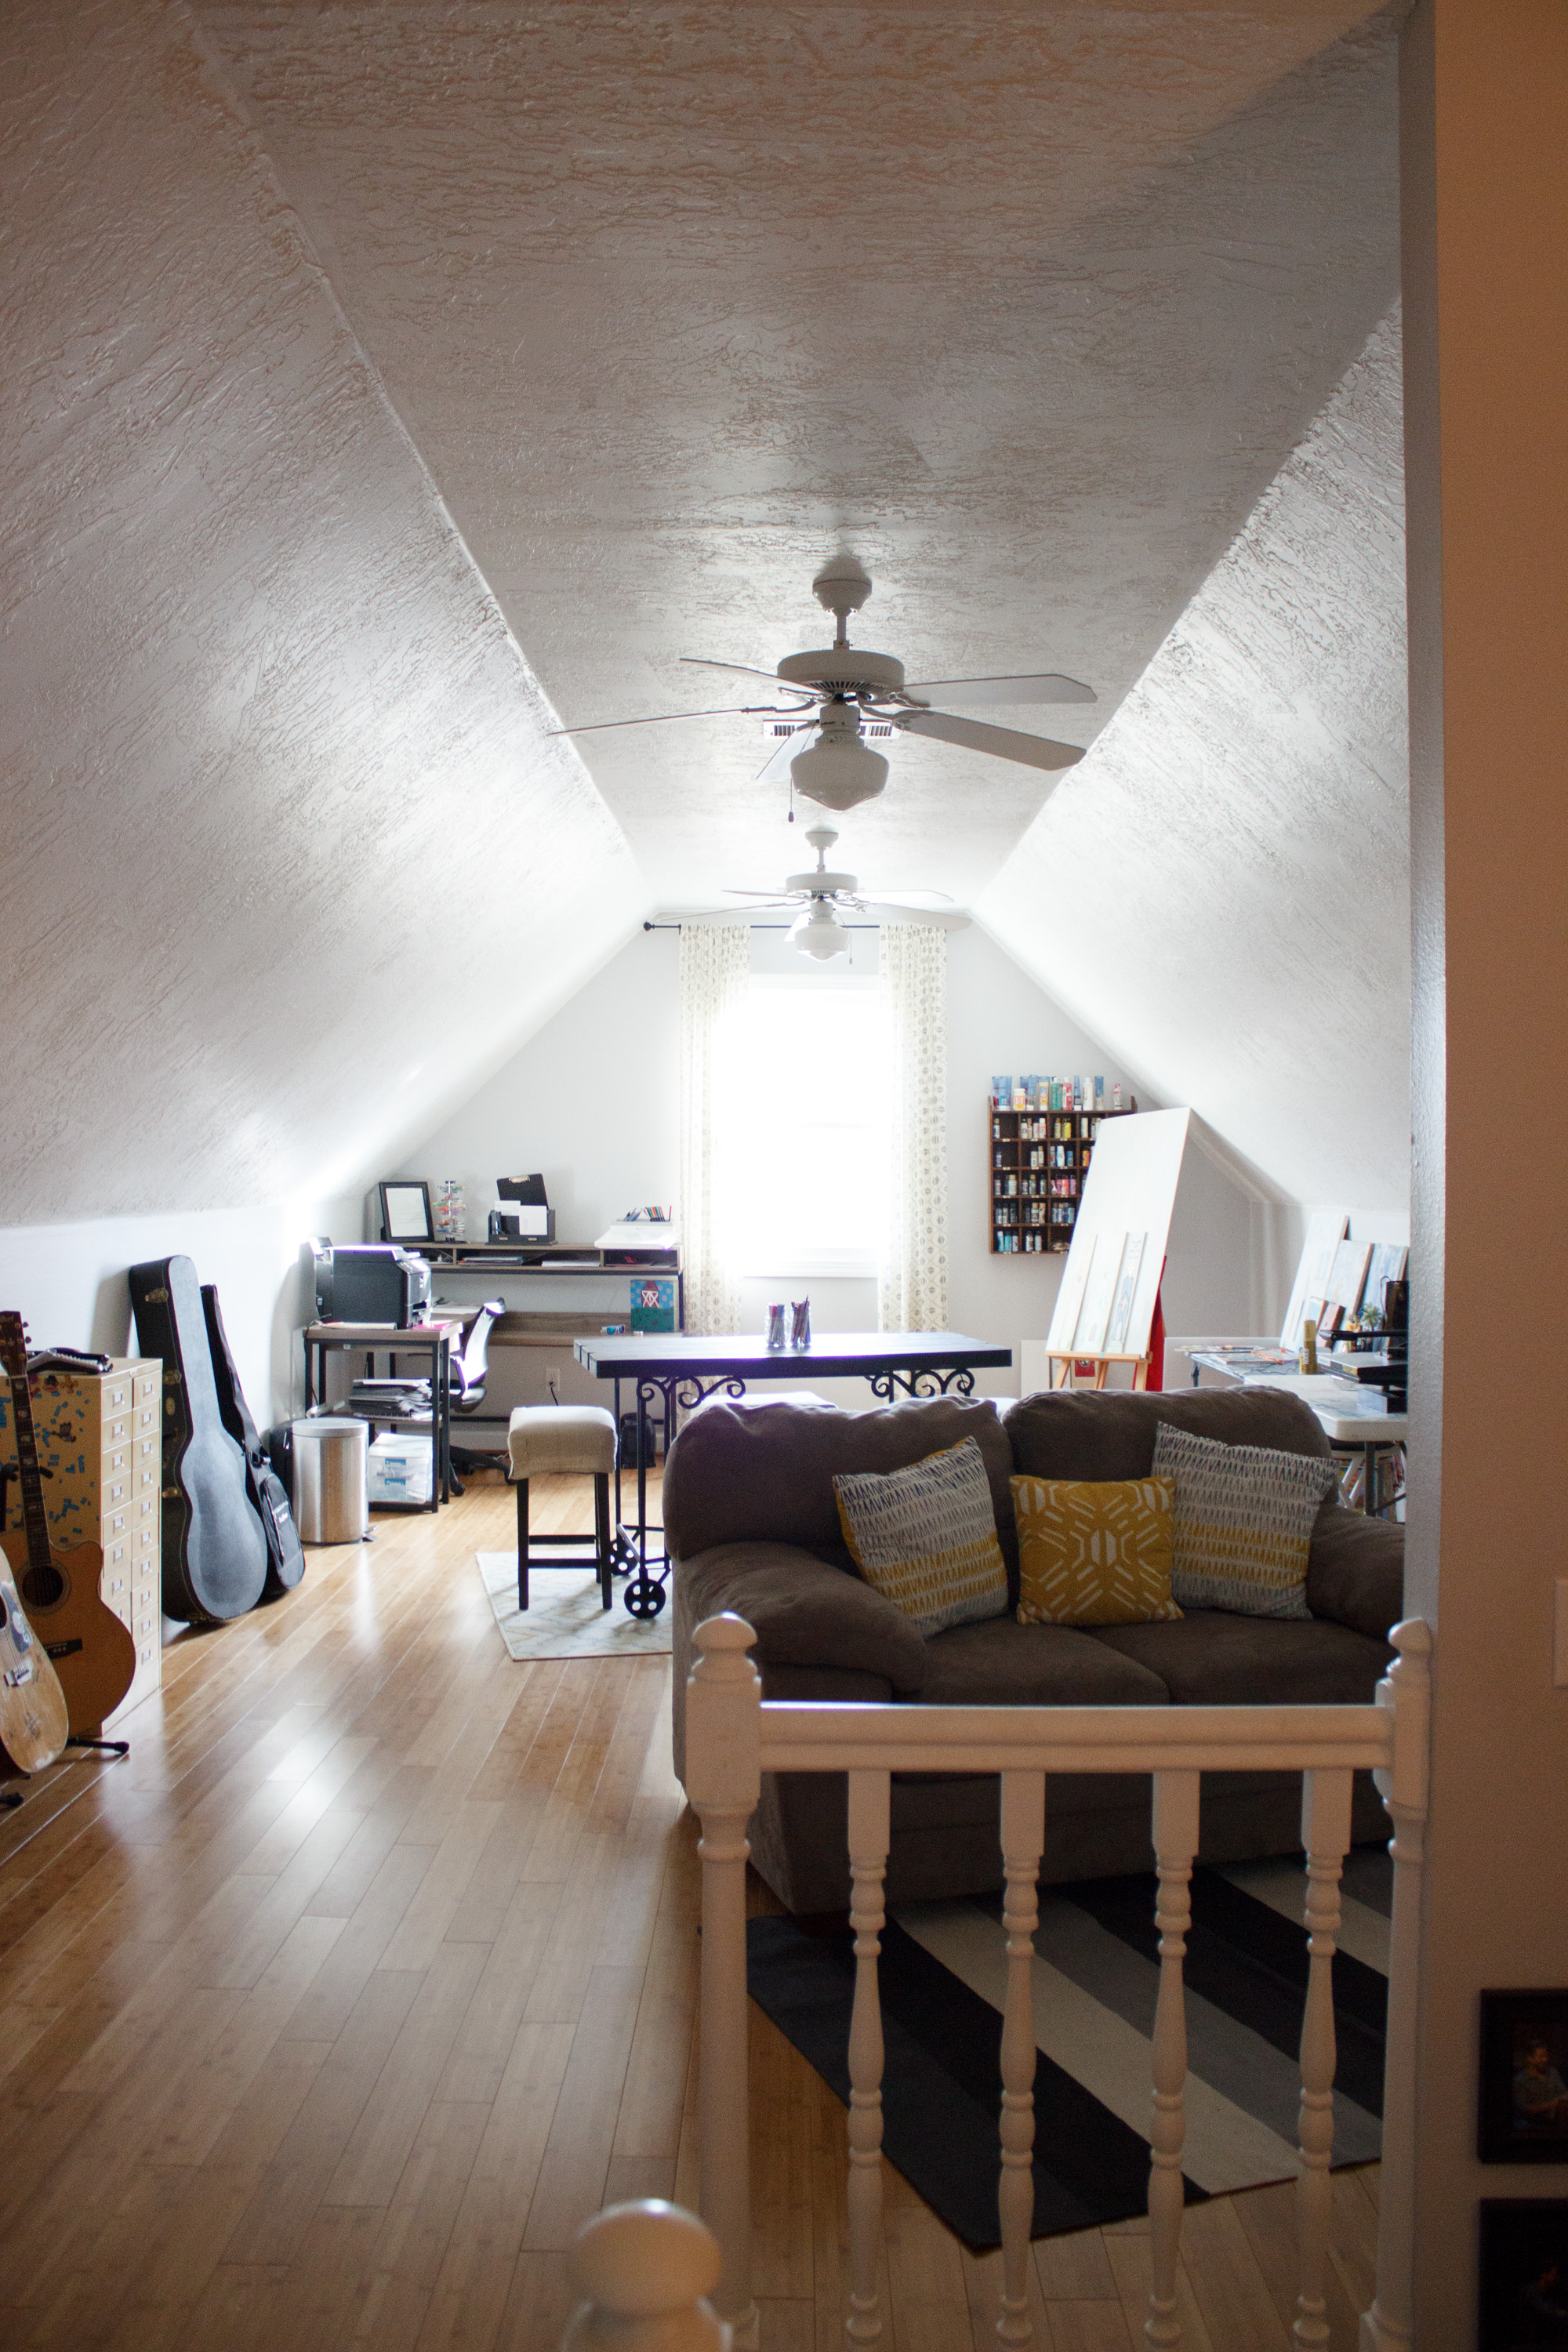
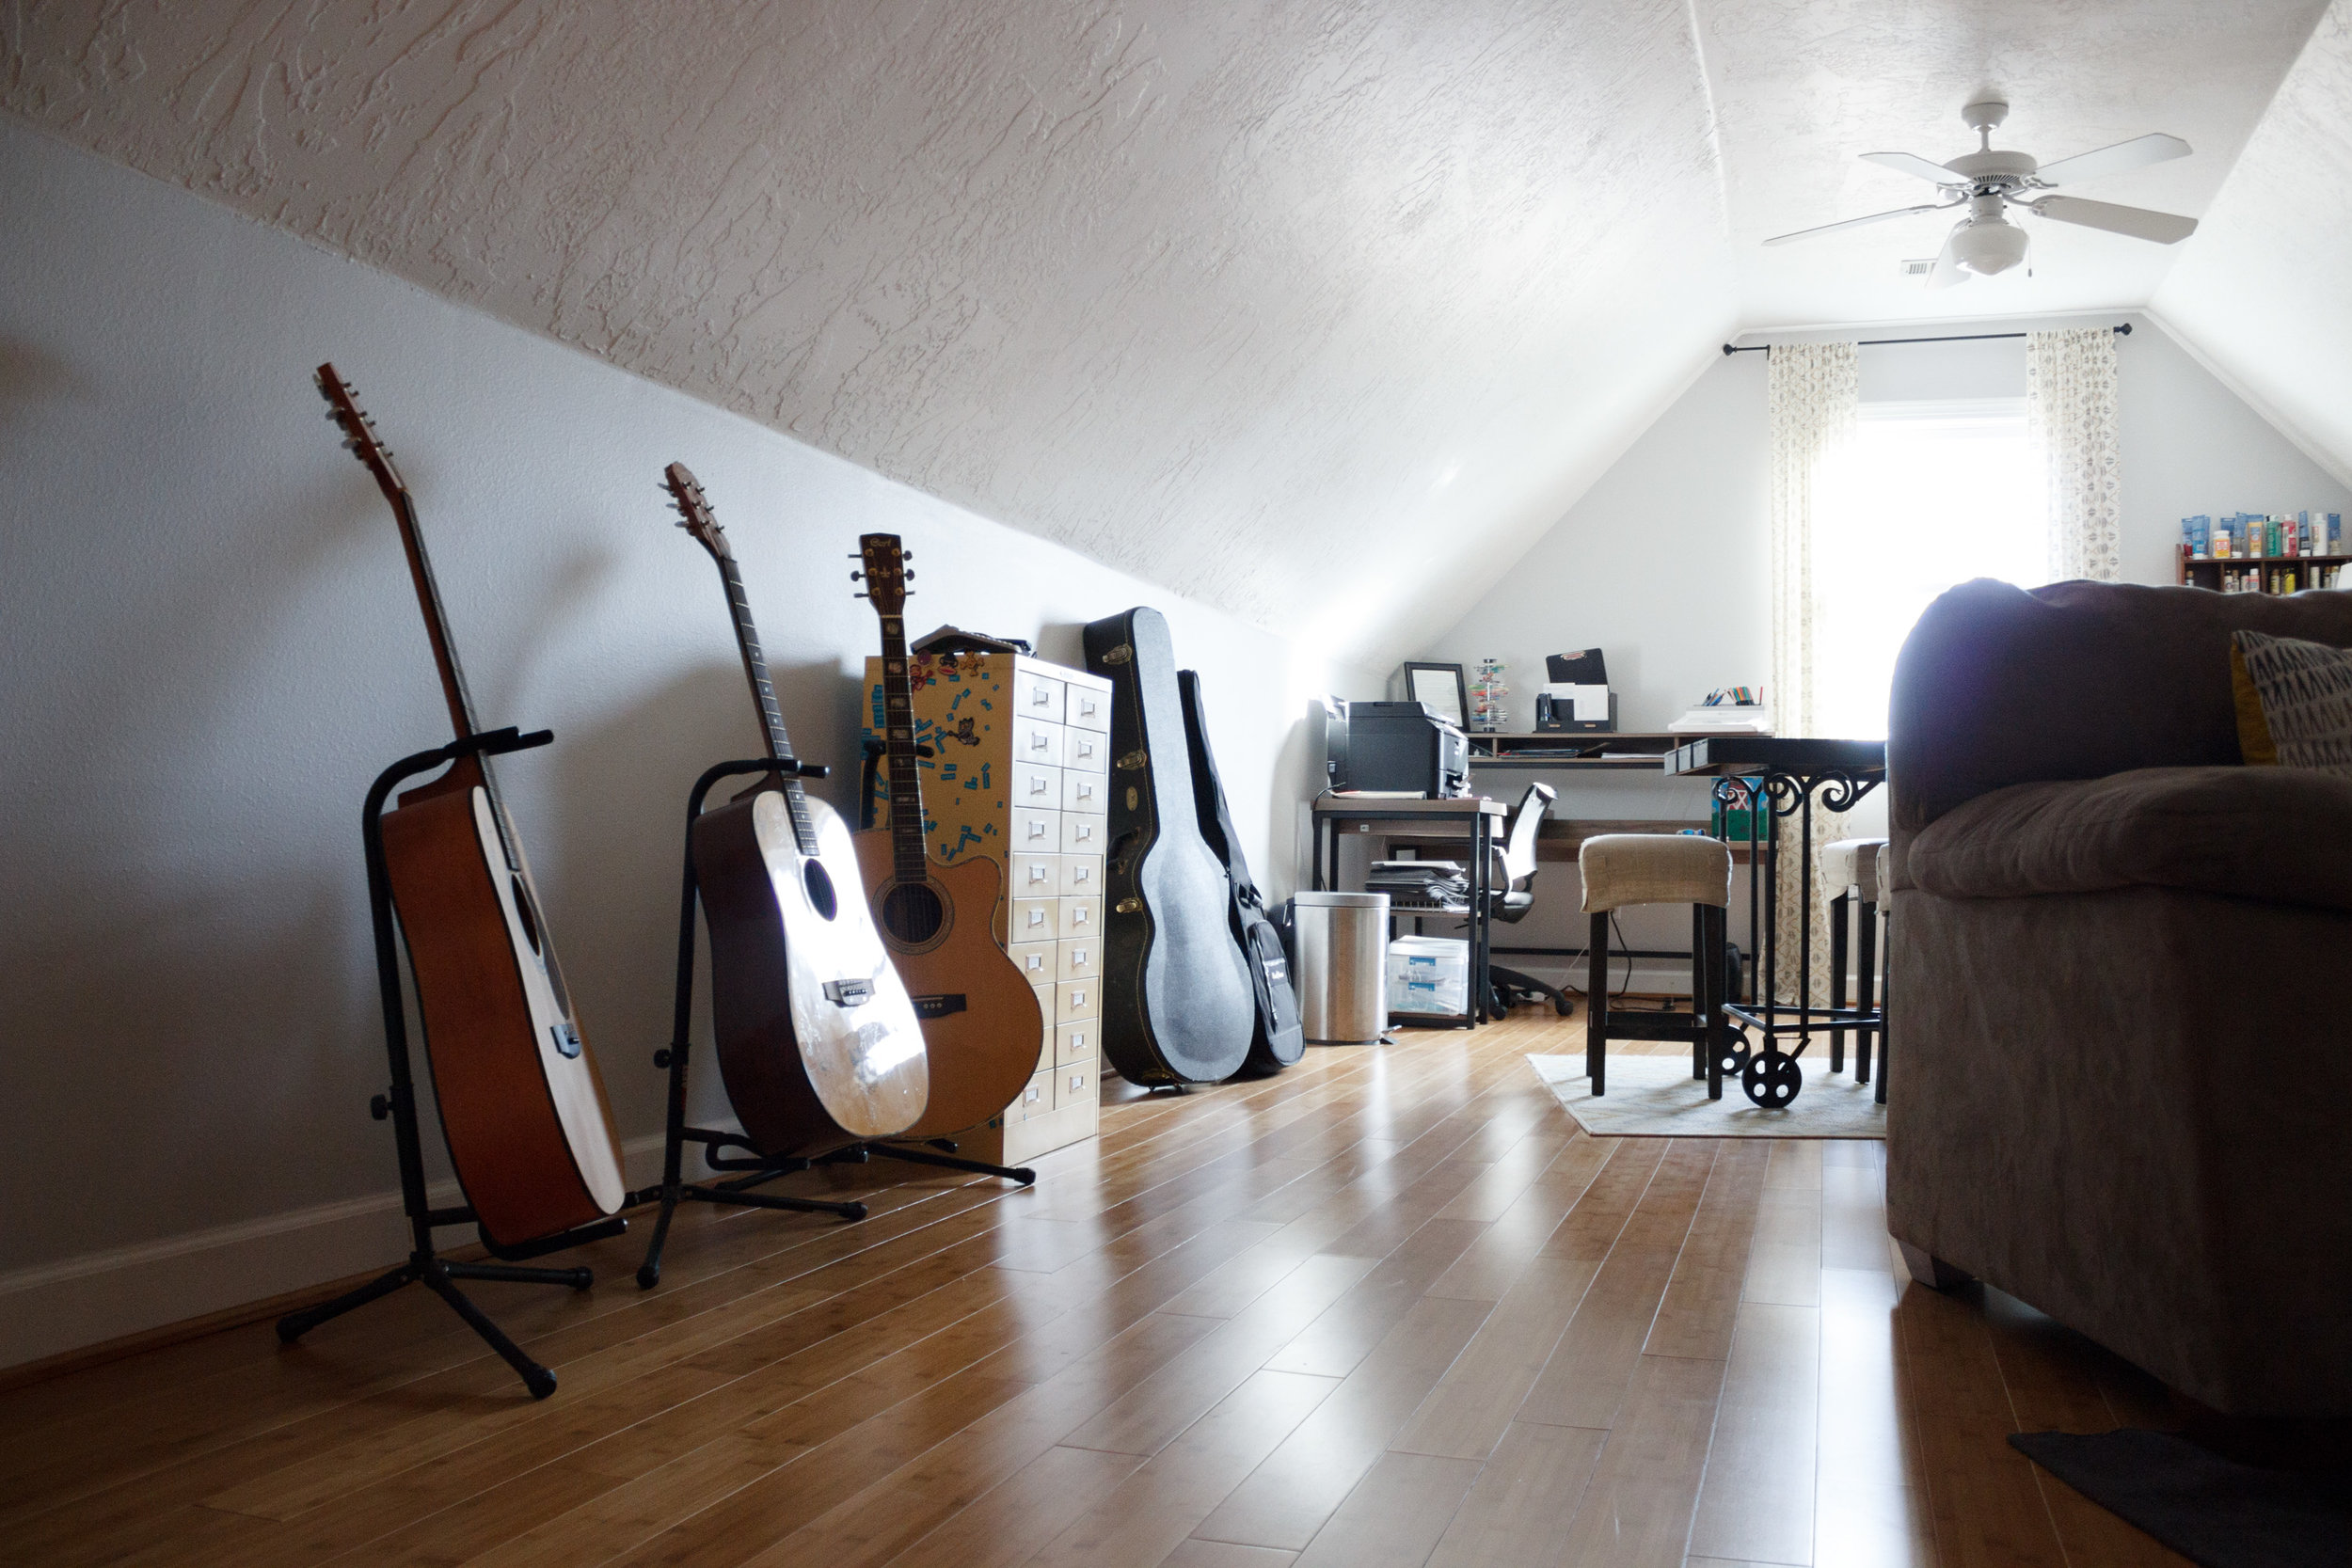
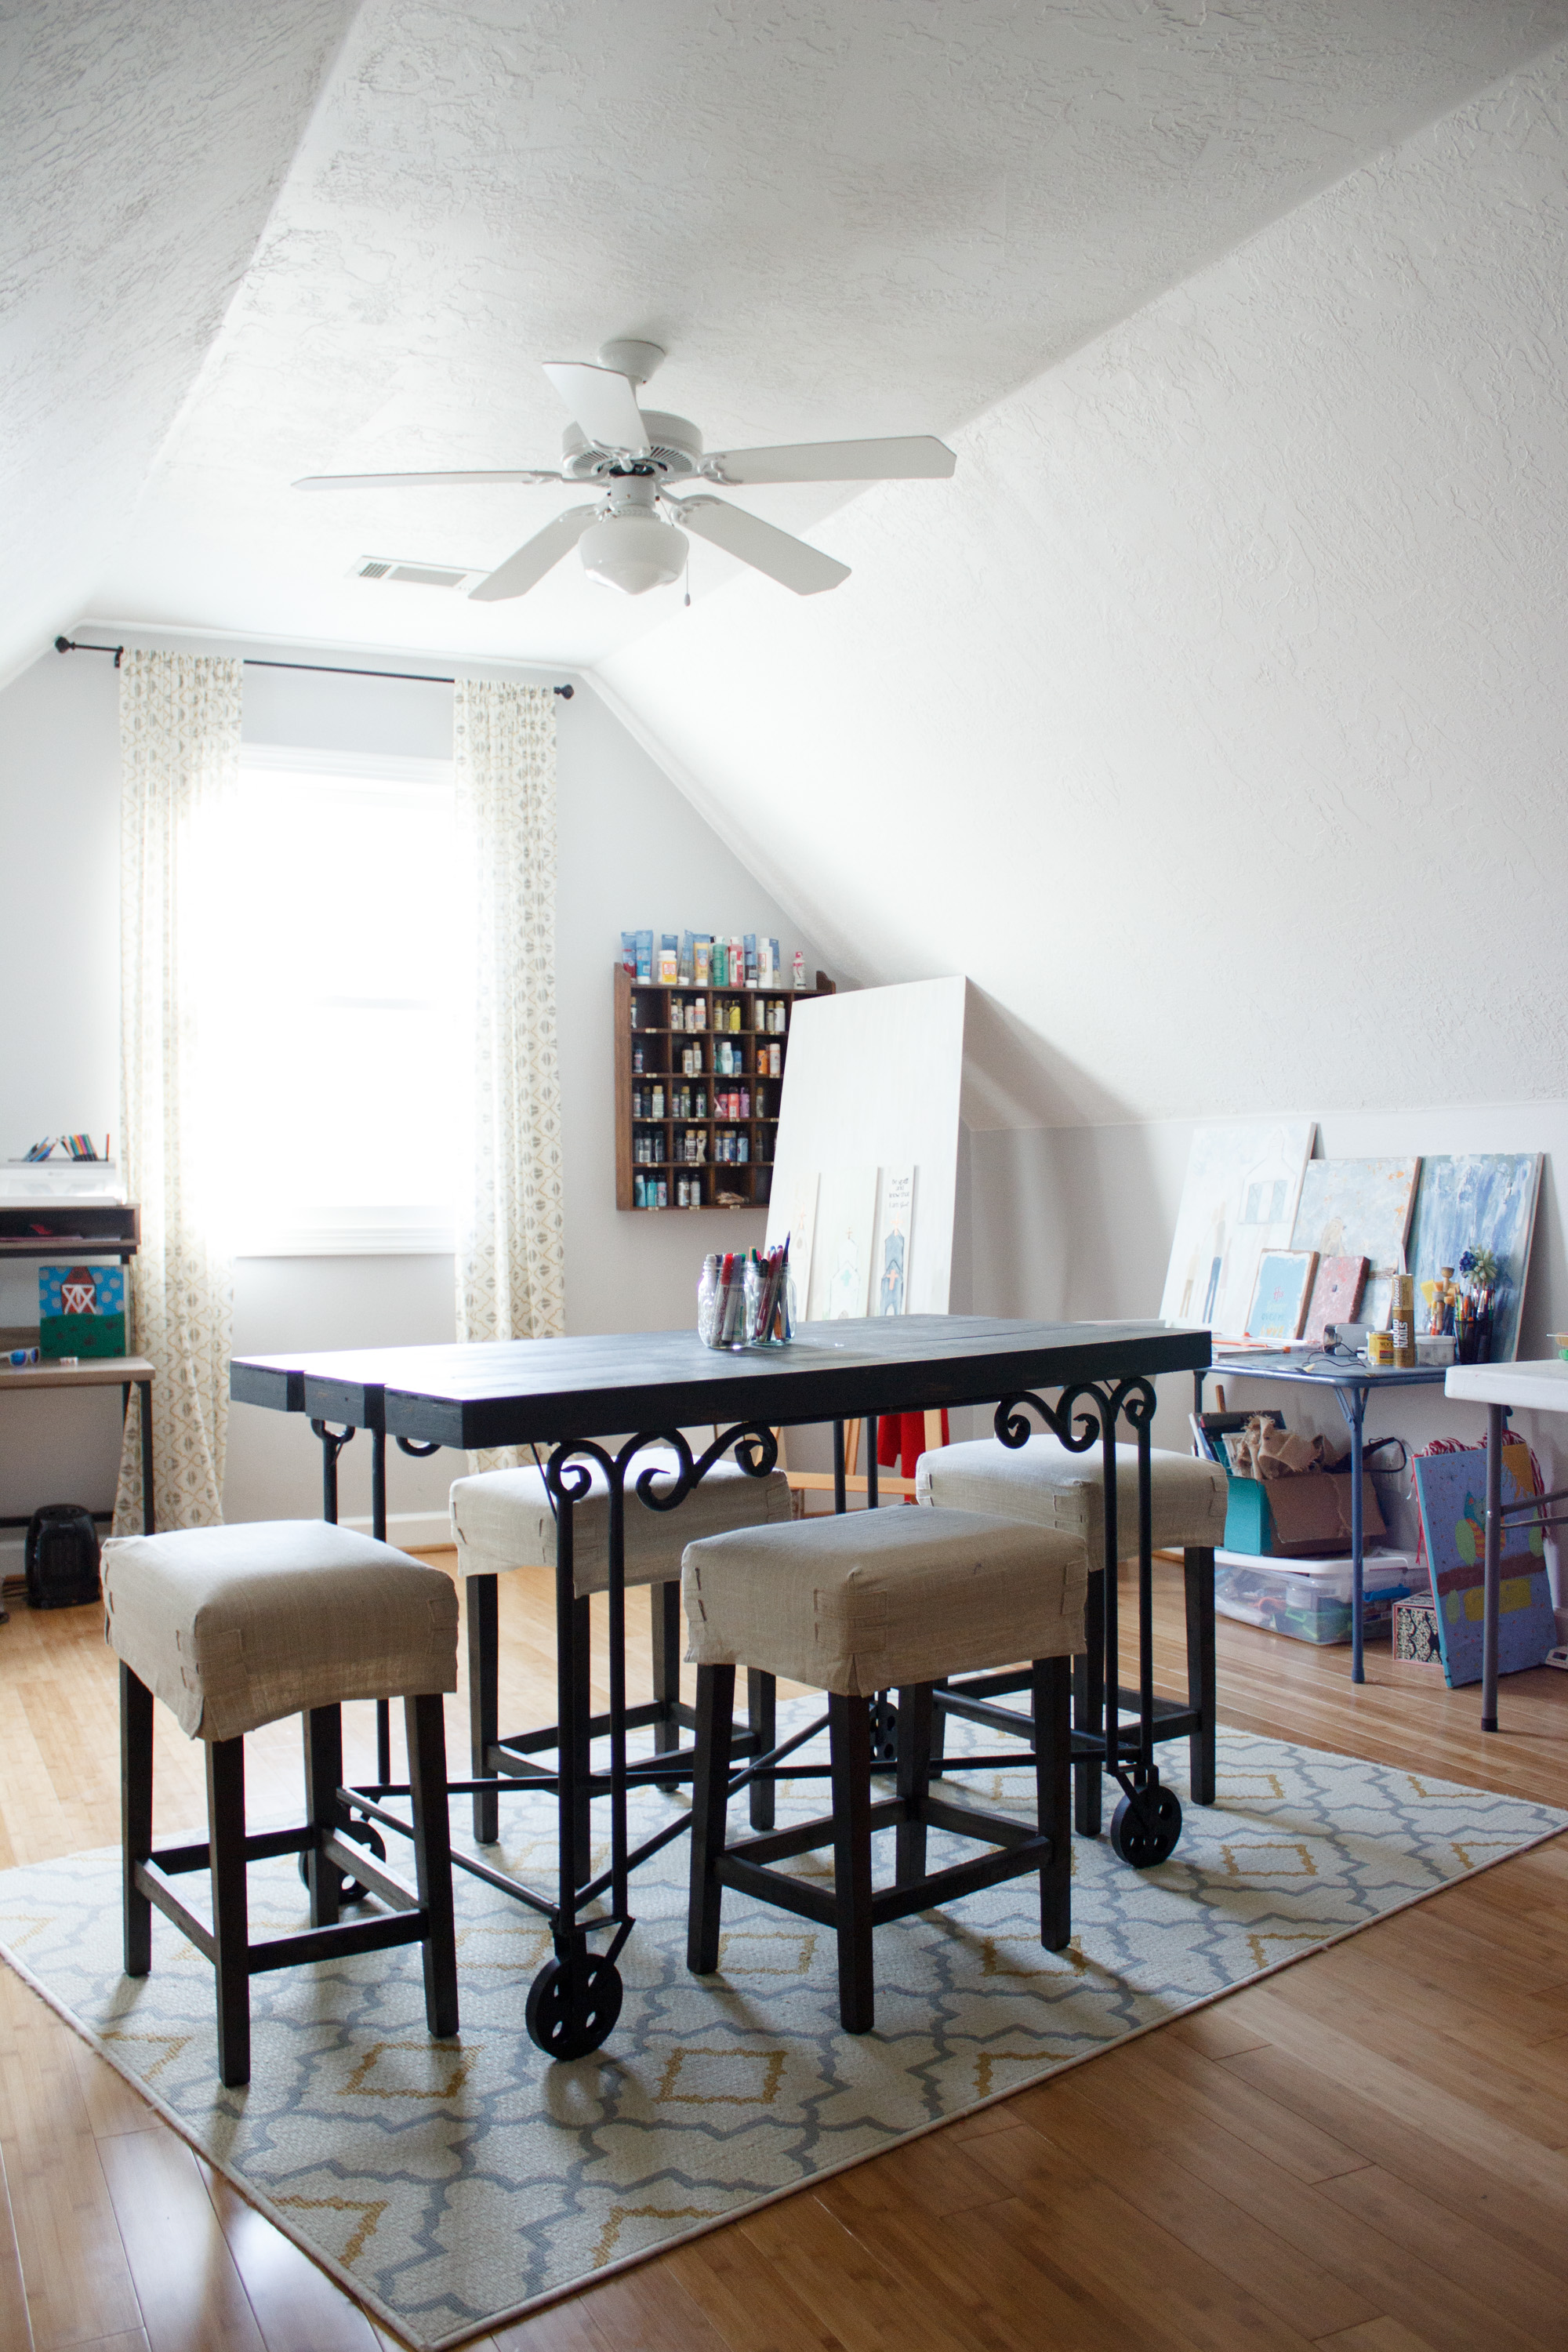
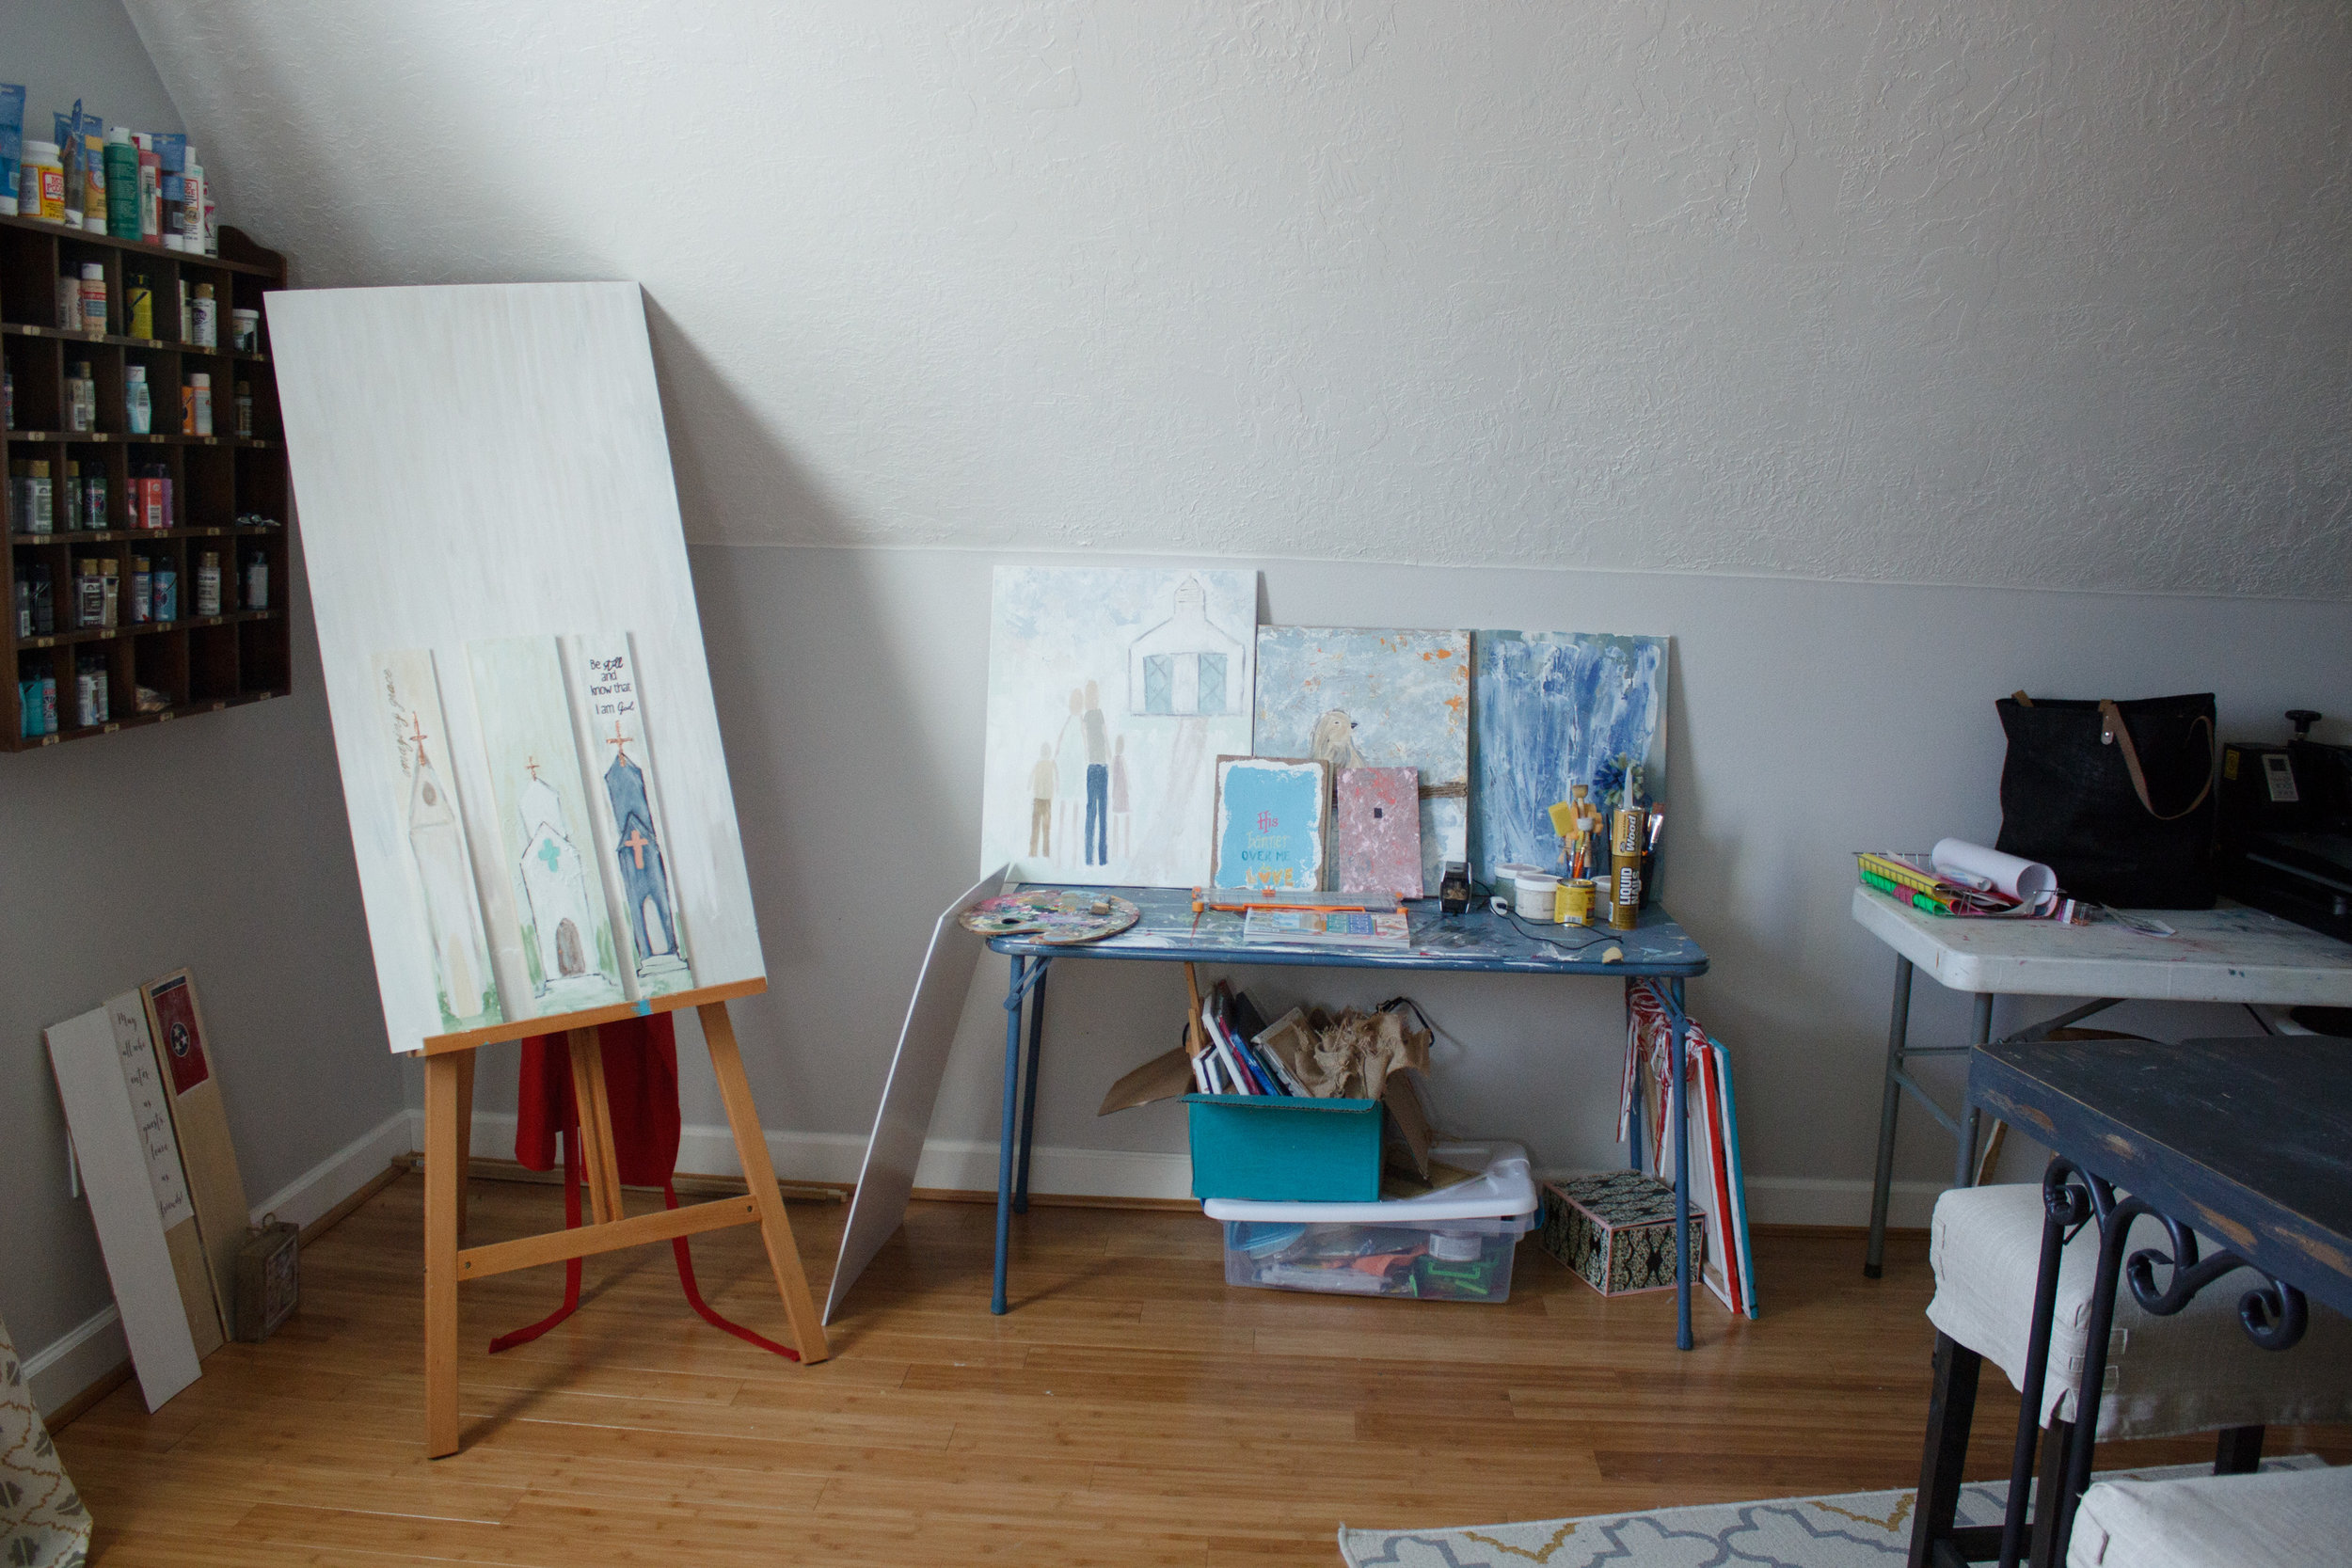
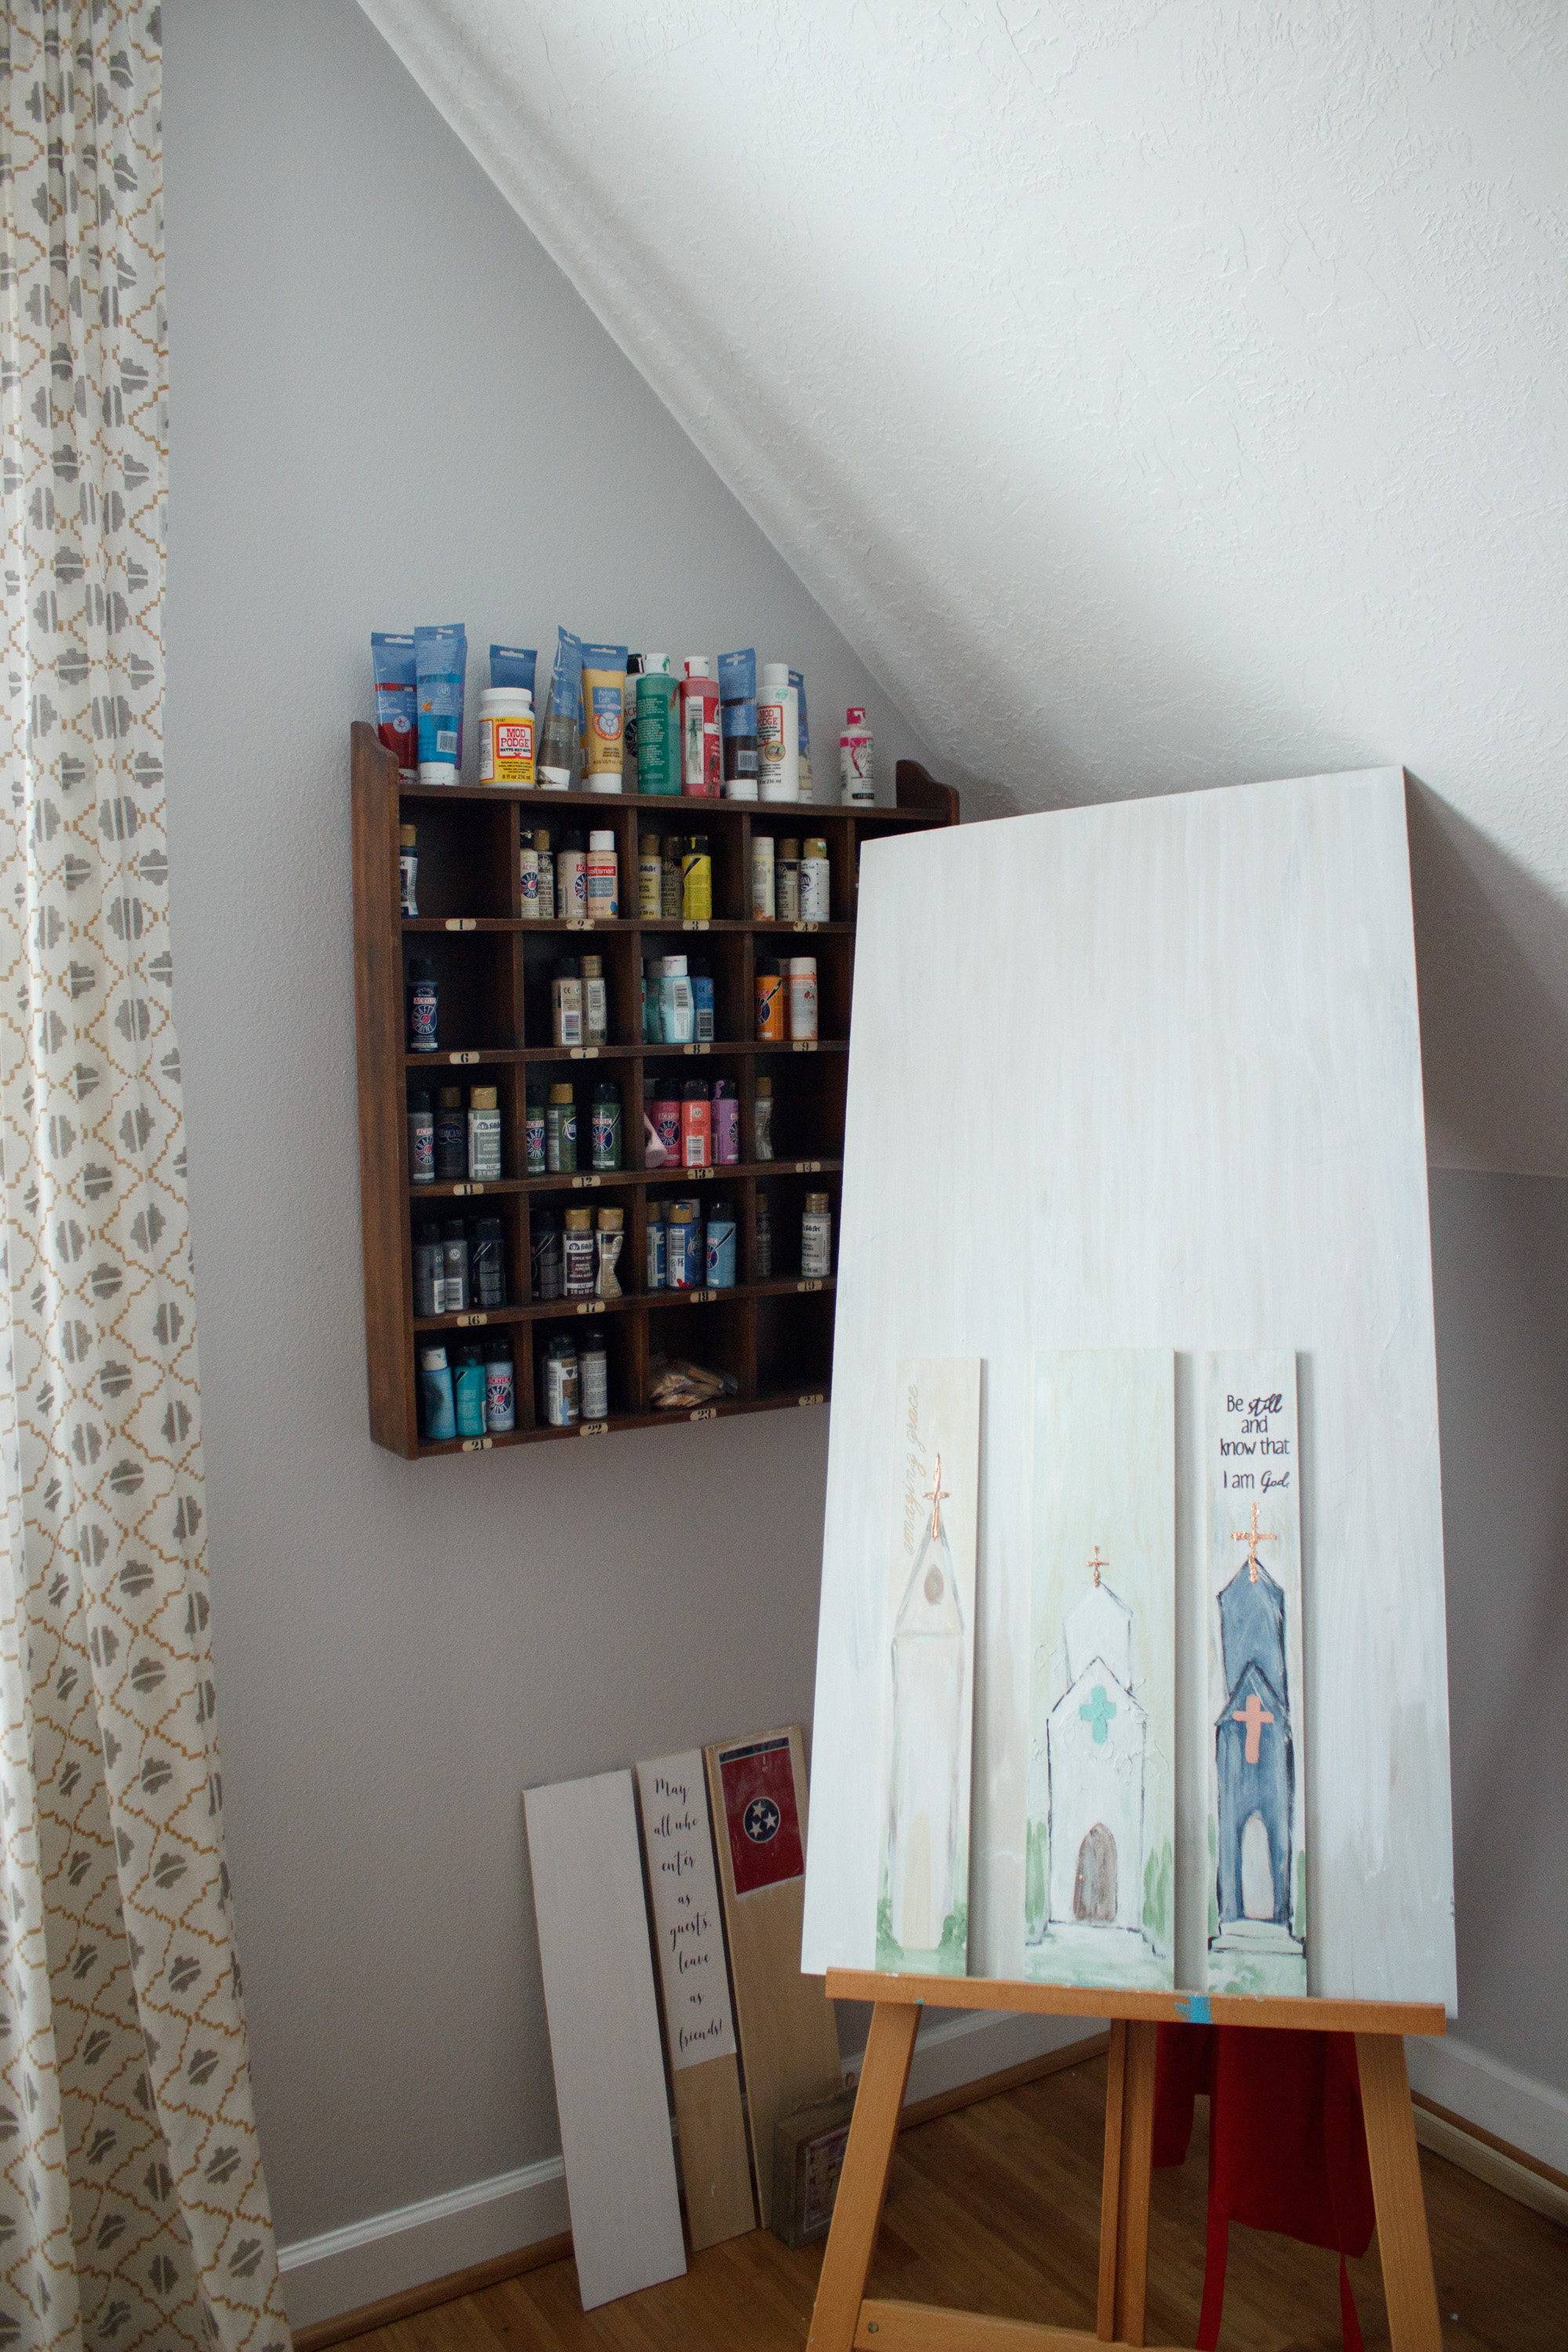
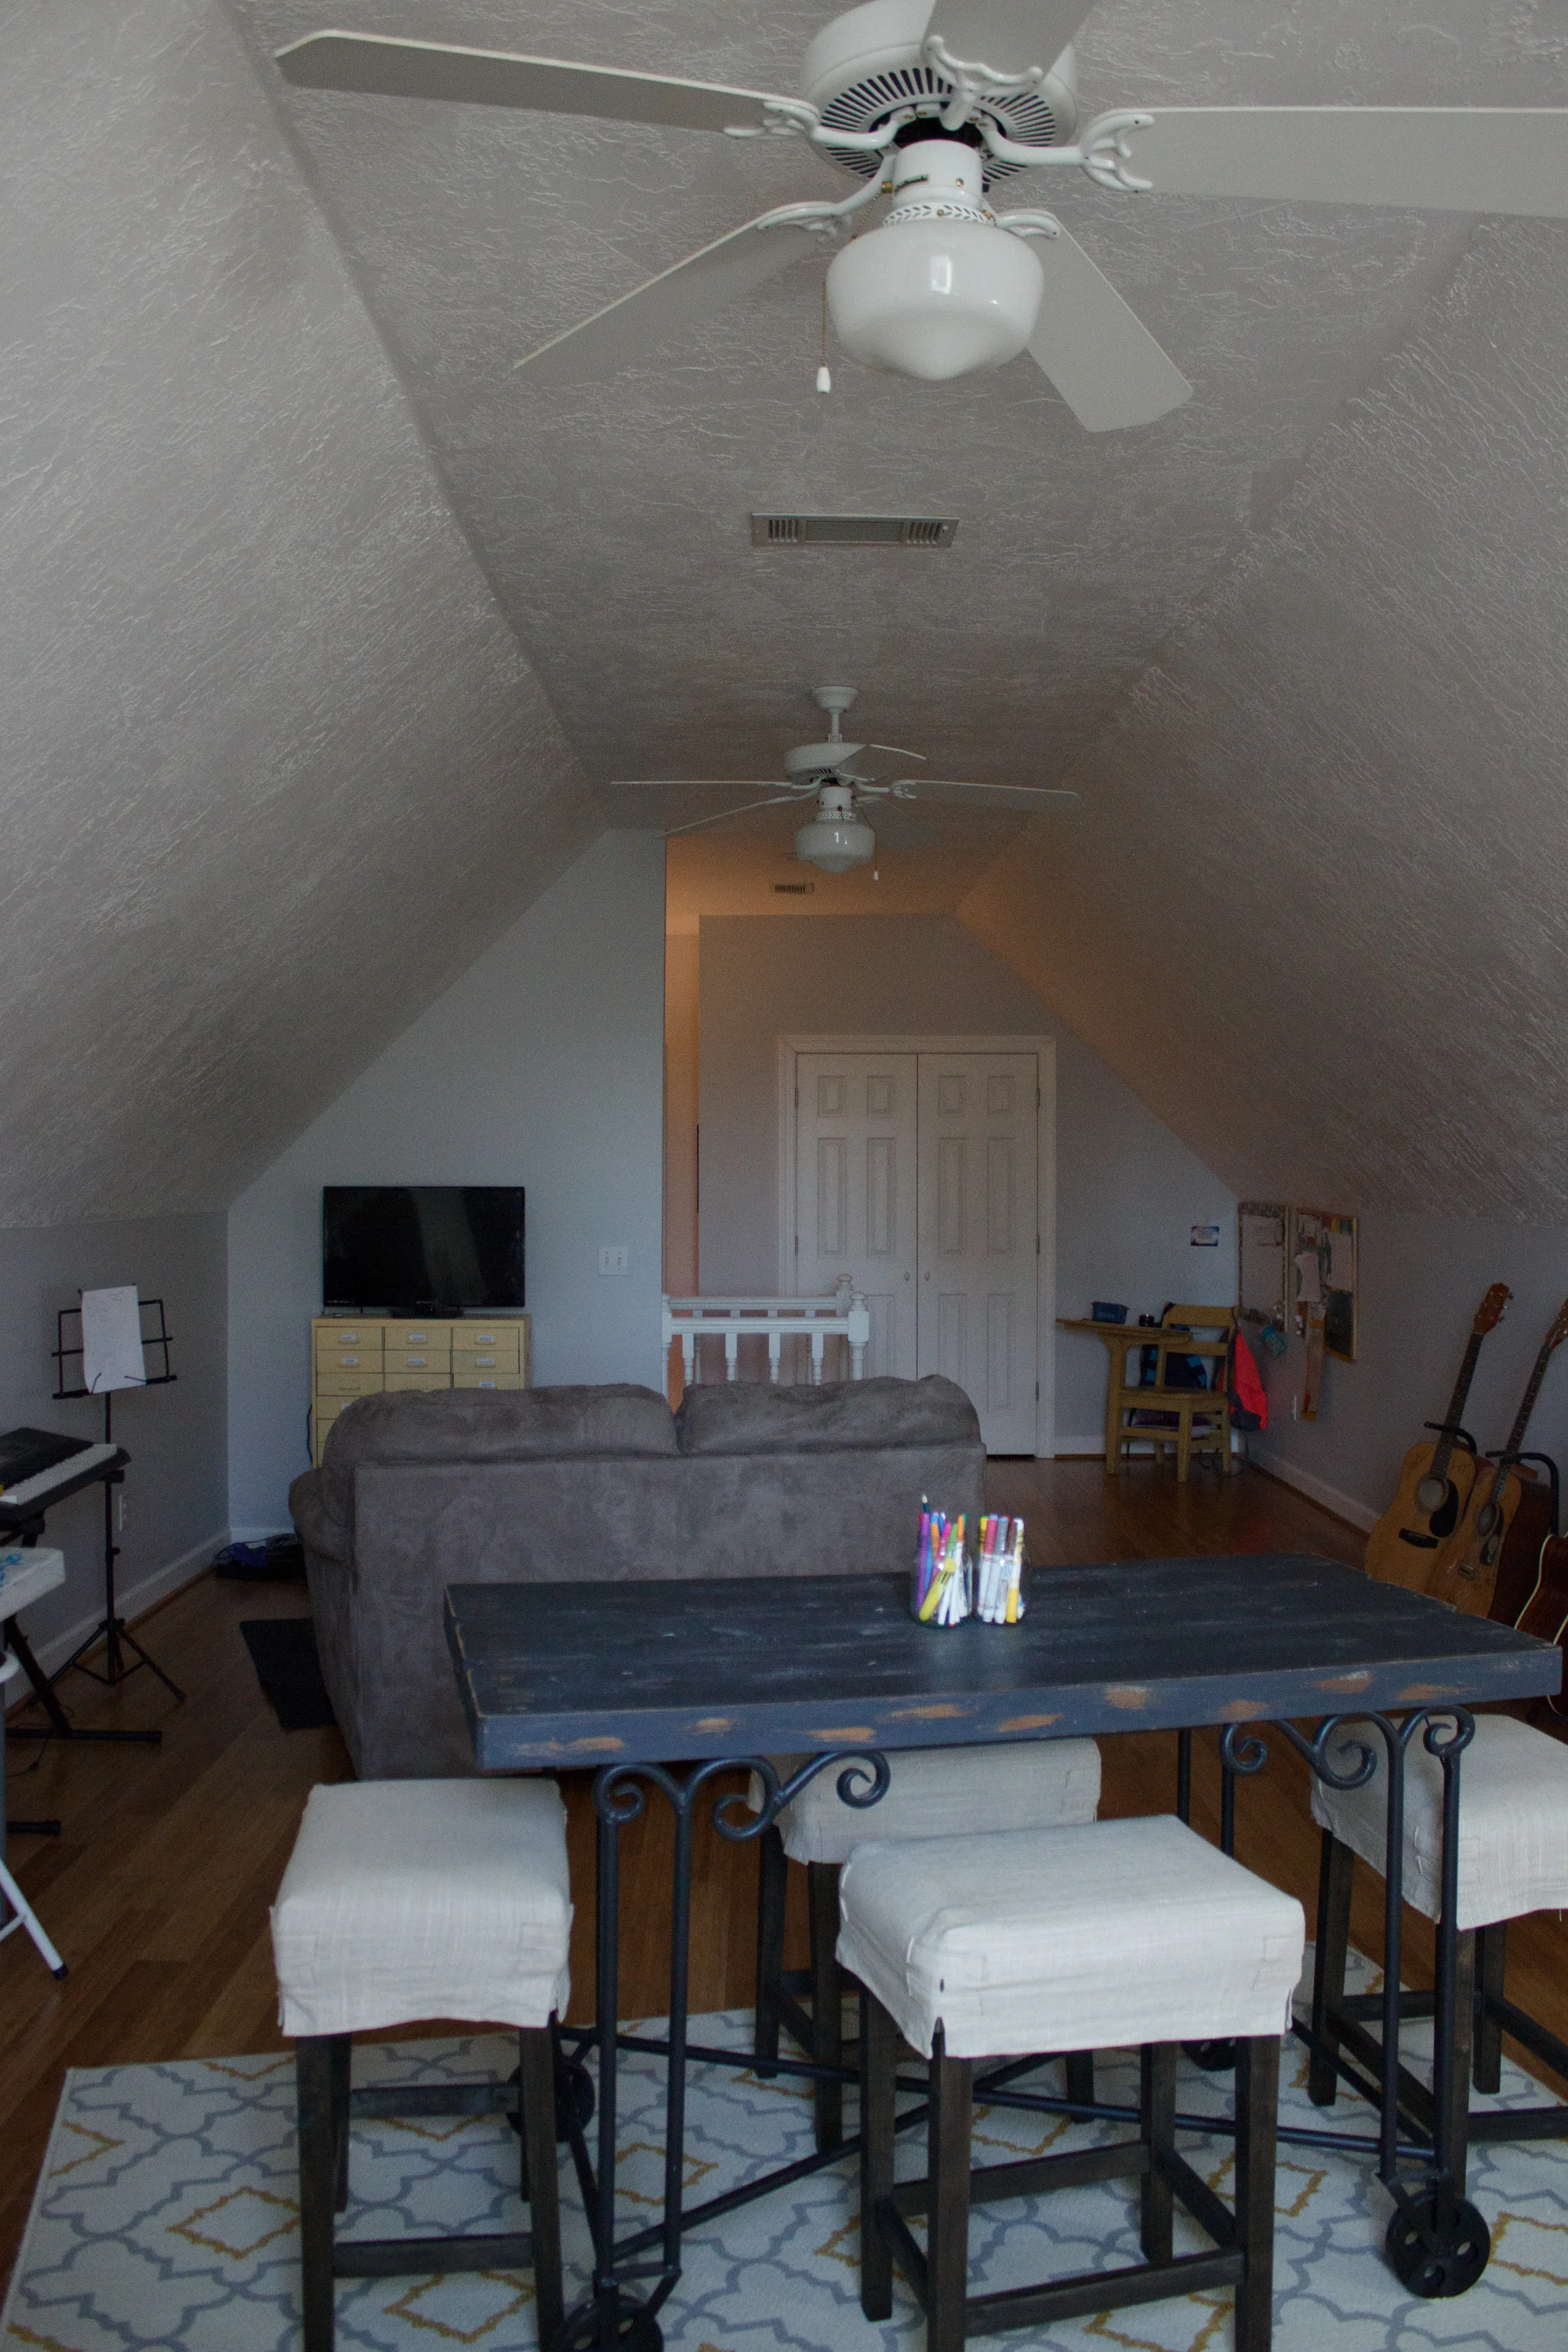

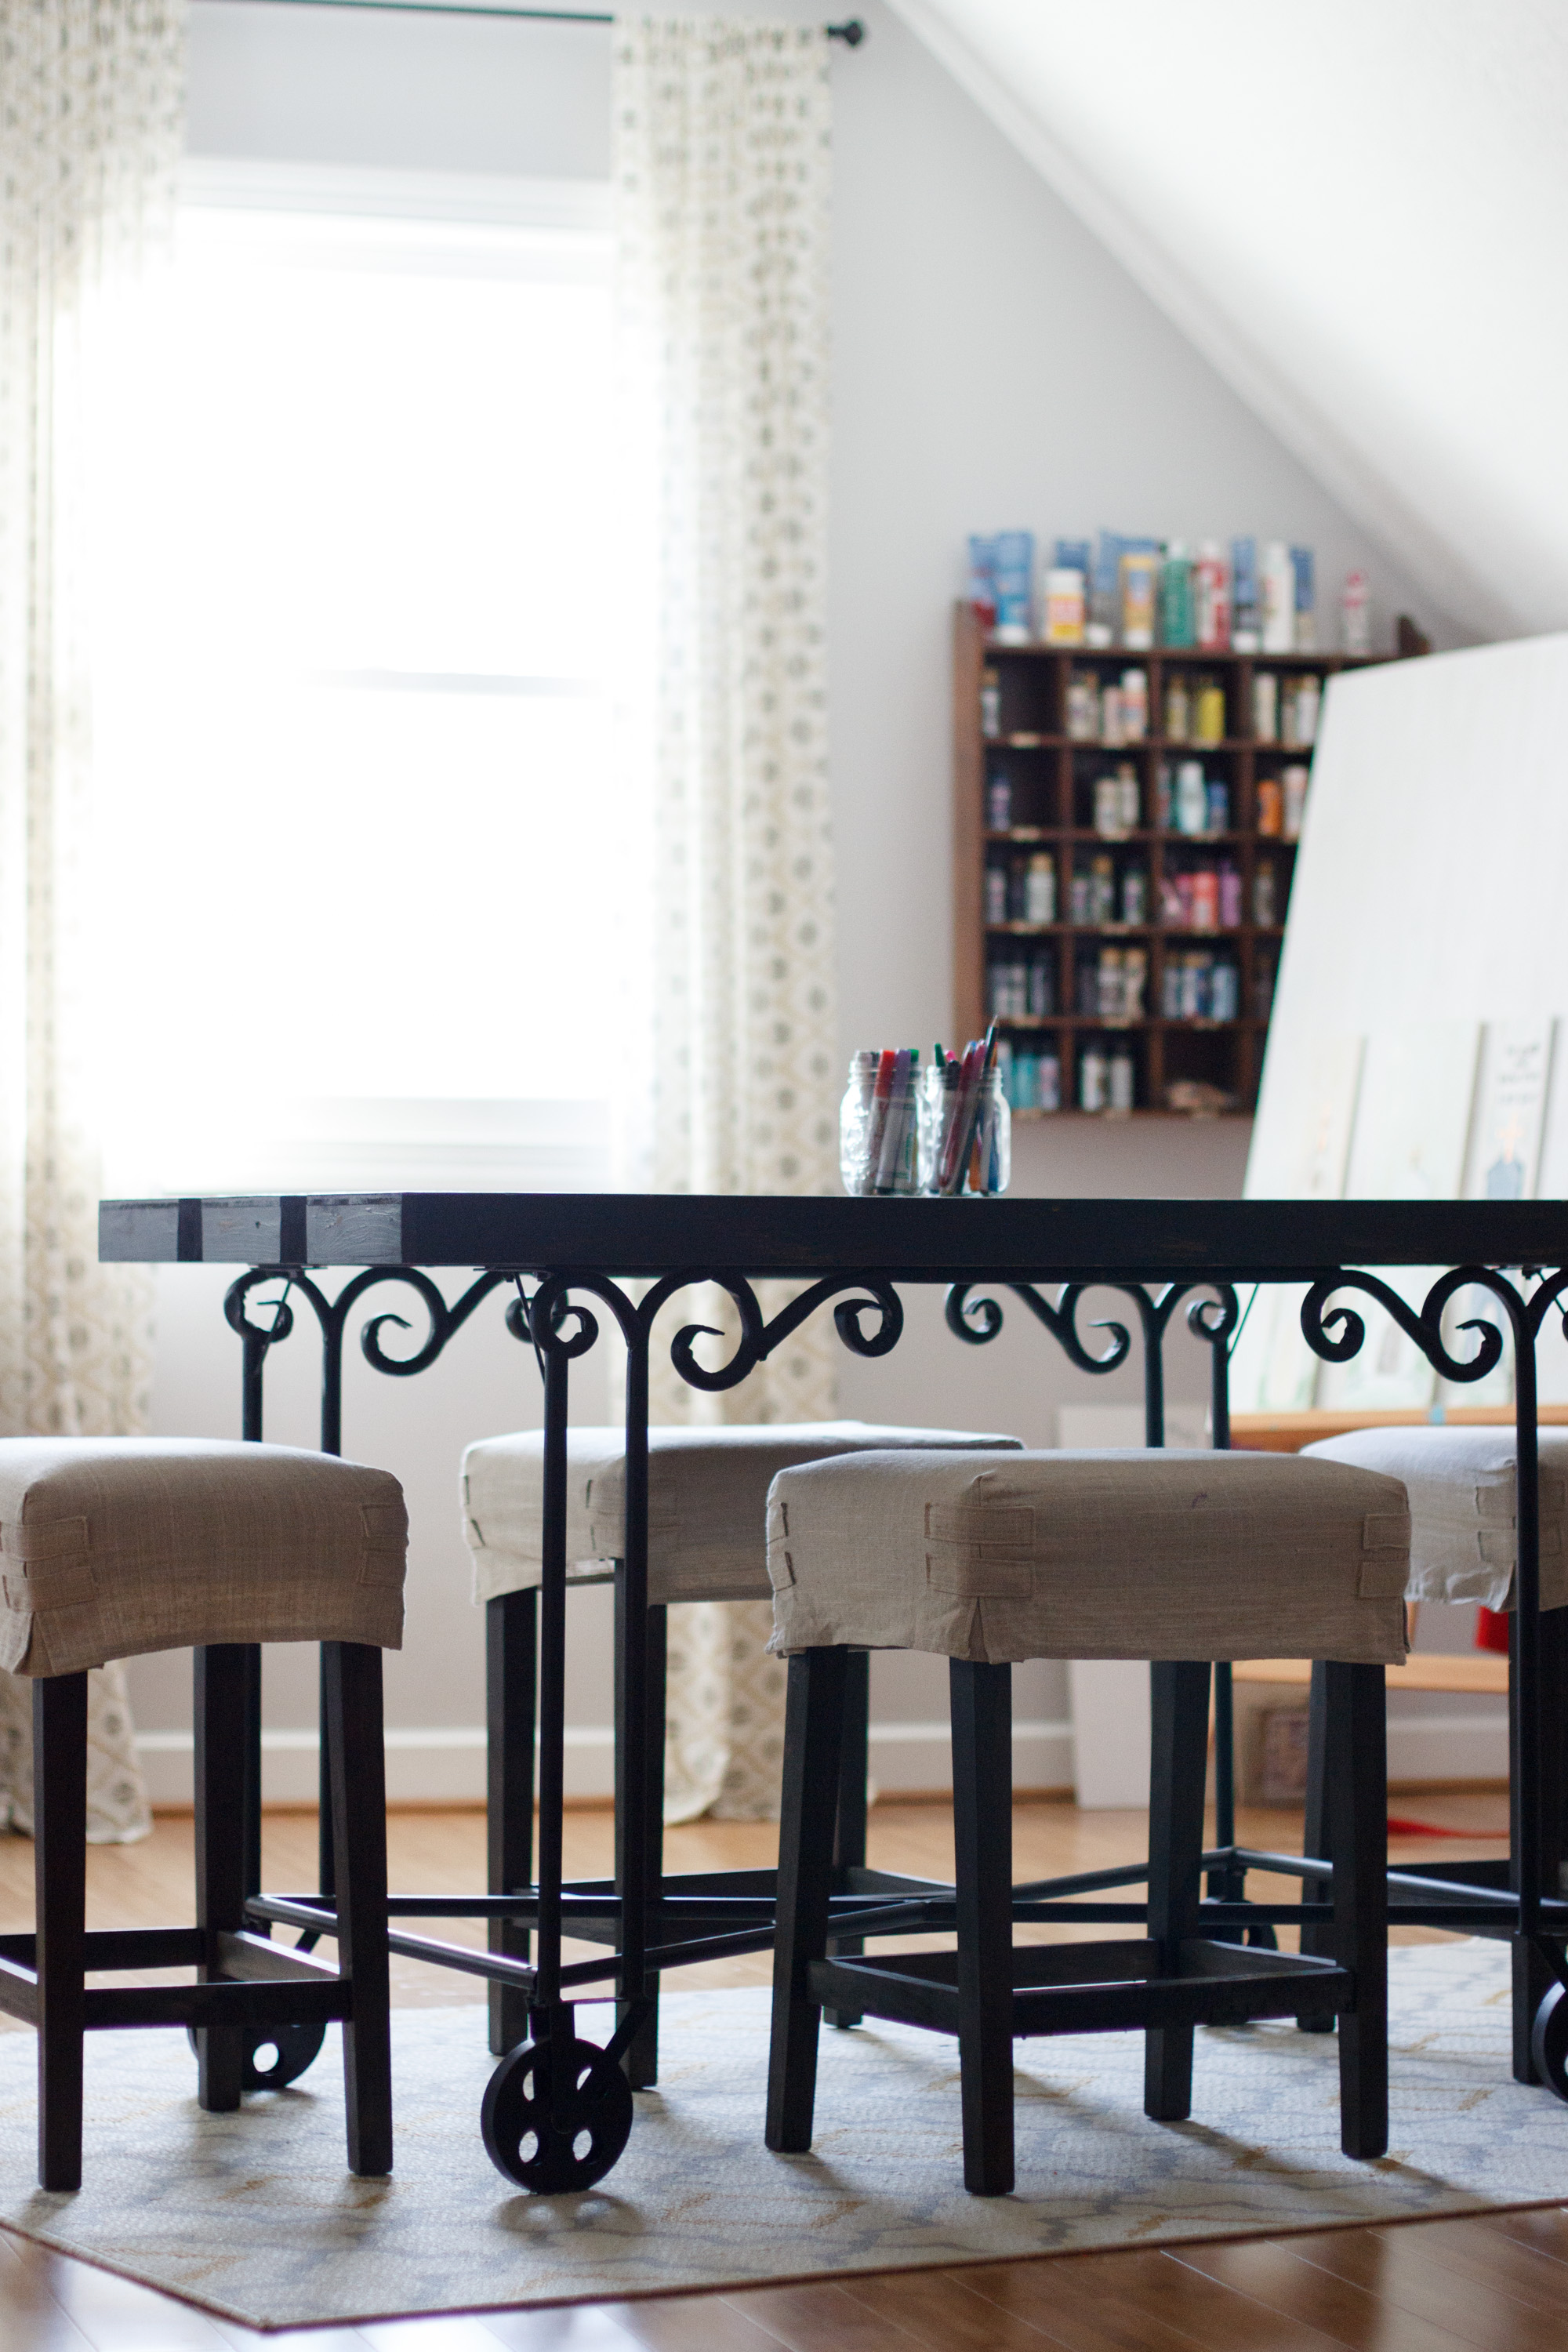
Before images courtesy of Meg Rushing
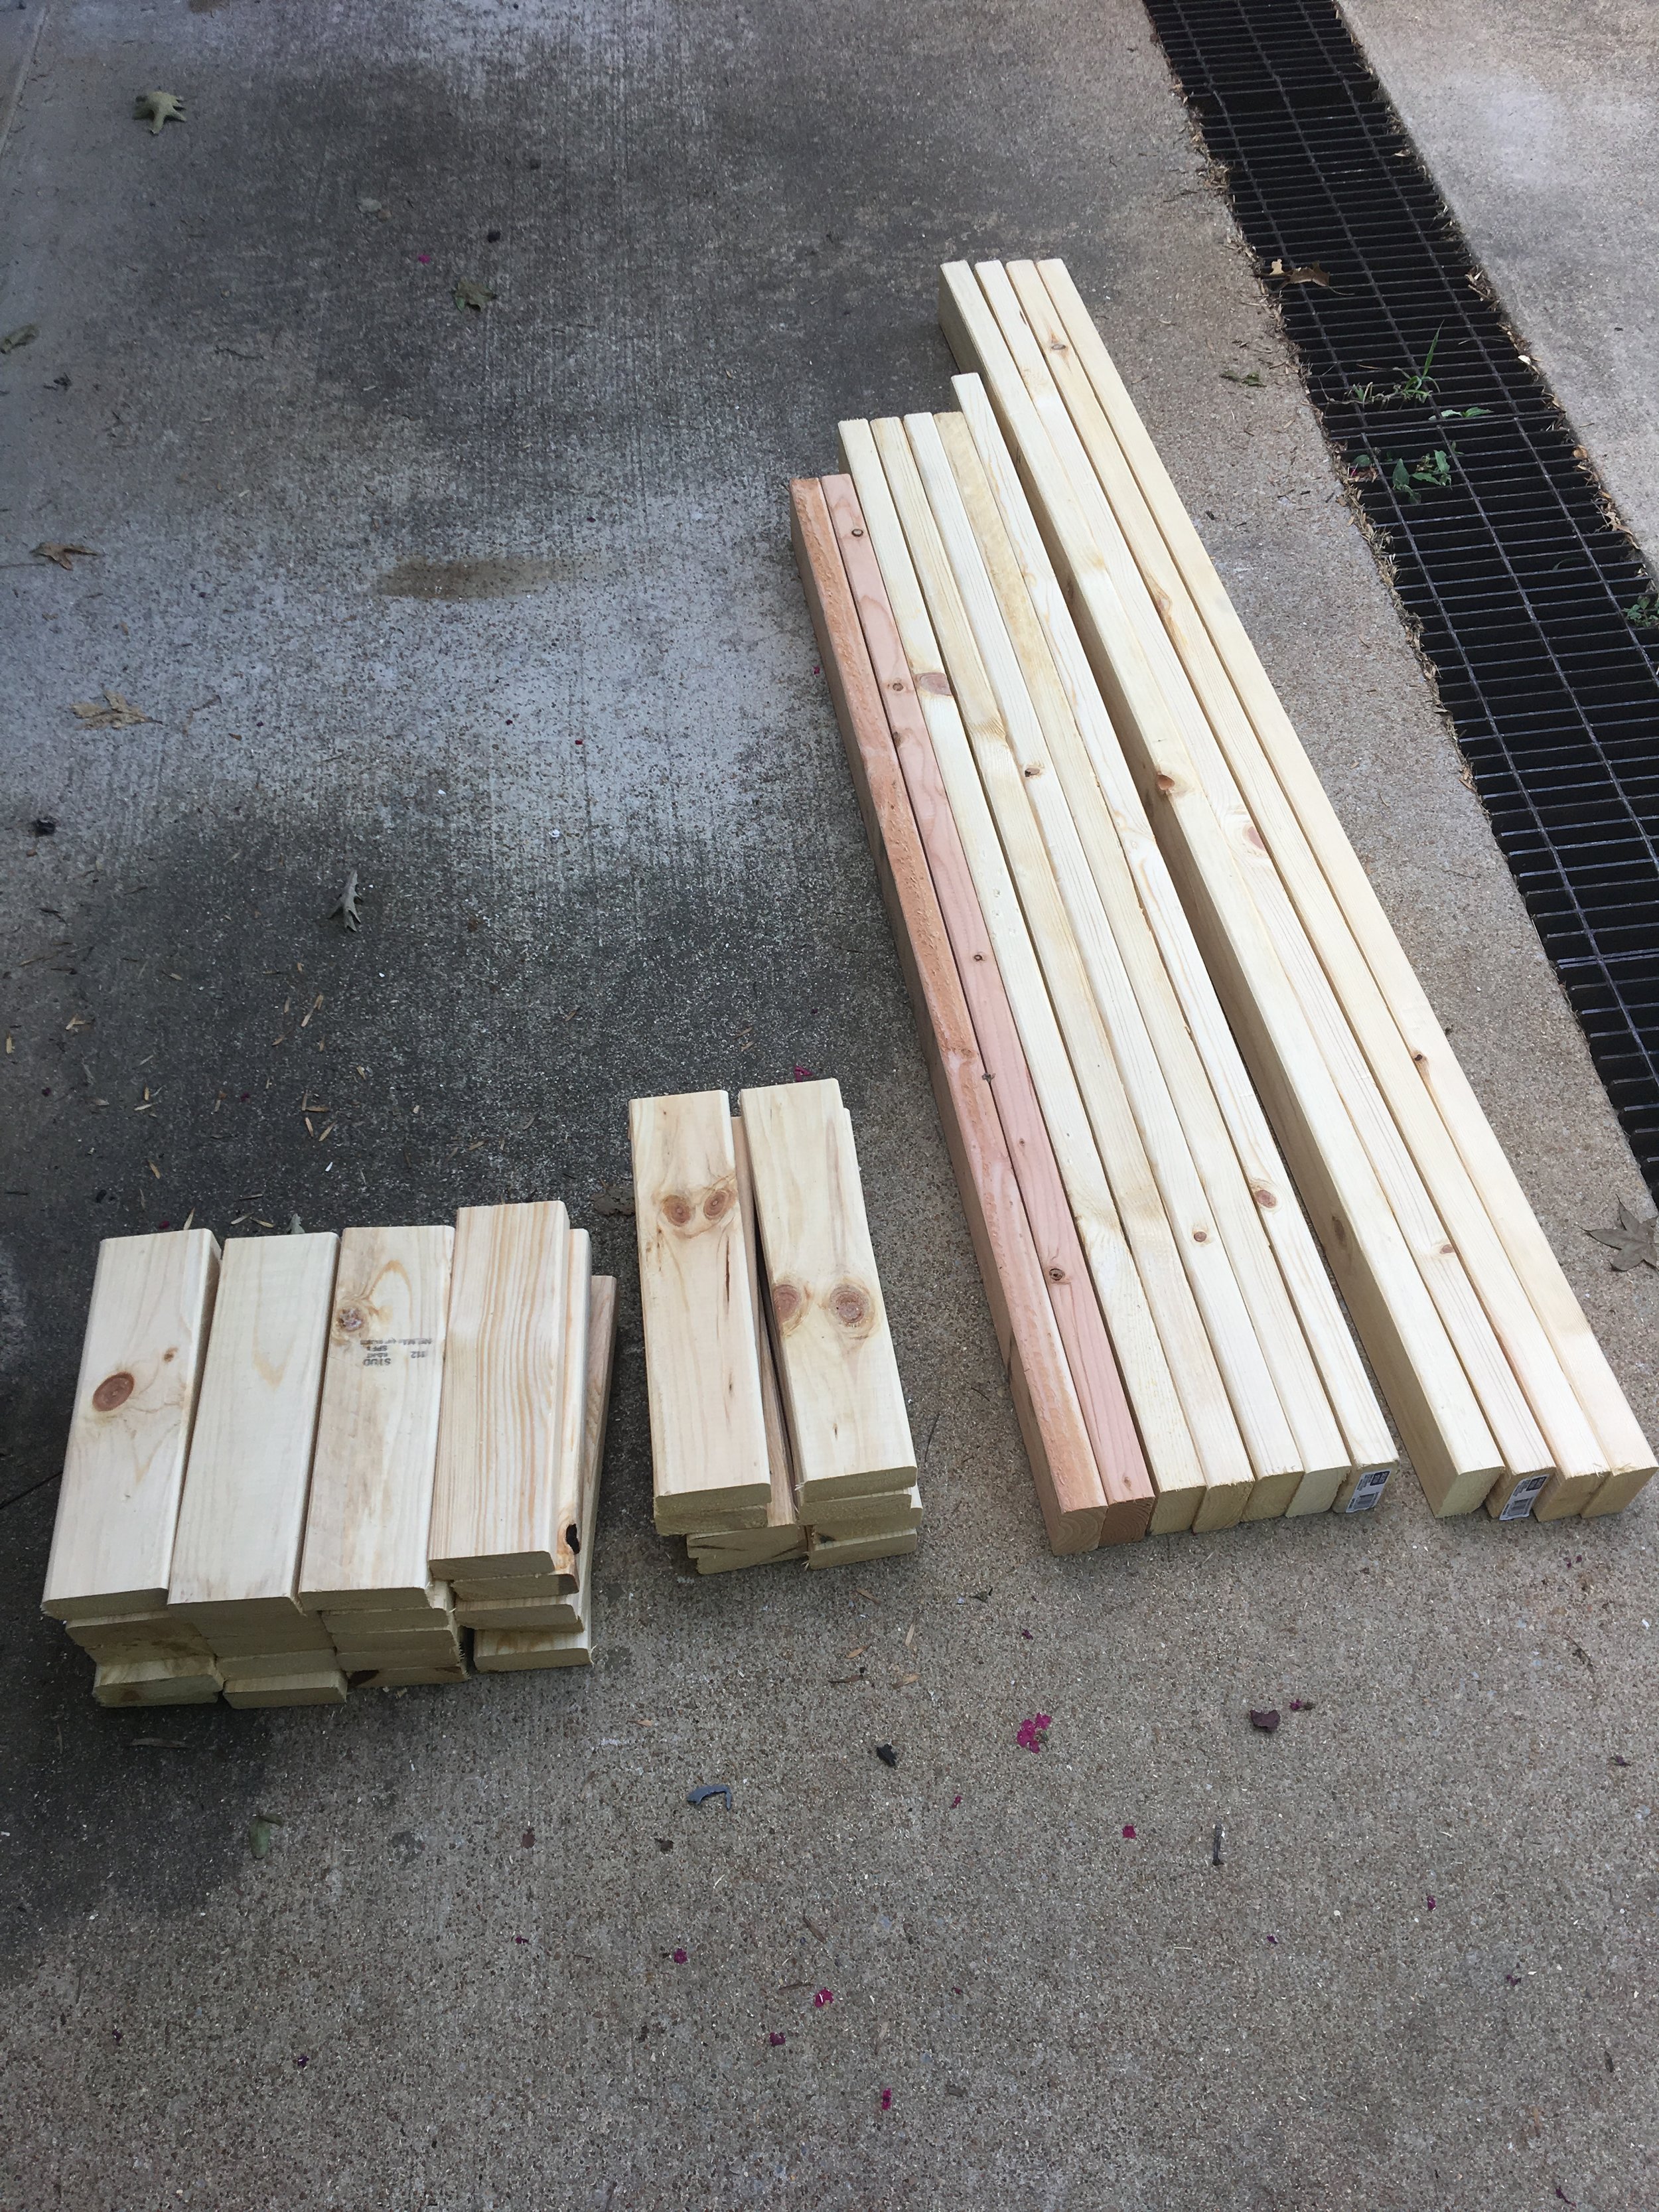
Remodel/Renovation Process
After much discussion and planning, we decided to go with 2 queen size built-in beds, along with a “gaming” area. Now, this gaming area is of the old-fashioned kind filled with board games and card games-not Fortnite!
Like all of our remodeling projects we tackle, I shared a ton of ideas with Josh, and he helped me narrow down what our plan was going to be. We discussed the most cost-effective way to do things, as well as how we were going to divide it up. Here’s how we divided the project up:
I handled cleaning out the bonus room. This part was not fun-I promise you! Because it was such a multi-purpose room, I felt like I cleaned out several rooms during this process. I organized office files, organized our craft supplies to be portable when we needed them, cleaned out the closet, and donated a ton of stuff my kids had outgrown. The guitars made their way to our sunroom so that the kids have their piano and guitars in one area. Once the clean-up was tackled, the painting started.
I agreed that if he would build the beds, I would paint the entire room. When we moved in, it was a really pale shade of blue, and we wanted to brighten it up. We had leftover paint from the venue so we decided that Chantilly Lace would be a gorgeous white to brighten up the space!
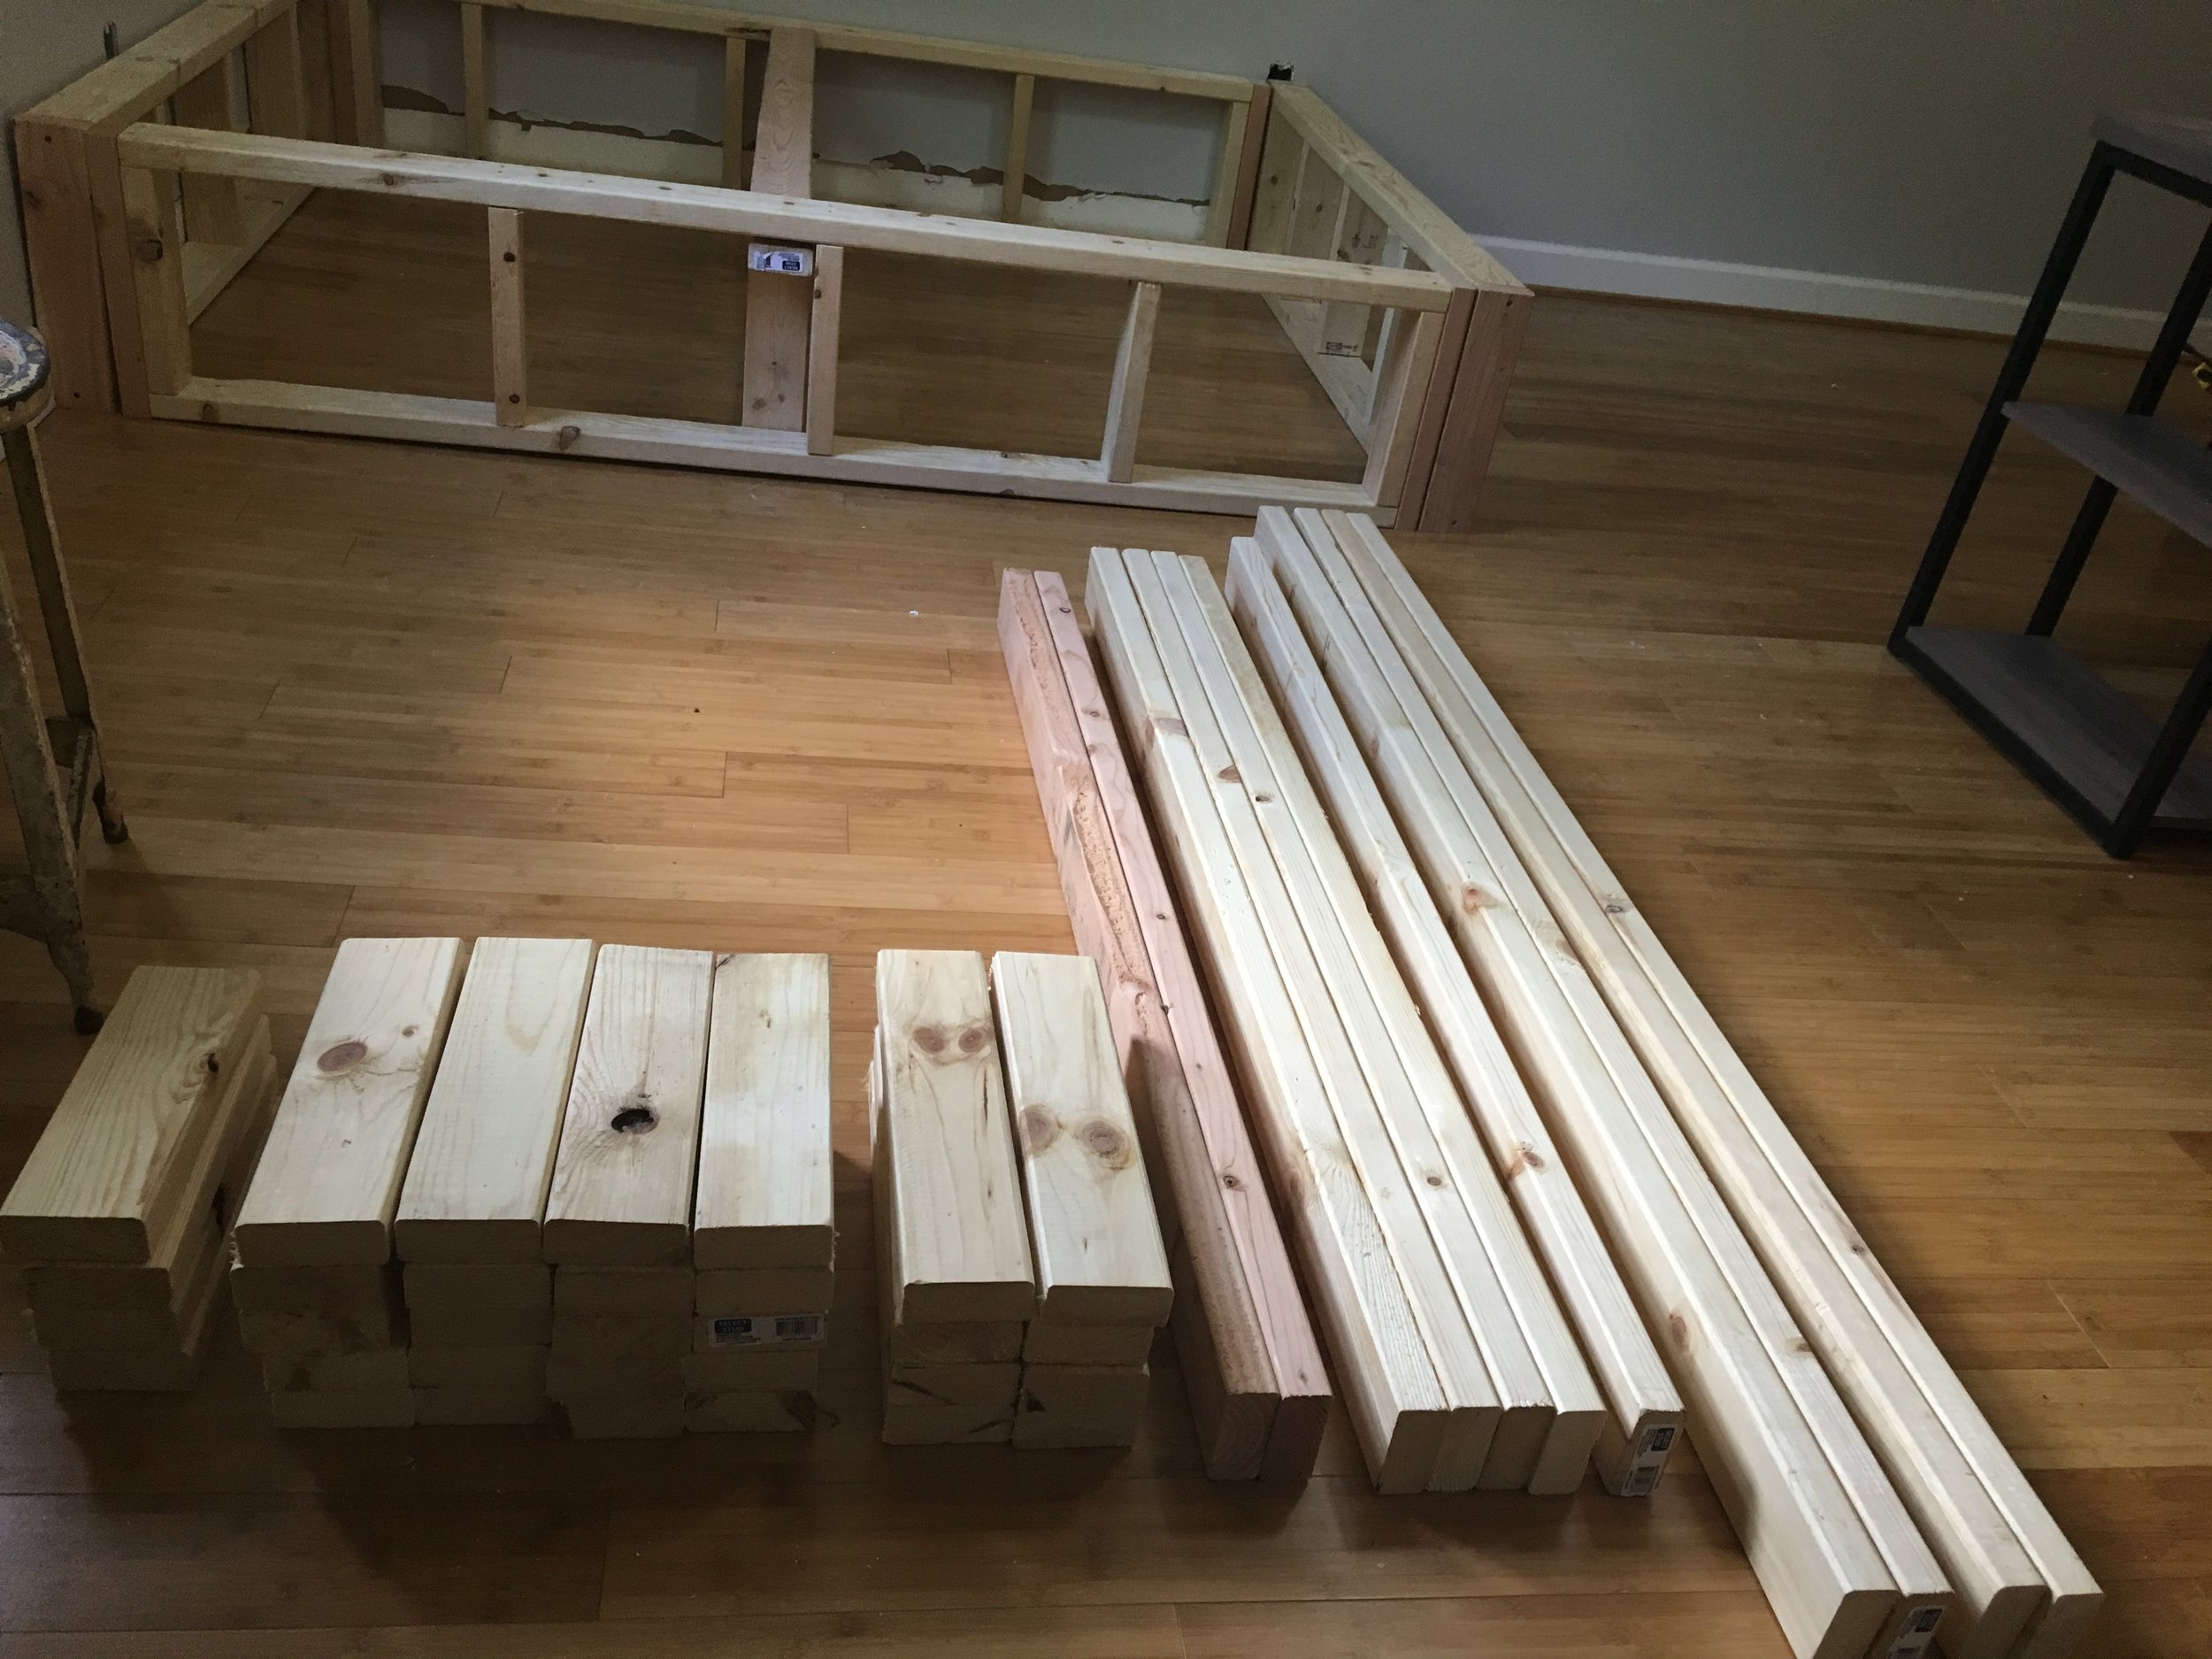
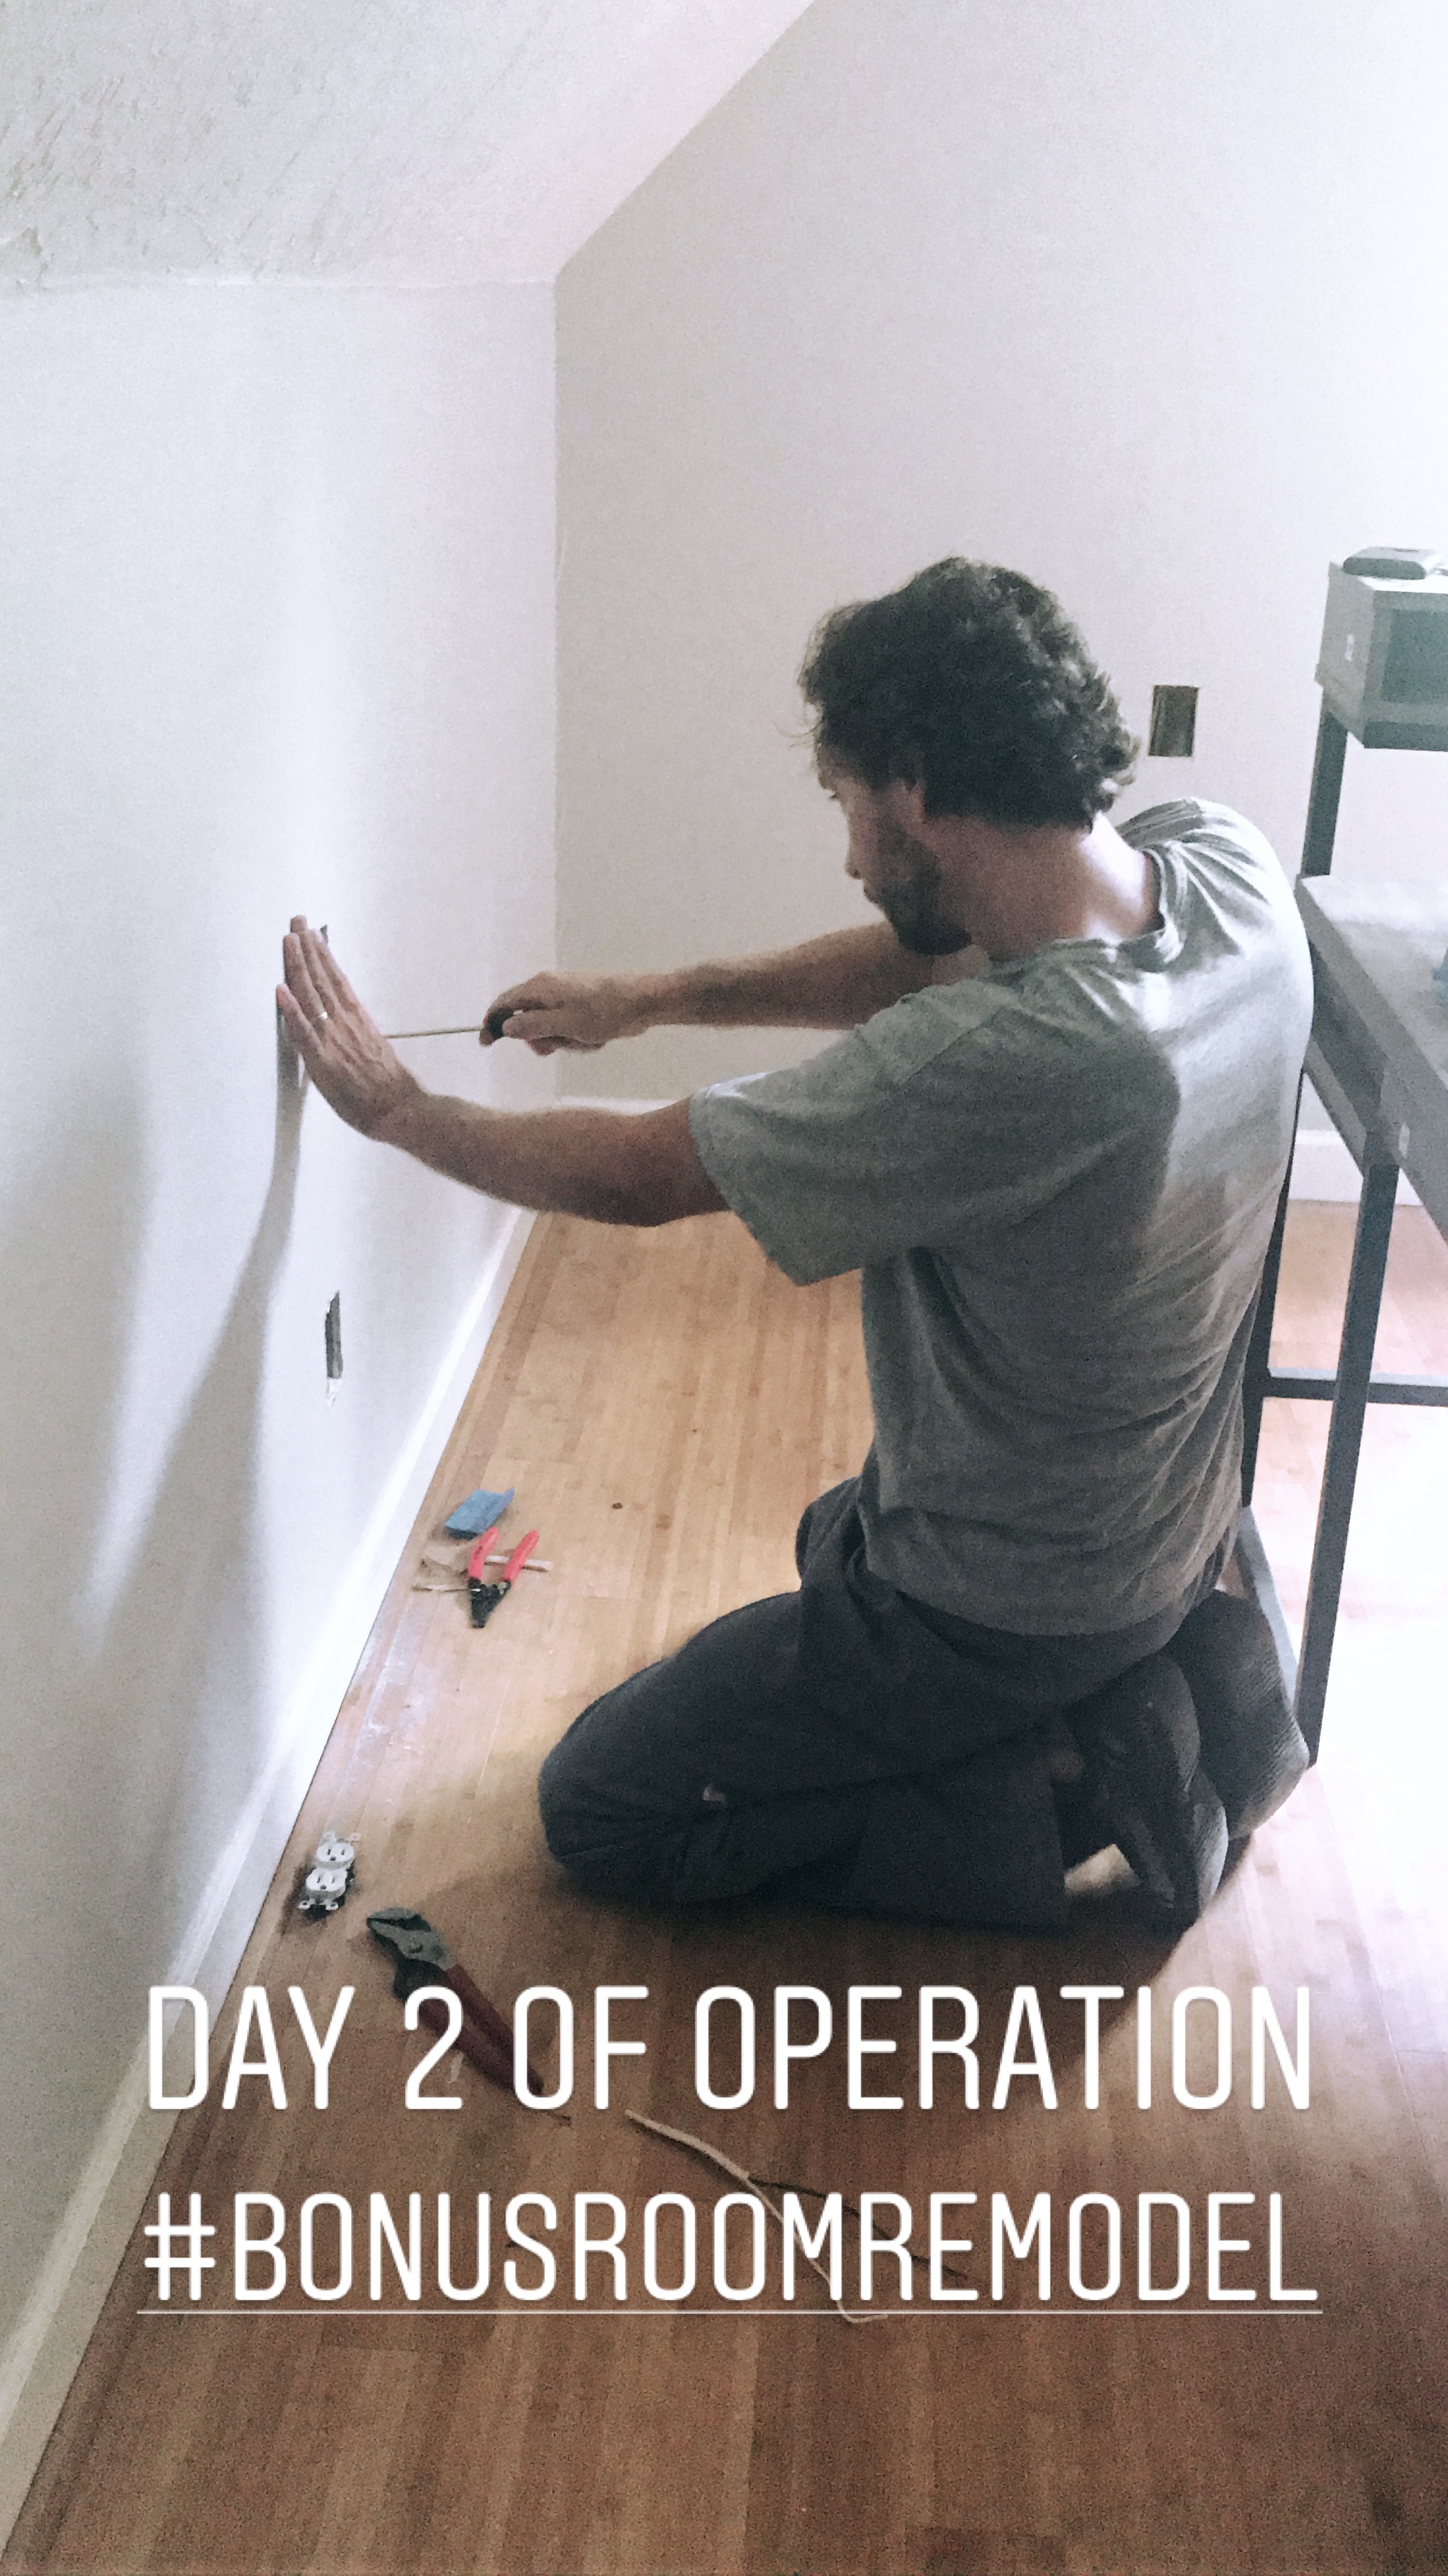
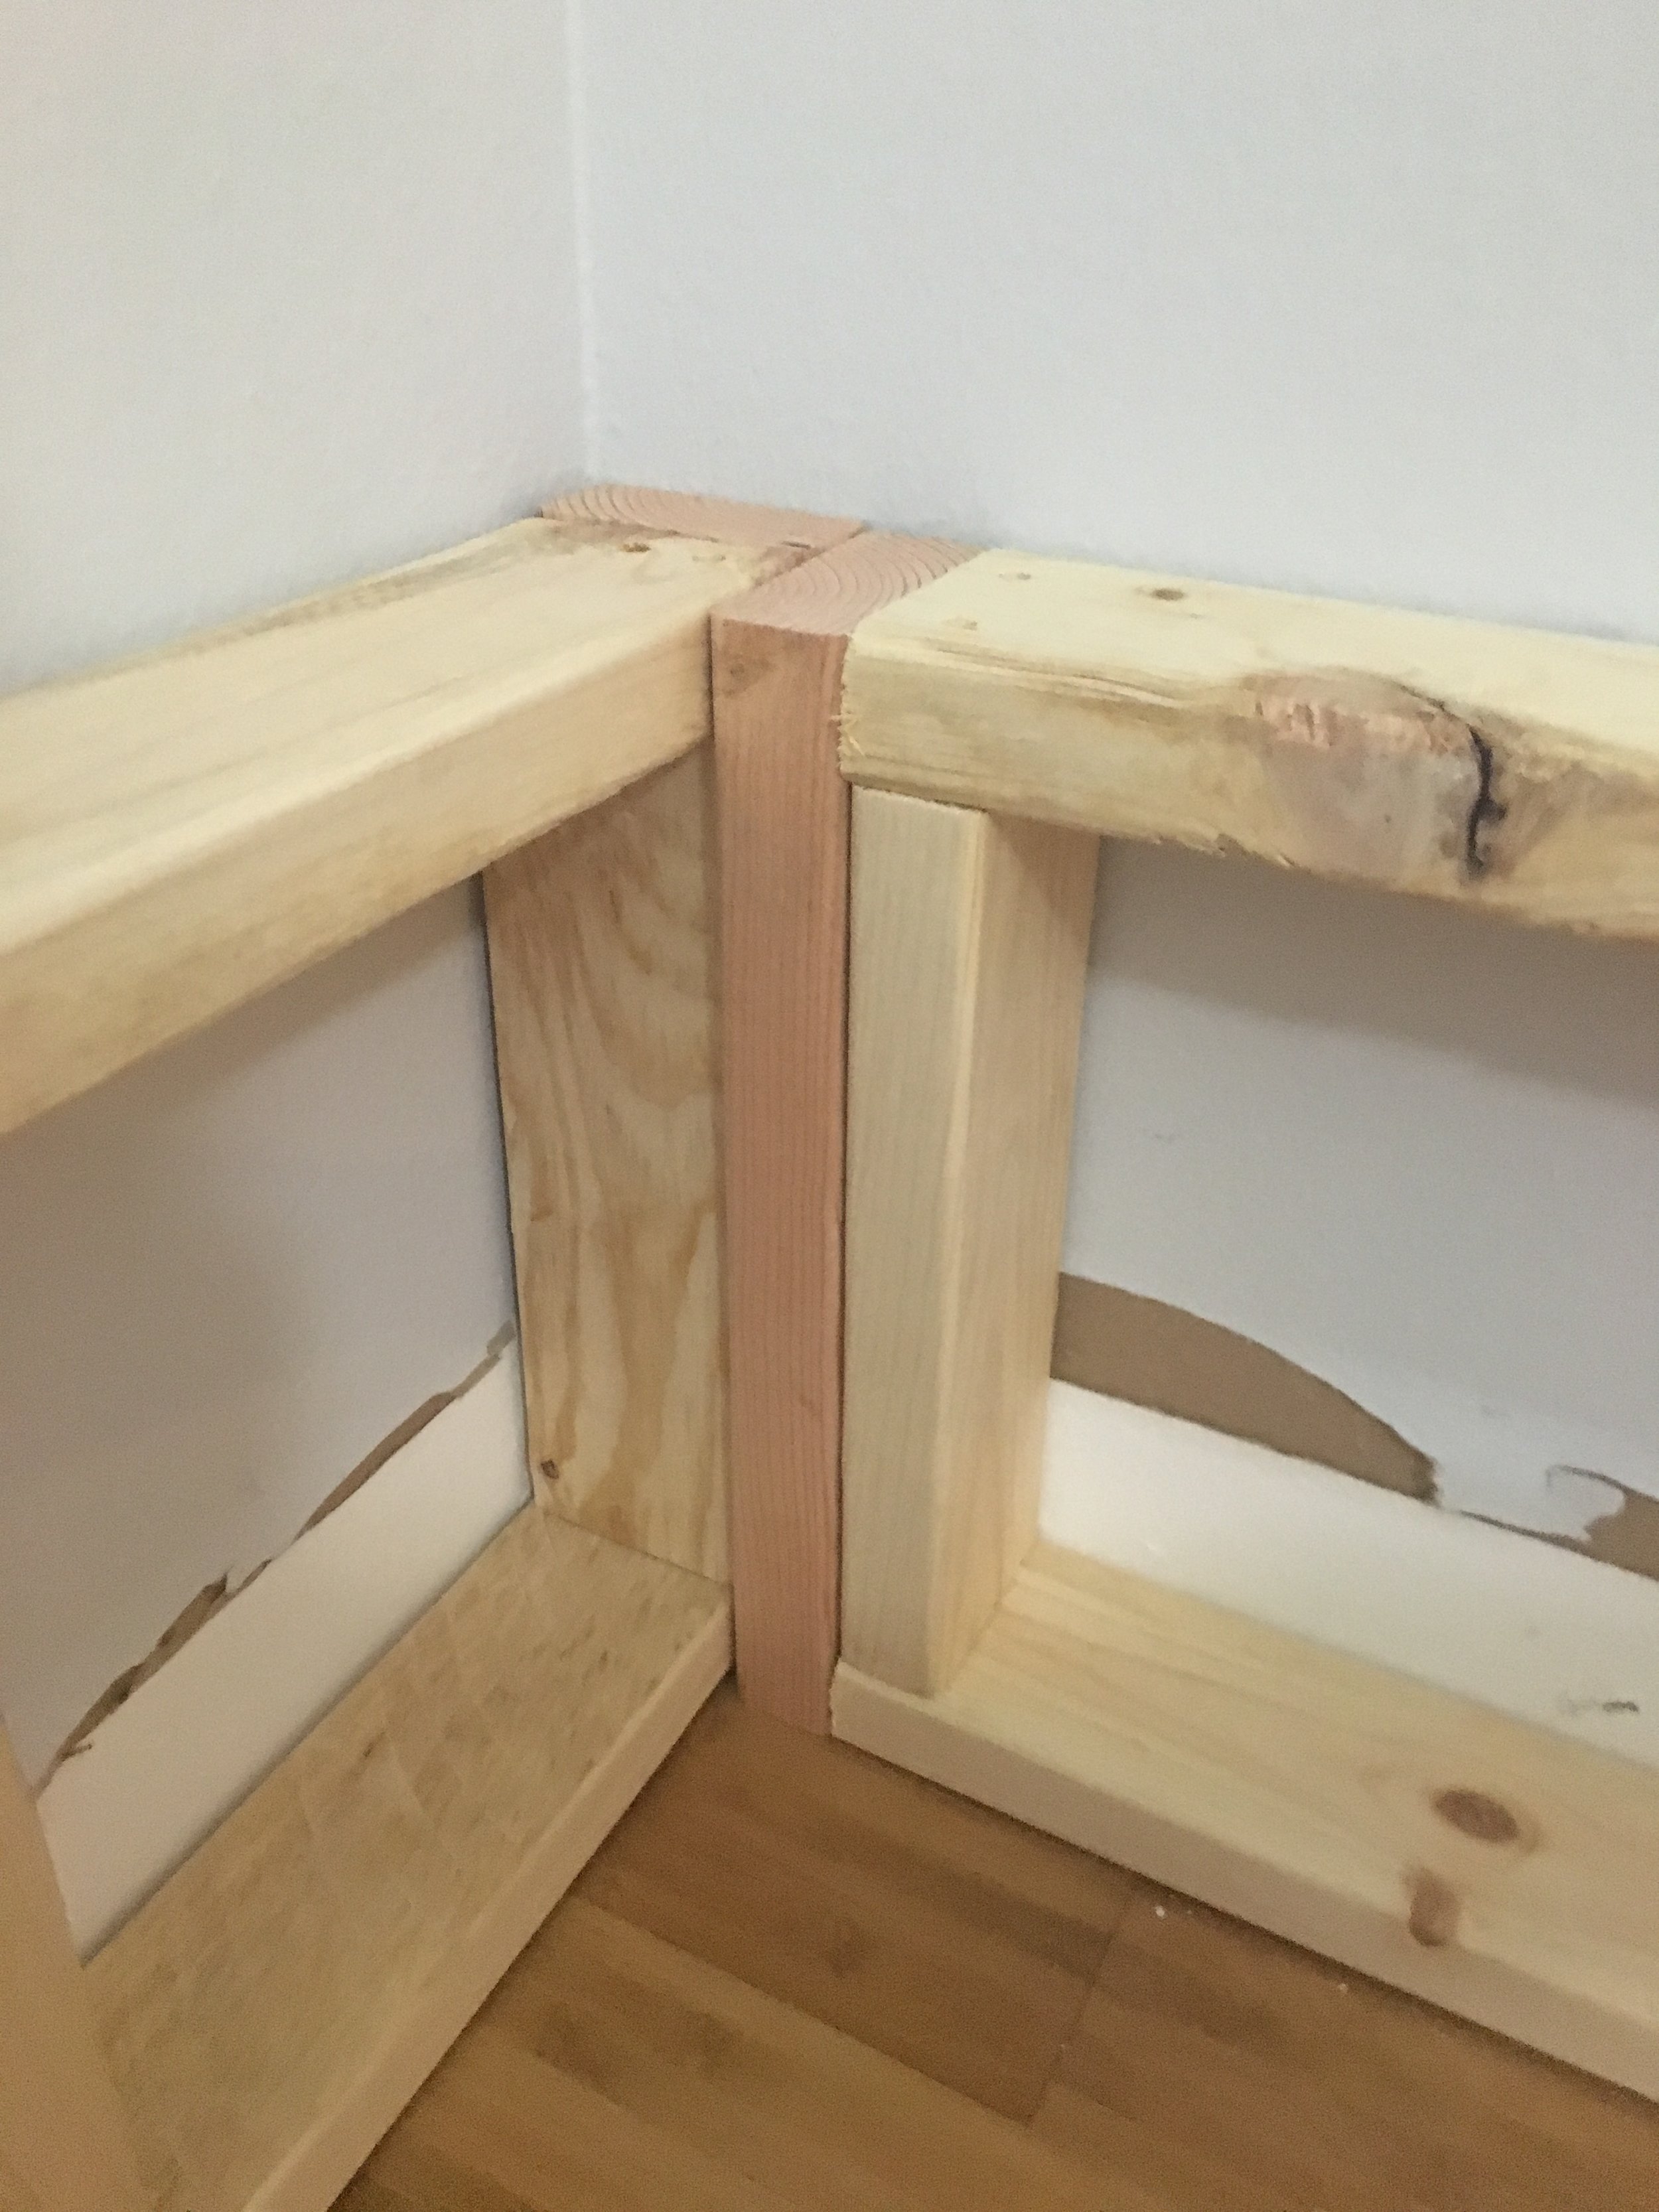
Josh was responsible for constructing the built-in beds. He’s a math genius (I’m not kidding) so he calculated exactly what needed to happen. This included what we needed to buy at Lowe’s, as well as how he was going to actually build the beds. We did have to make sure that he took into account the size of the mattresses we had chosen (more on that in a minute).
Josh installed the “built-in” sconces behind each bed. I use the term “built-in” loosely though-as they aren’t actually hard-wired in. I used a trick I learned on Nesting with Grace to have the look of a built-in sconce without having the hassle of having to go into the walls to hard-wire it.
I got the fun job of getting to decorate the space! I knew I wanted crisp white duvets with some navy blue accents. So, over the next few months, I searched for the best products at the best price. I’ll share sources on everything below.
Remodel in progress!


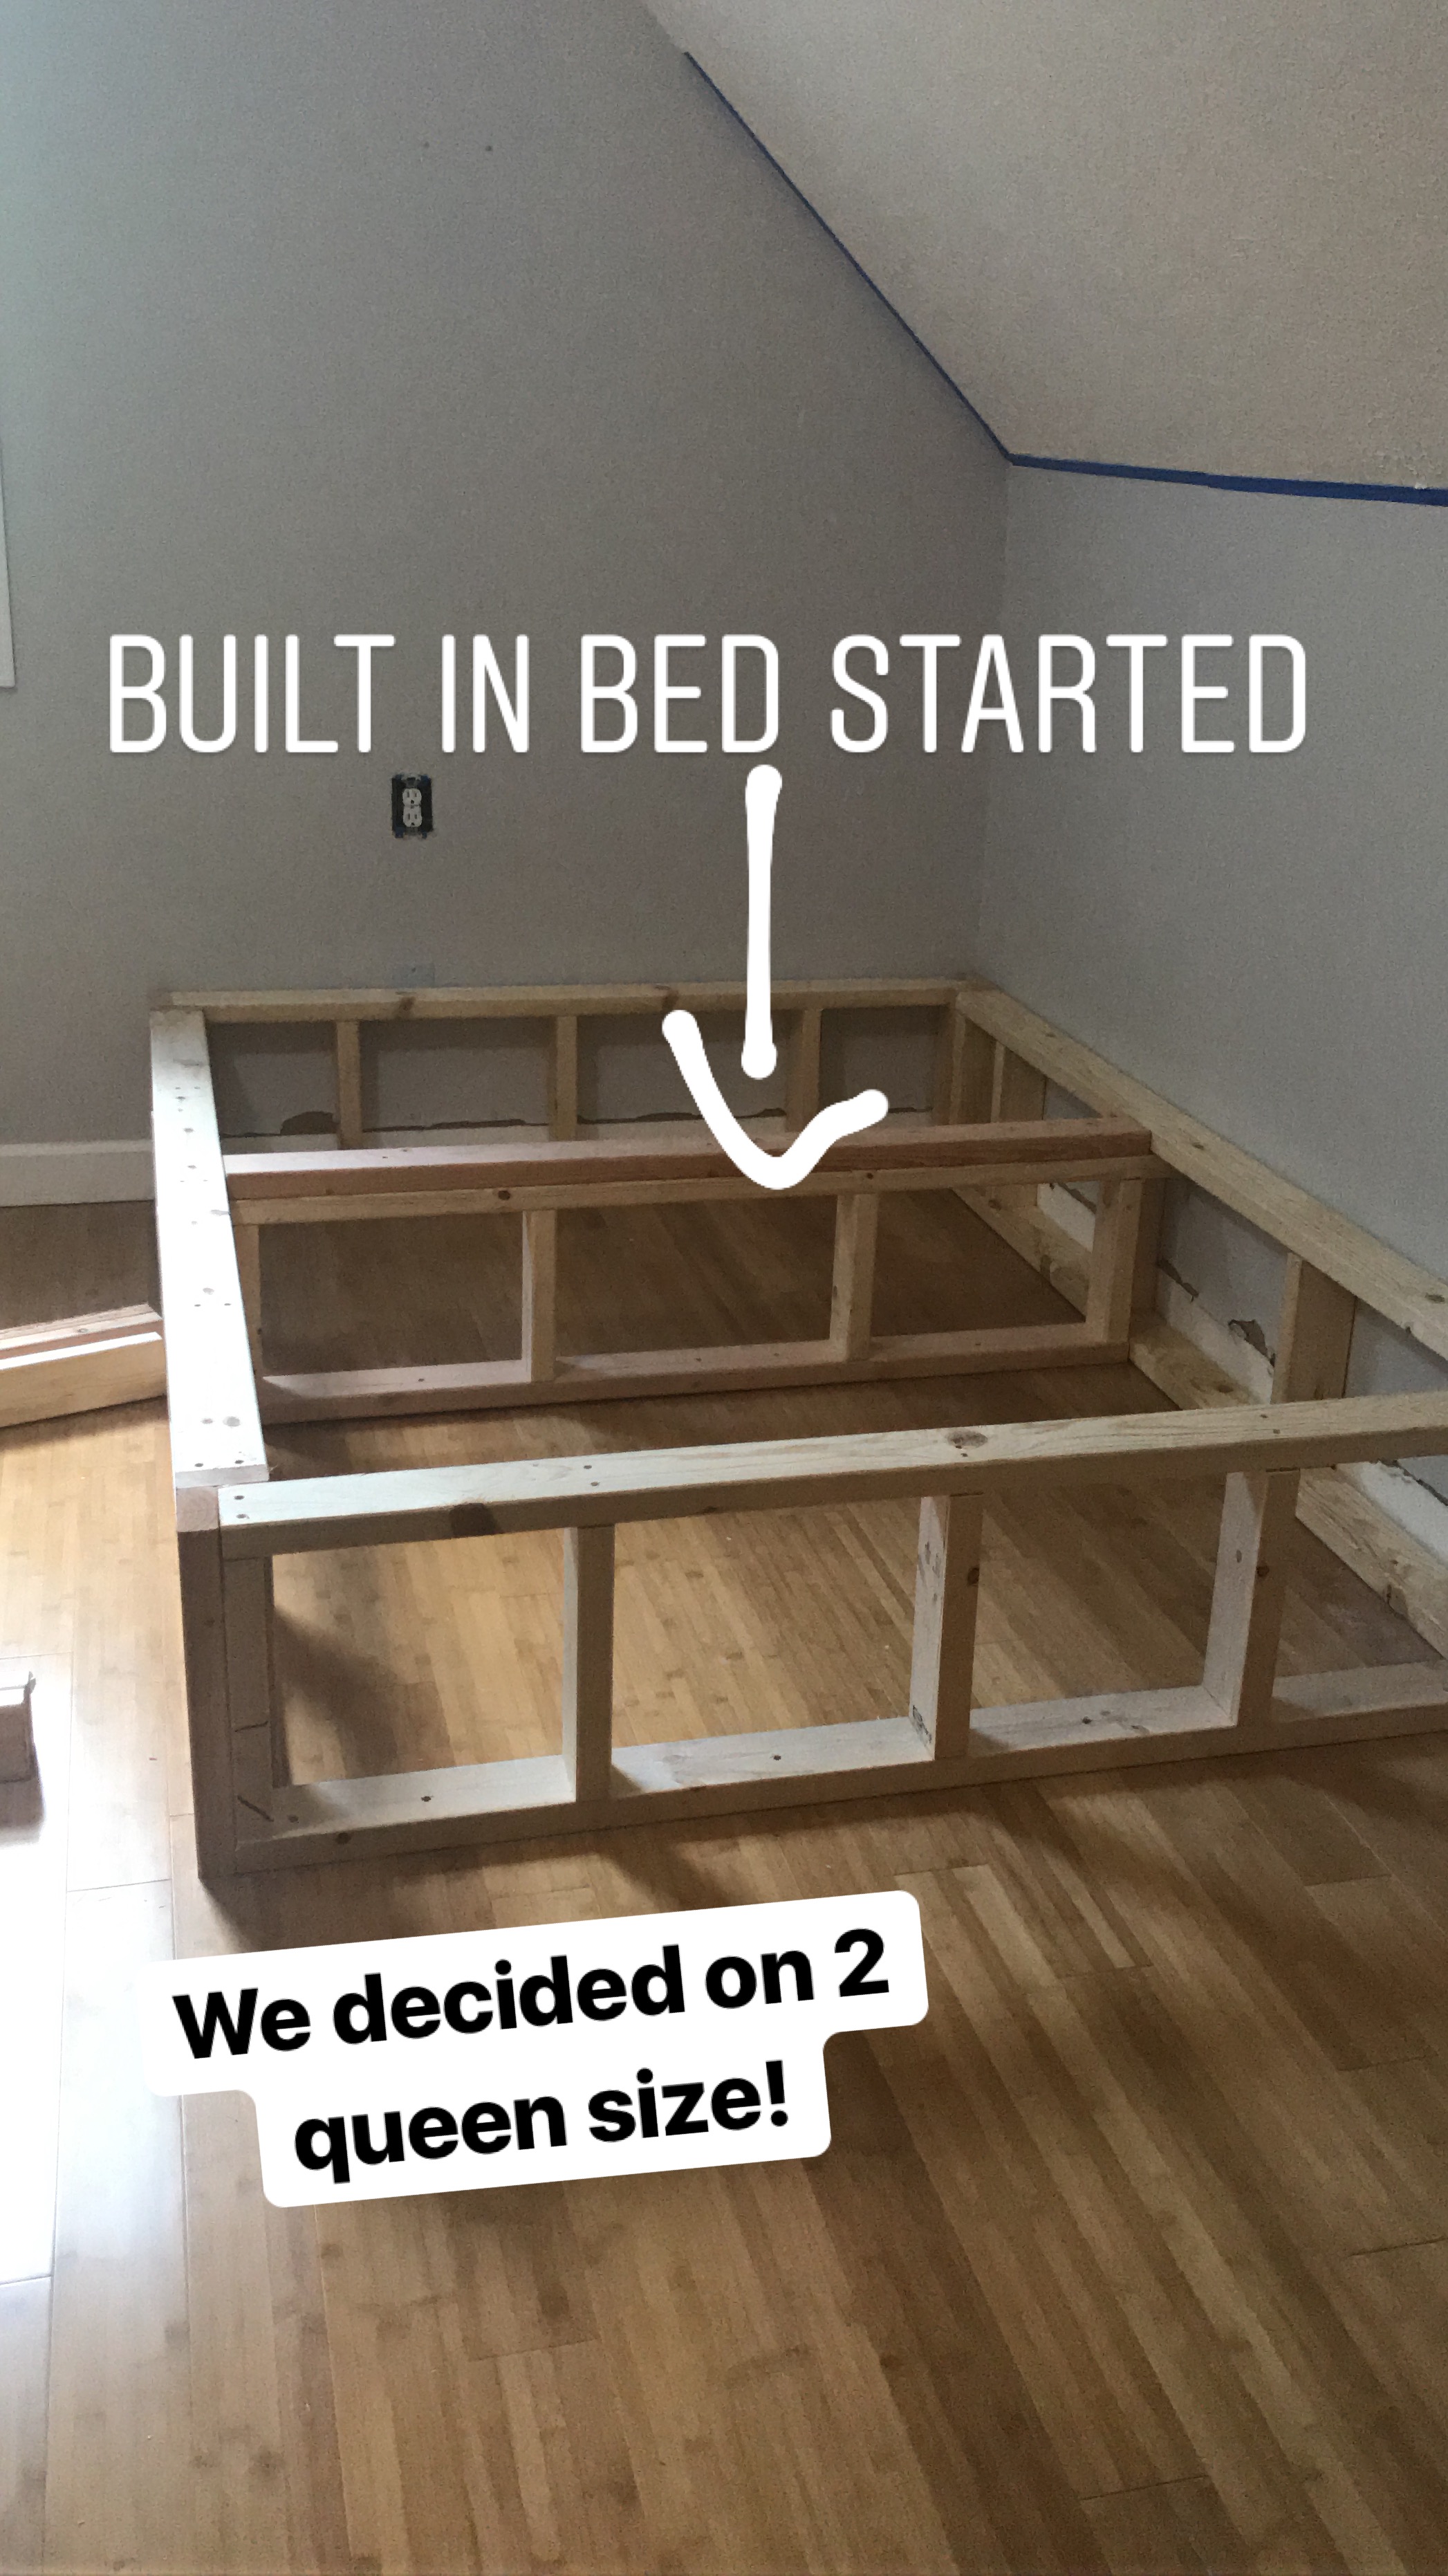
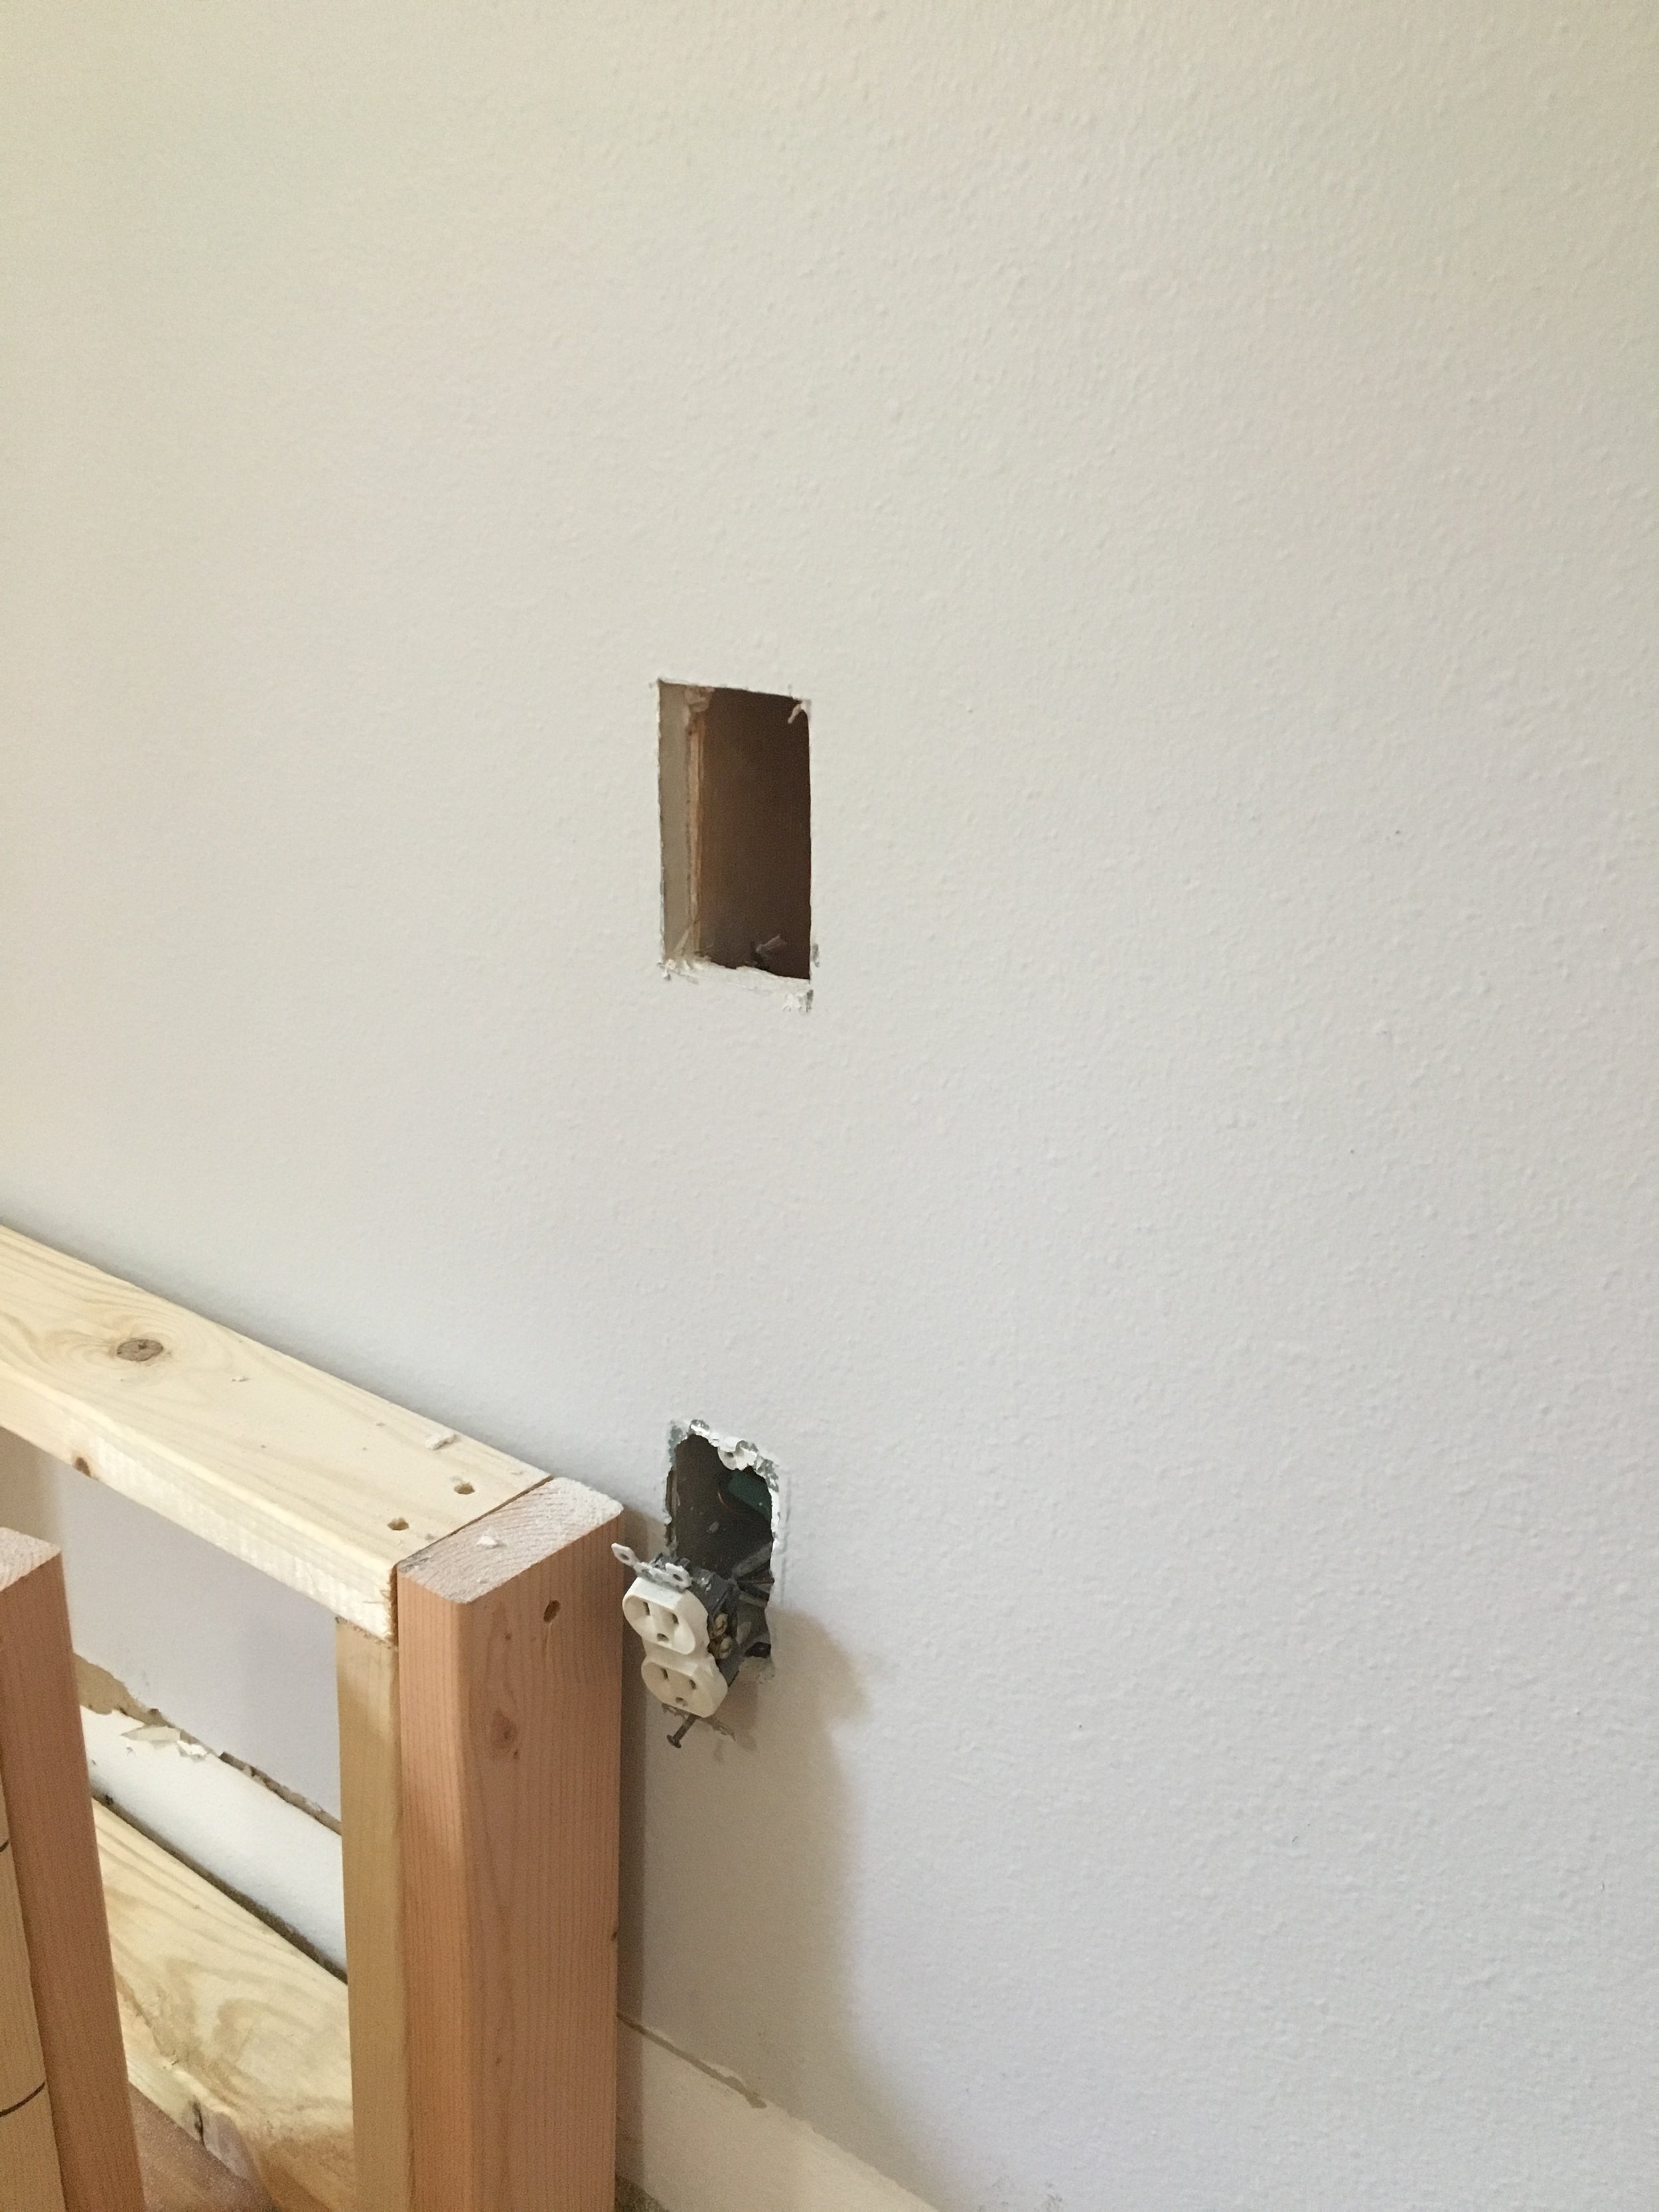
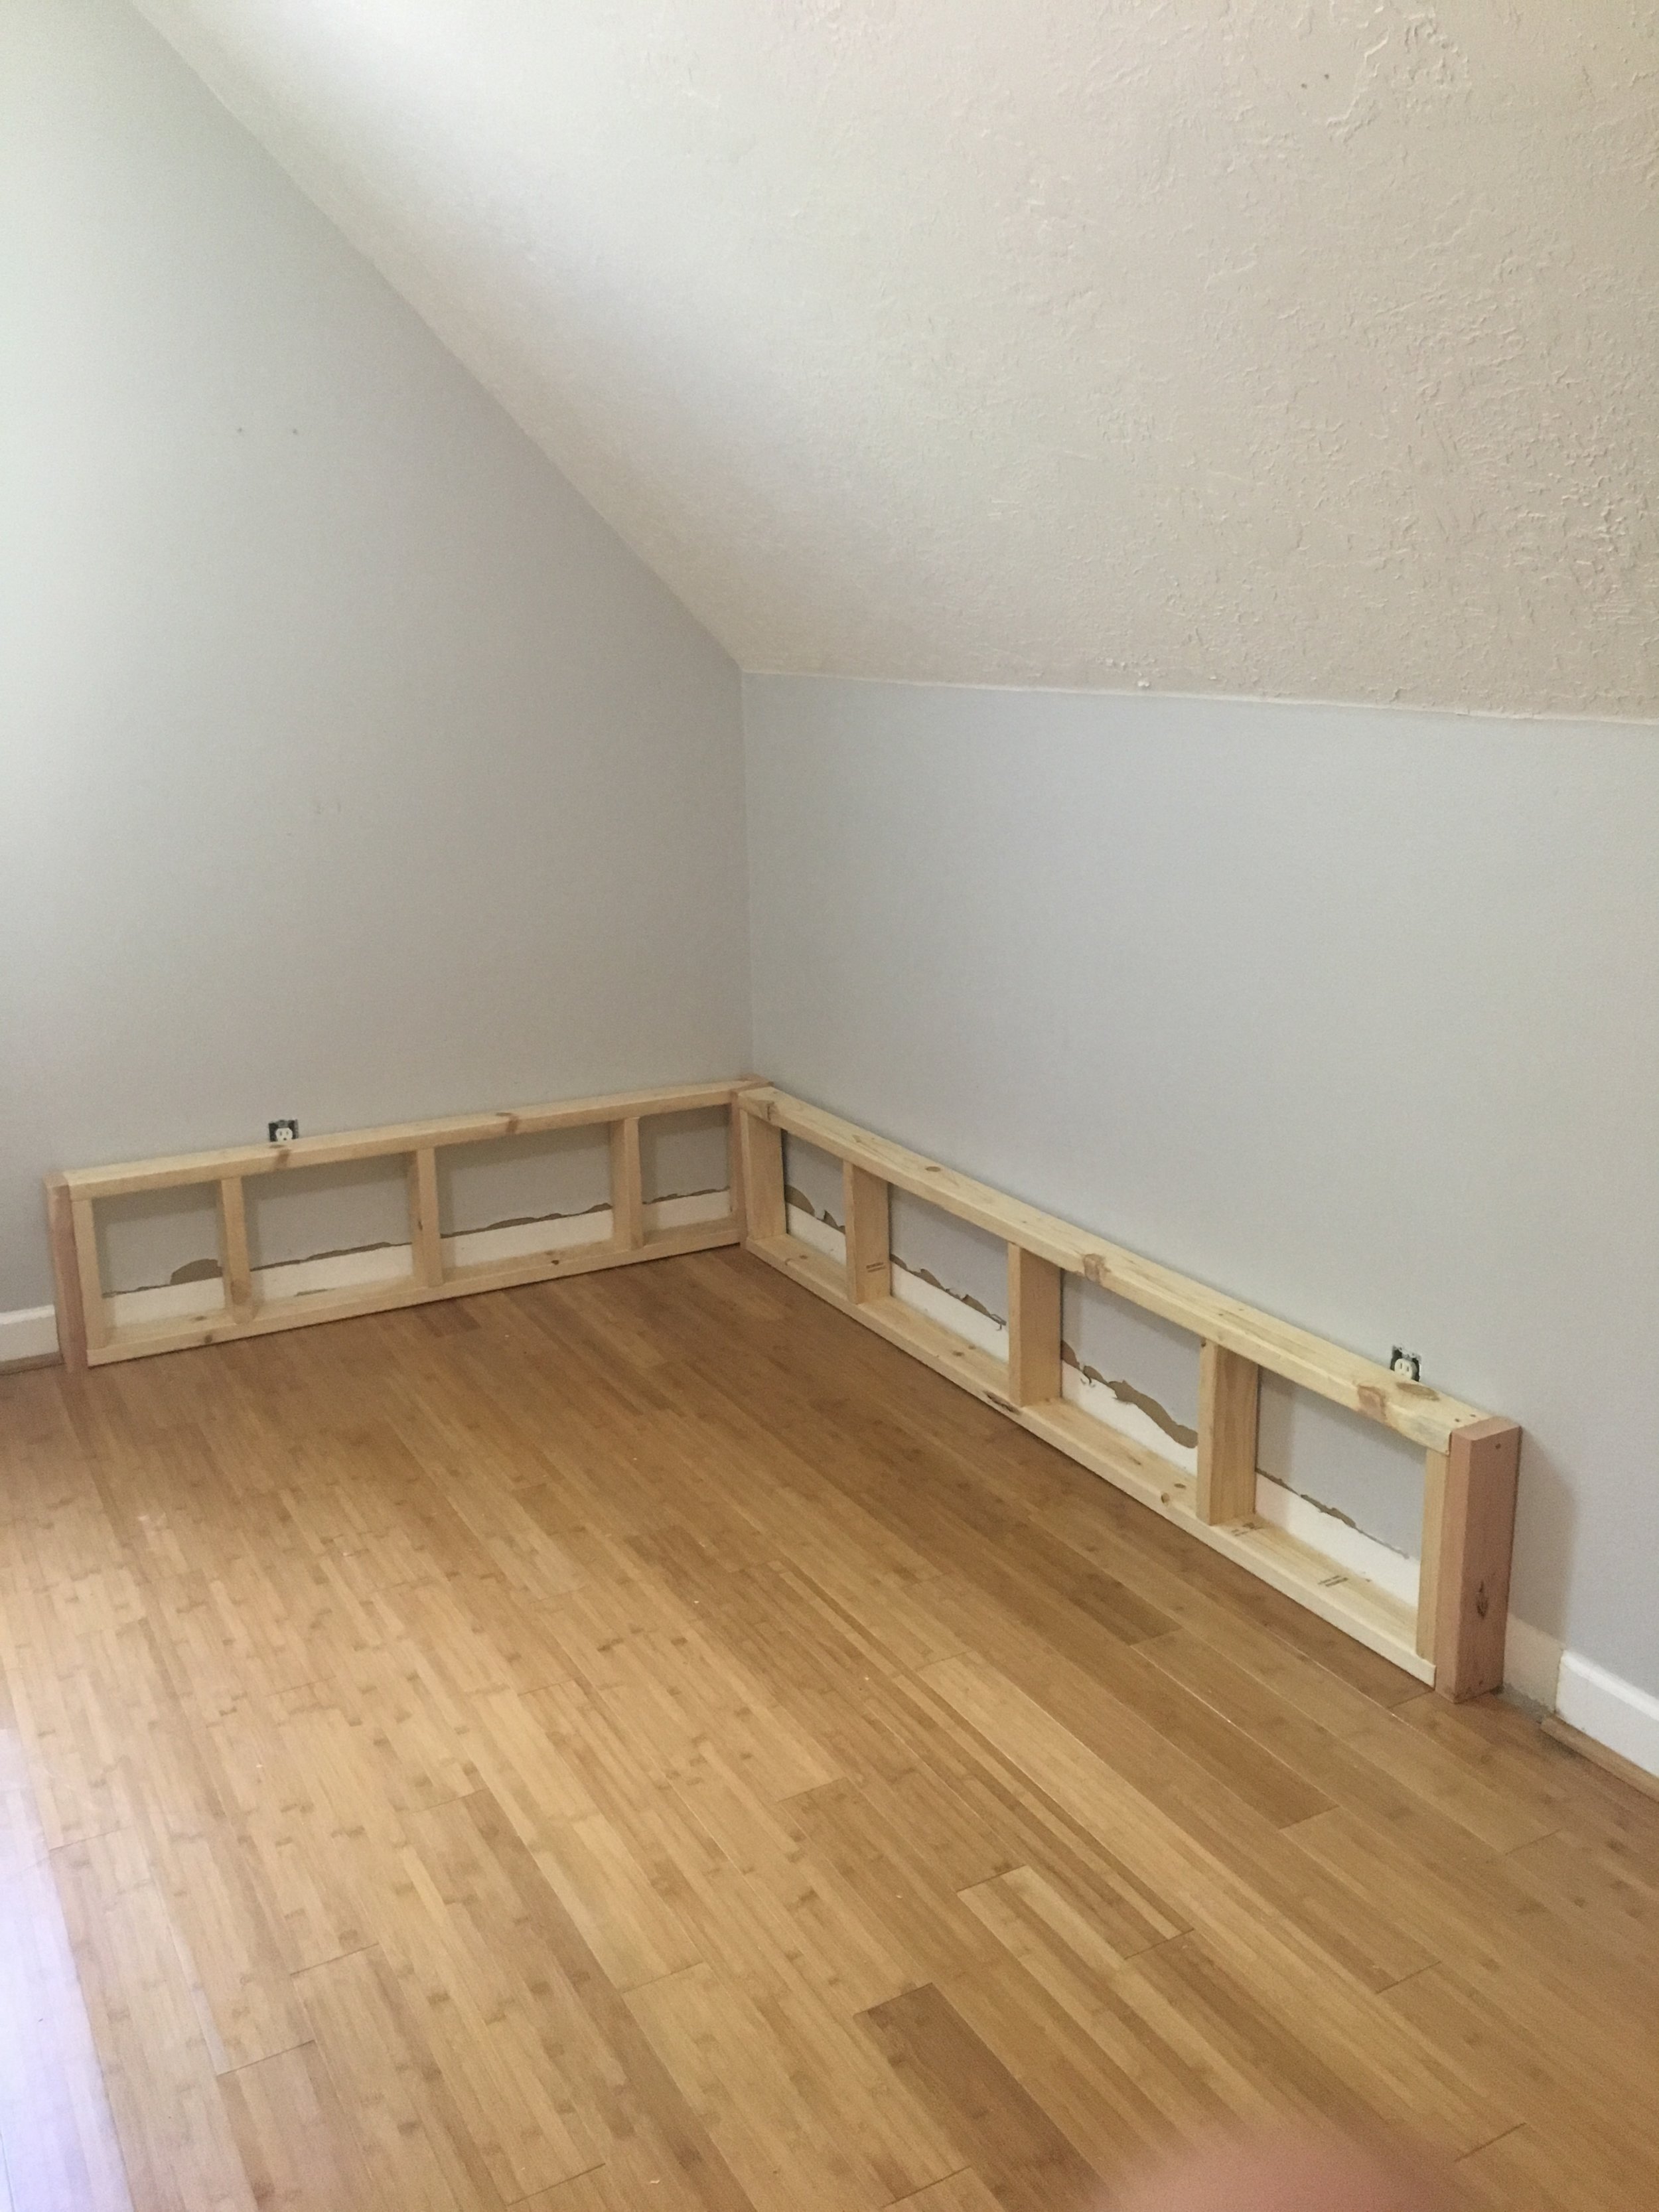

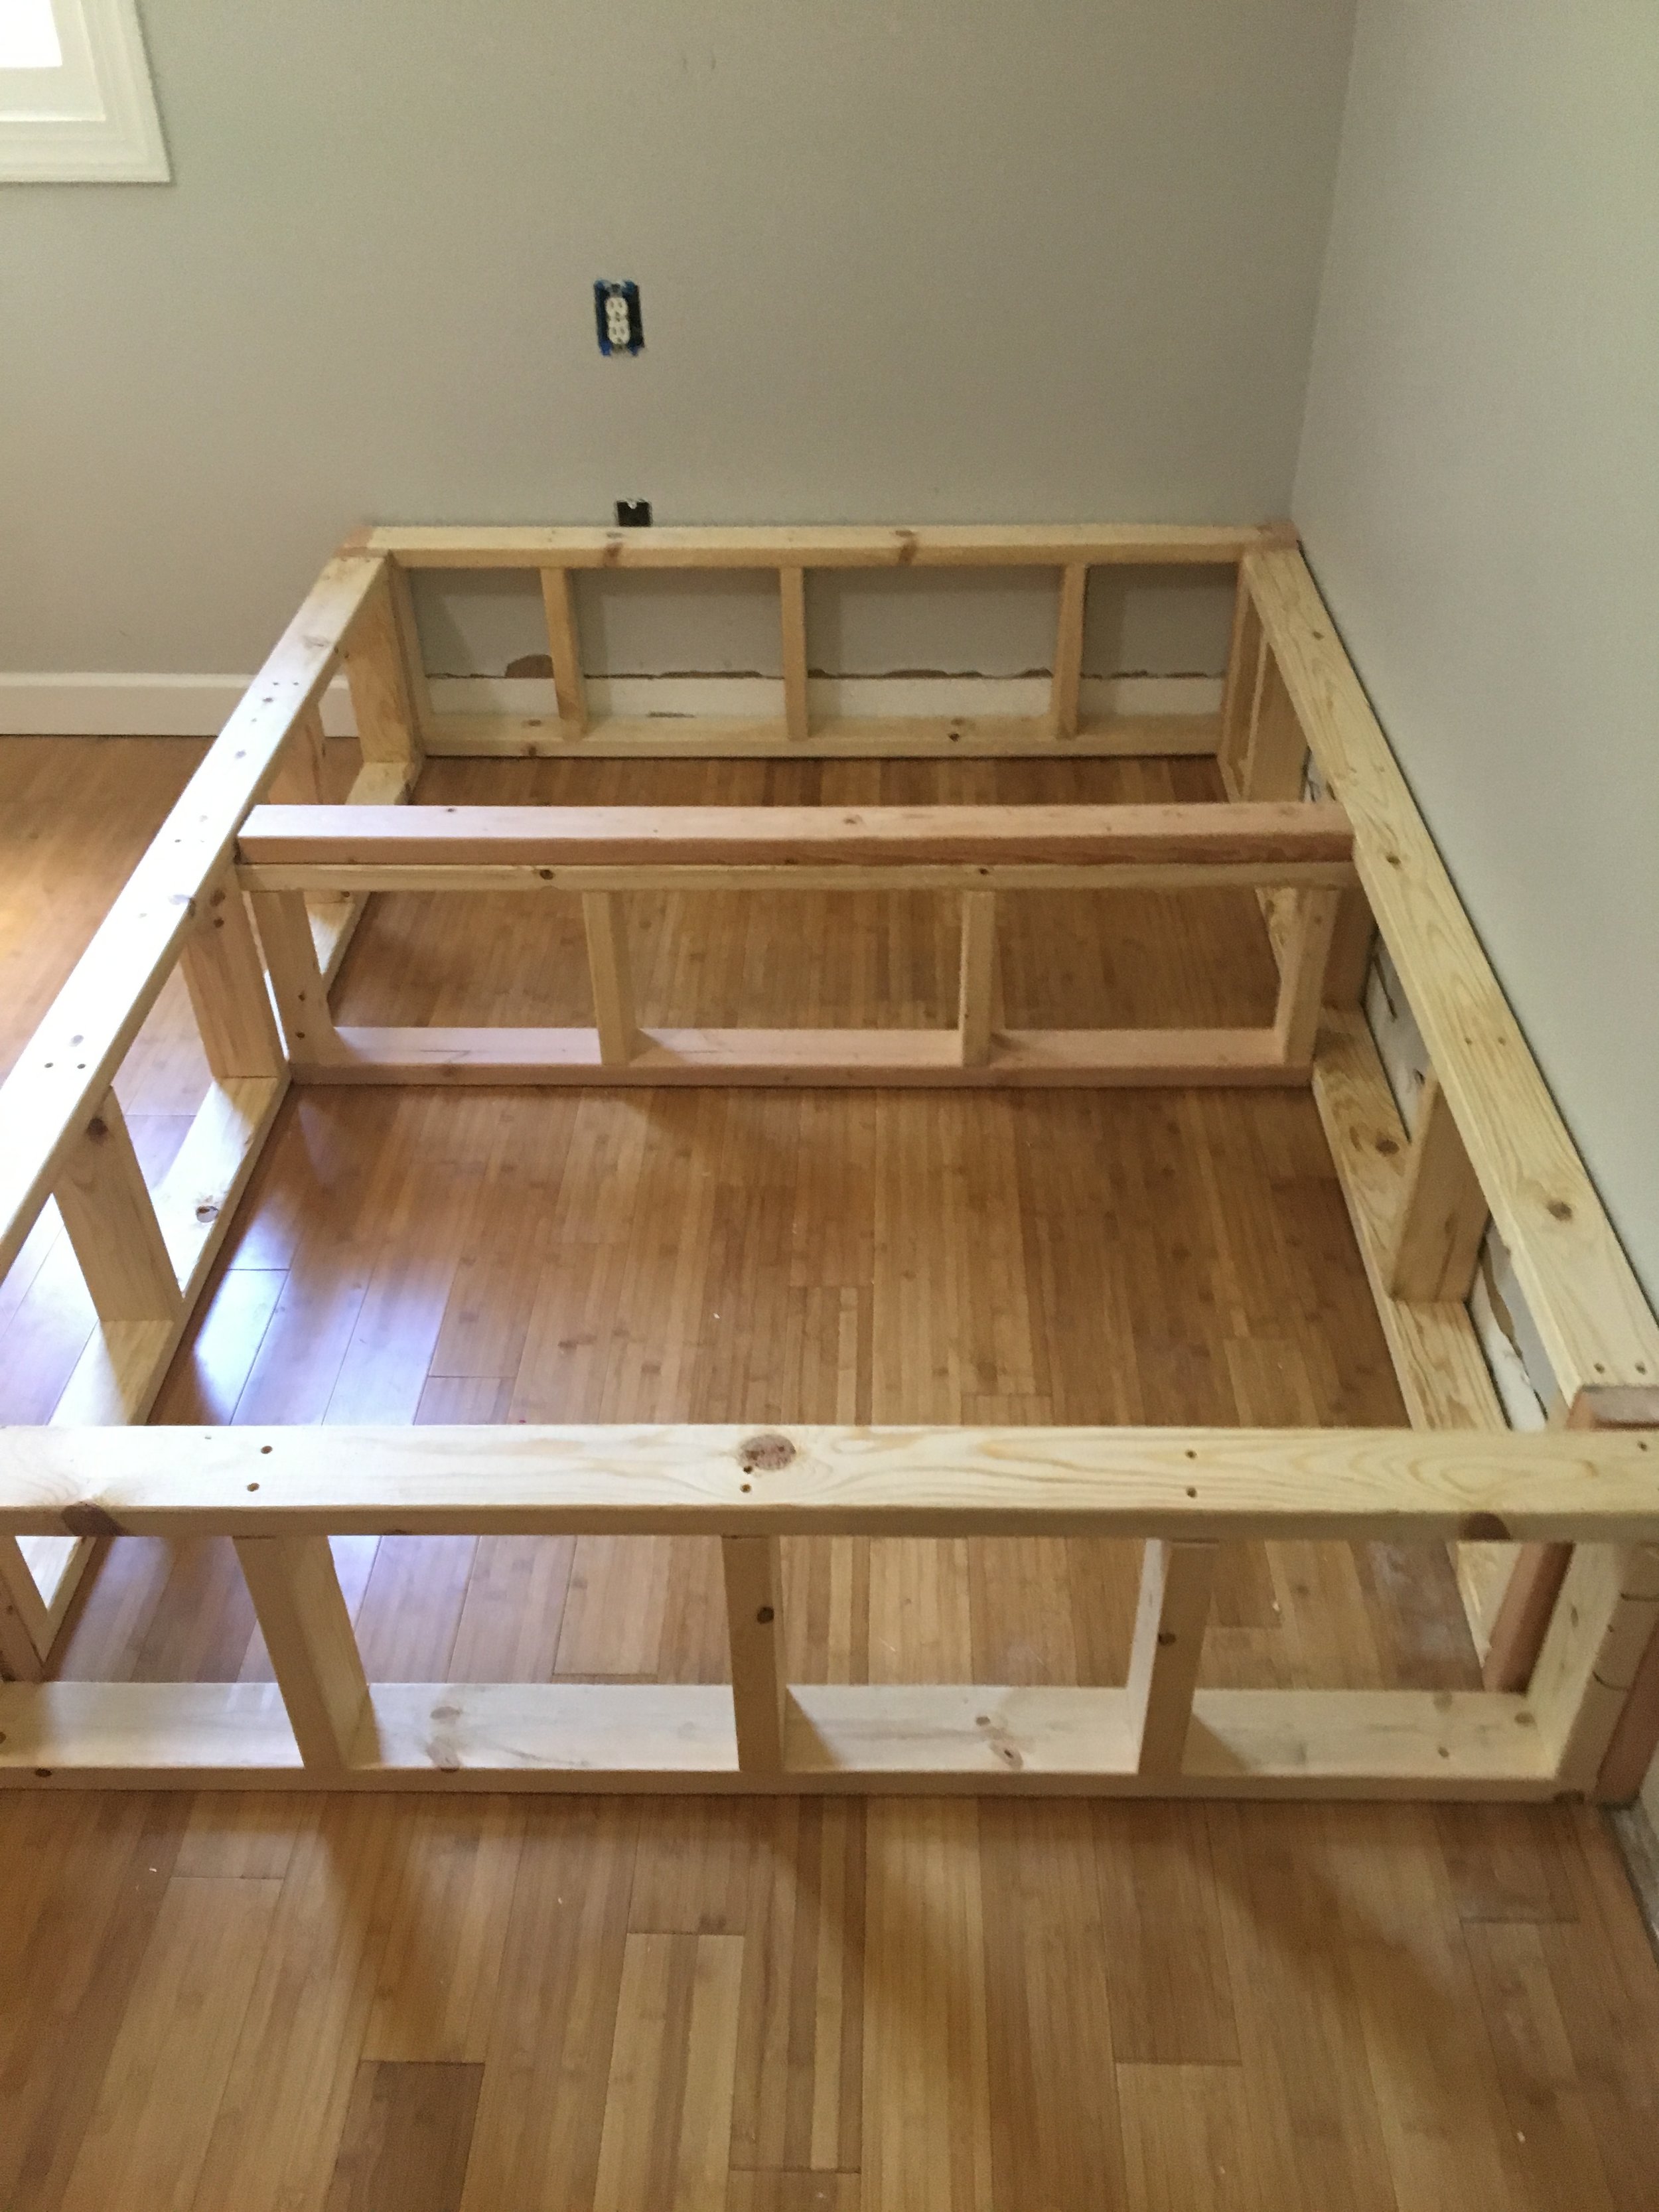
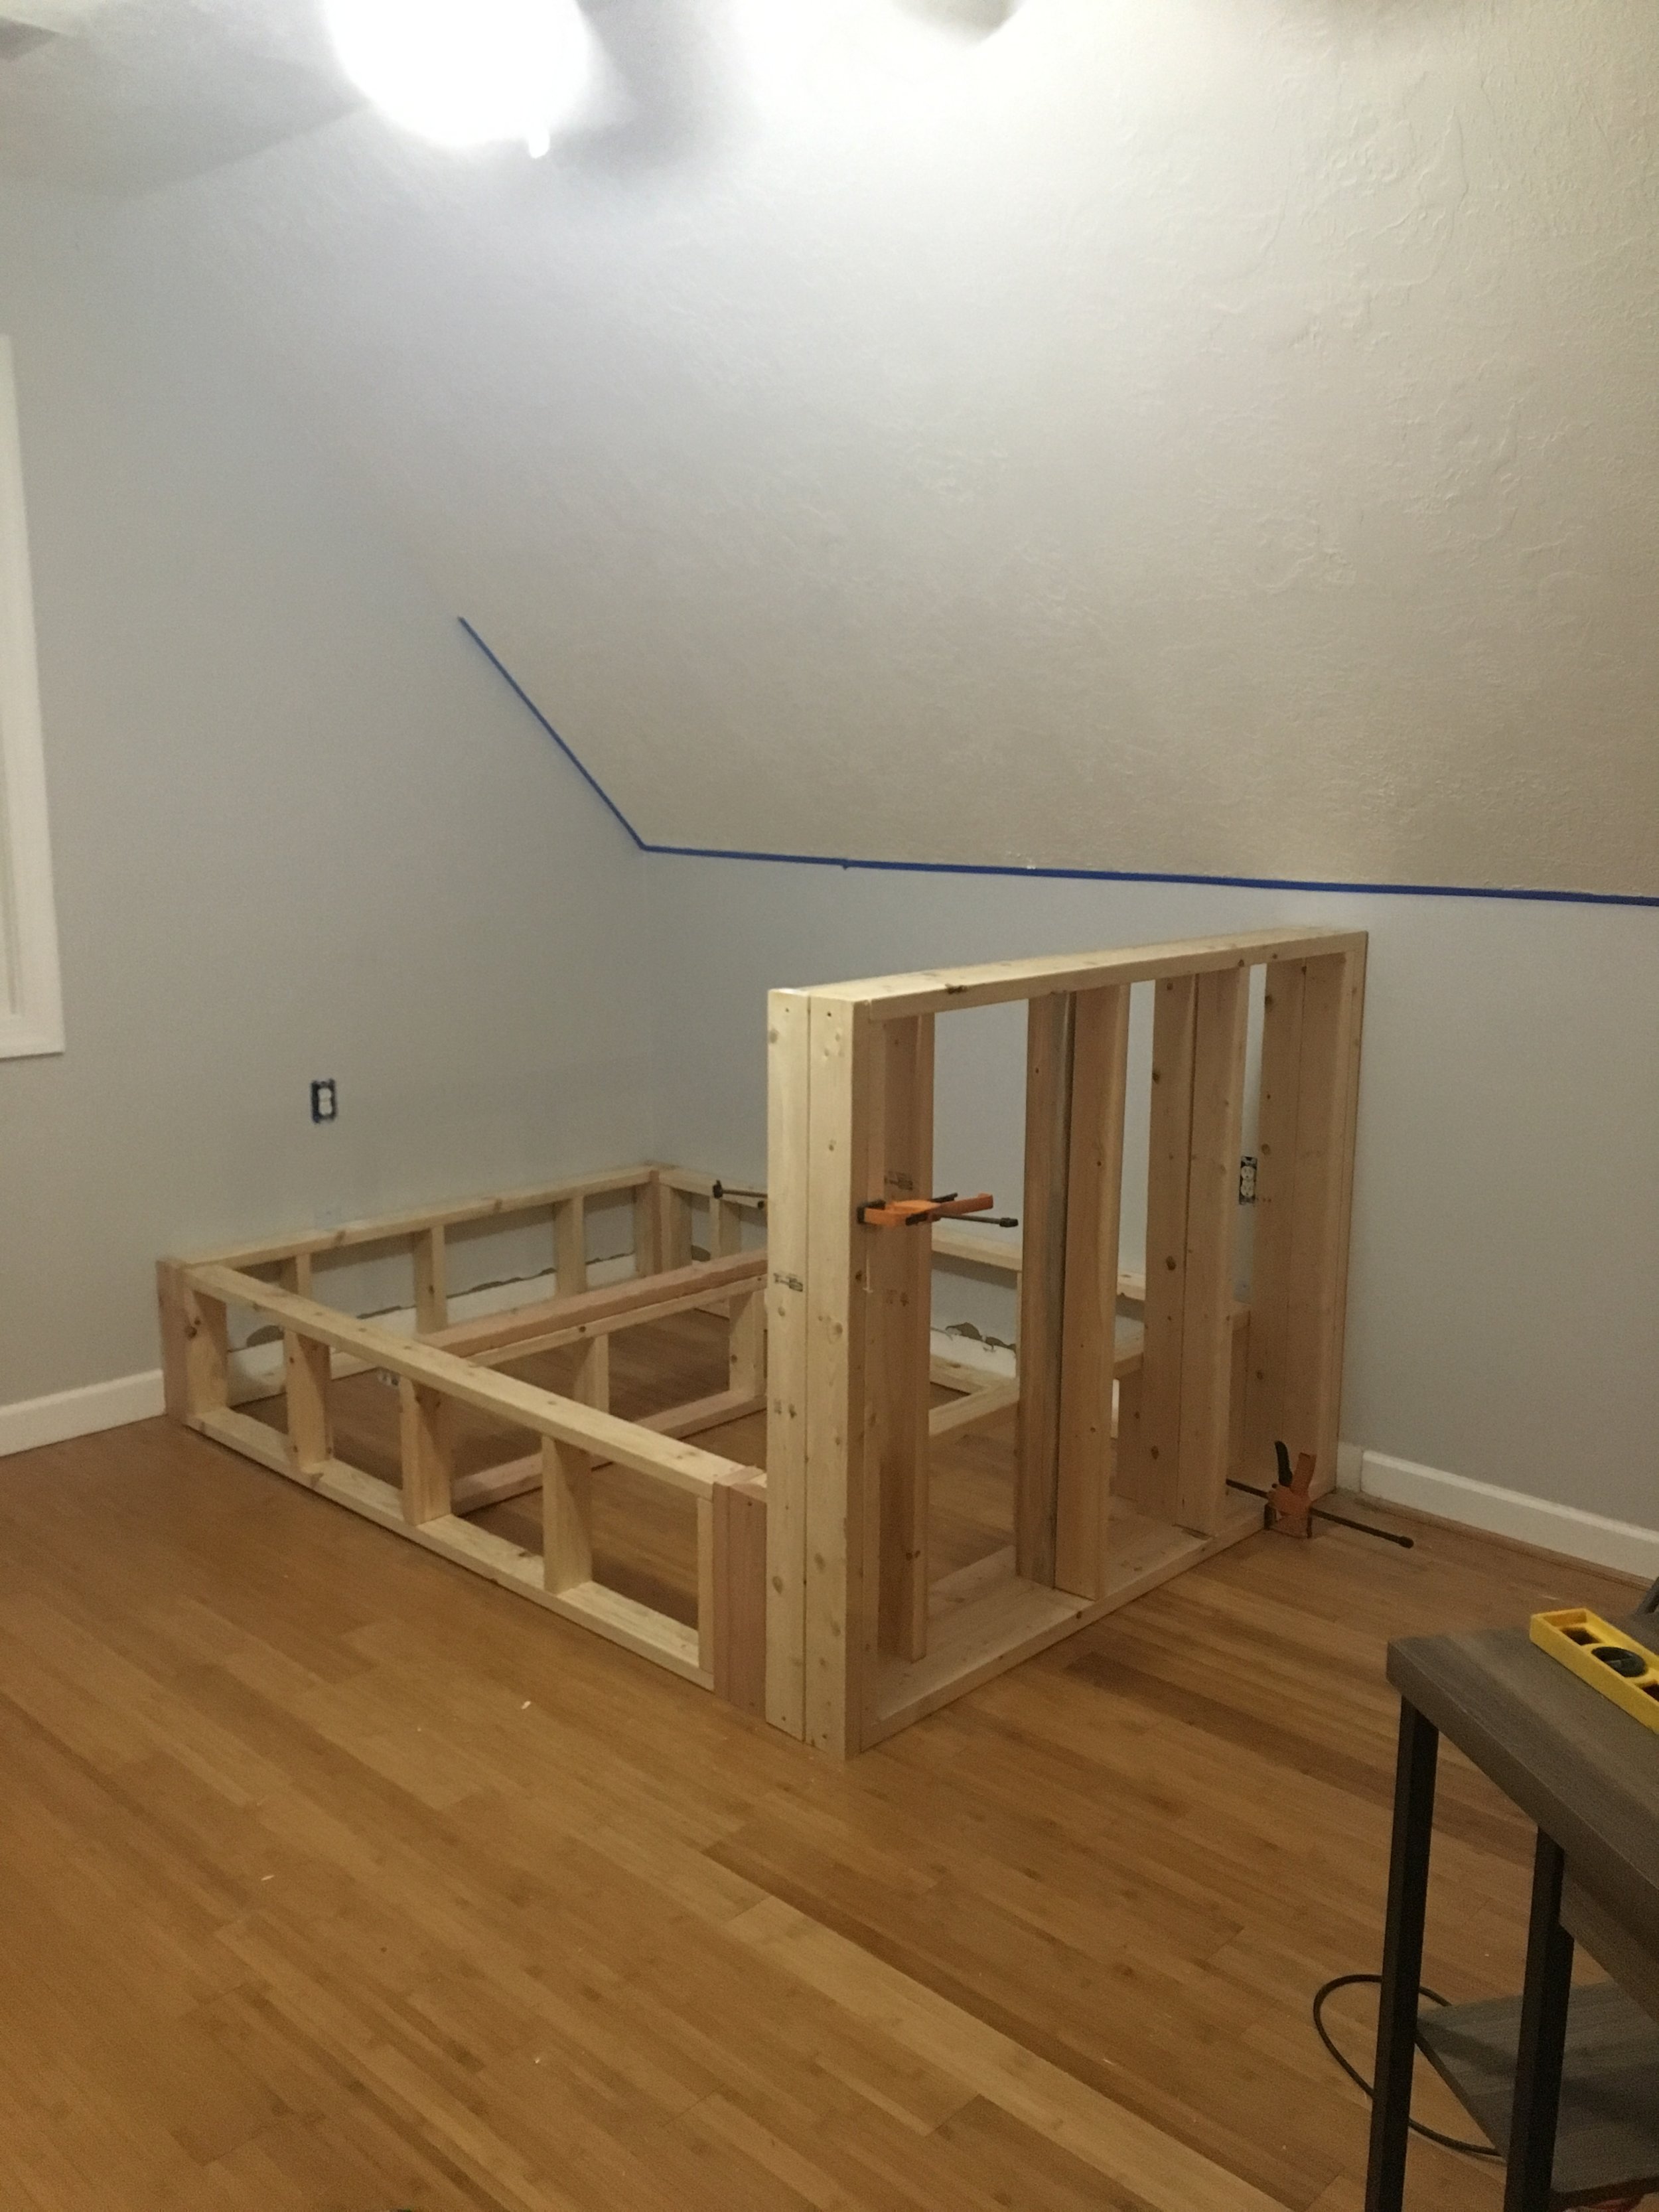
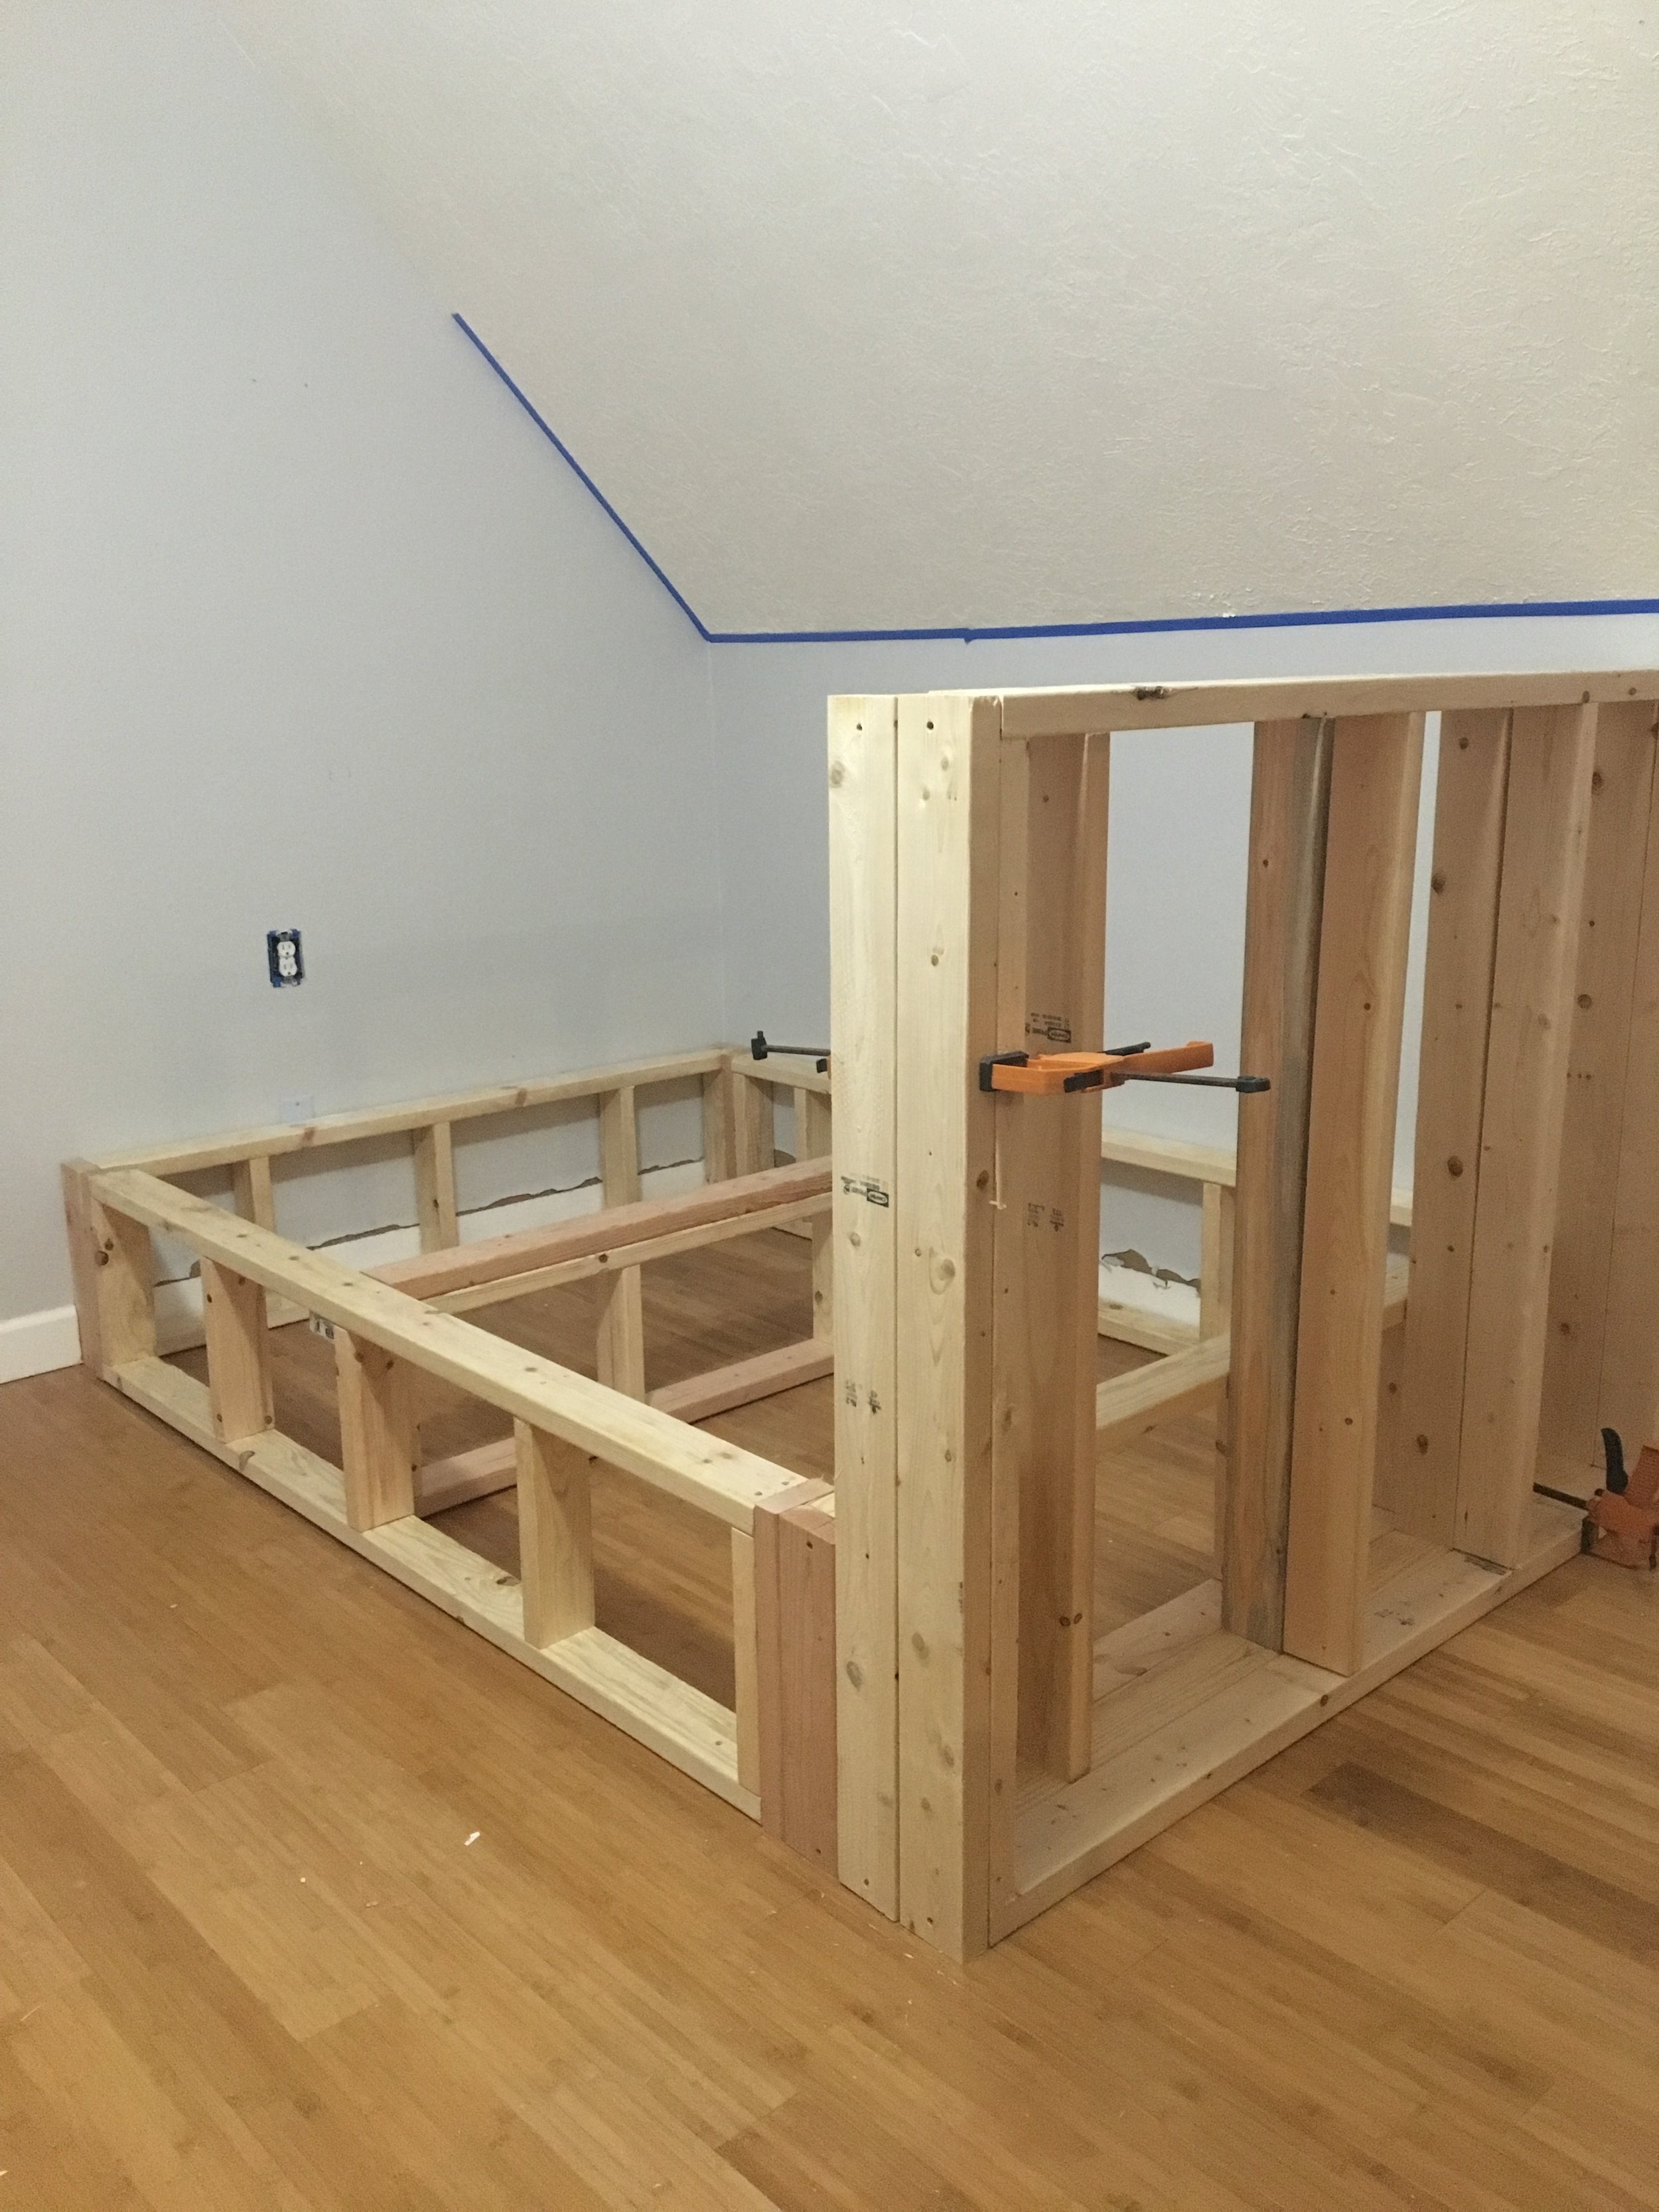
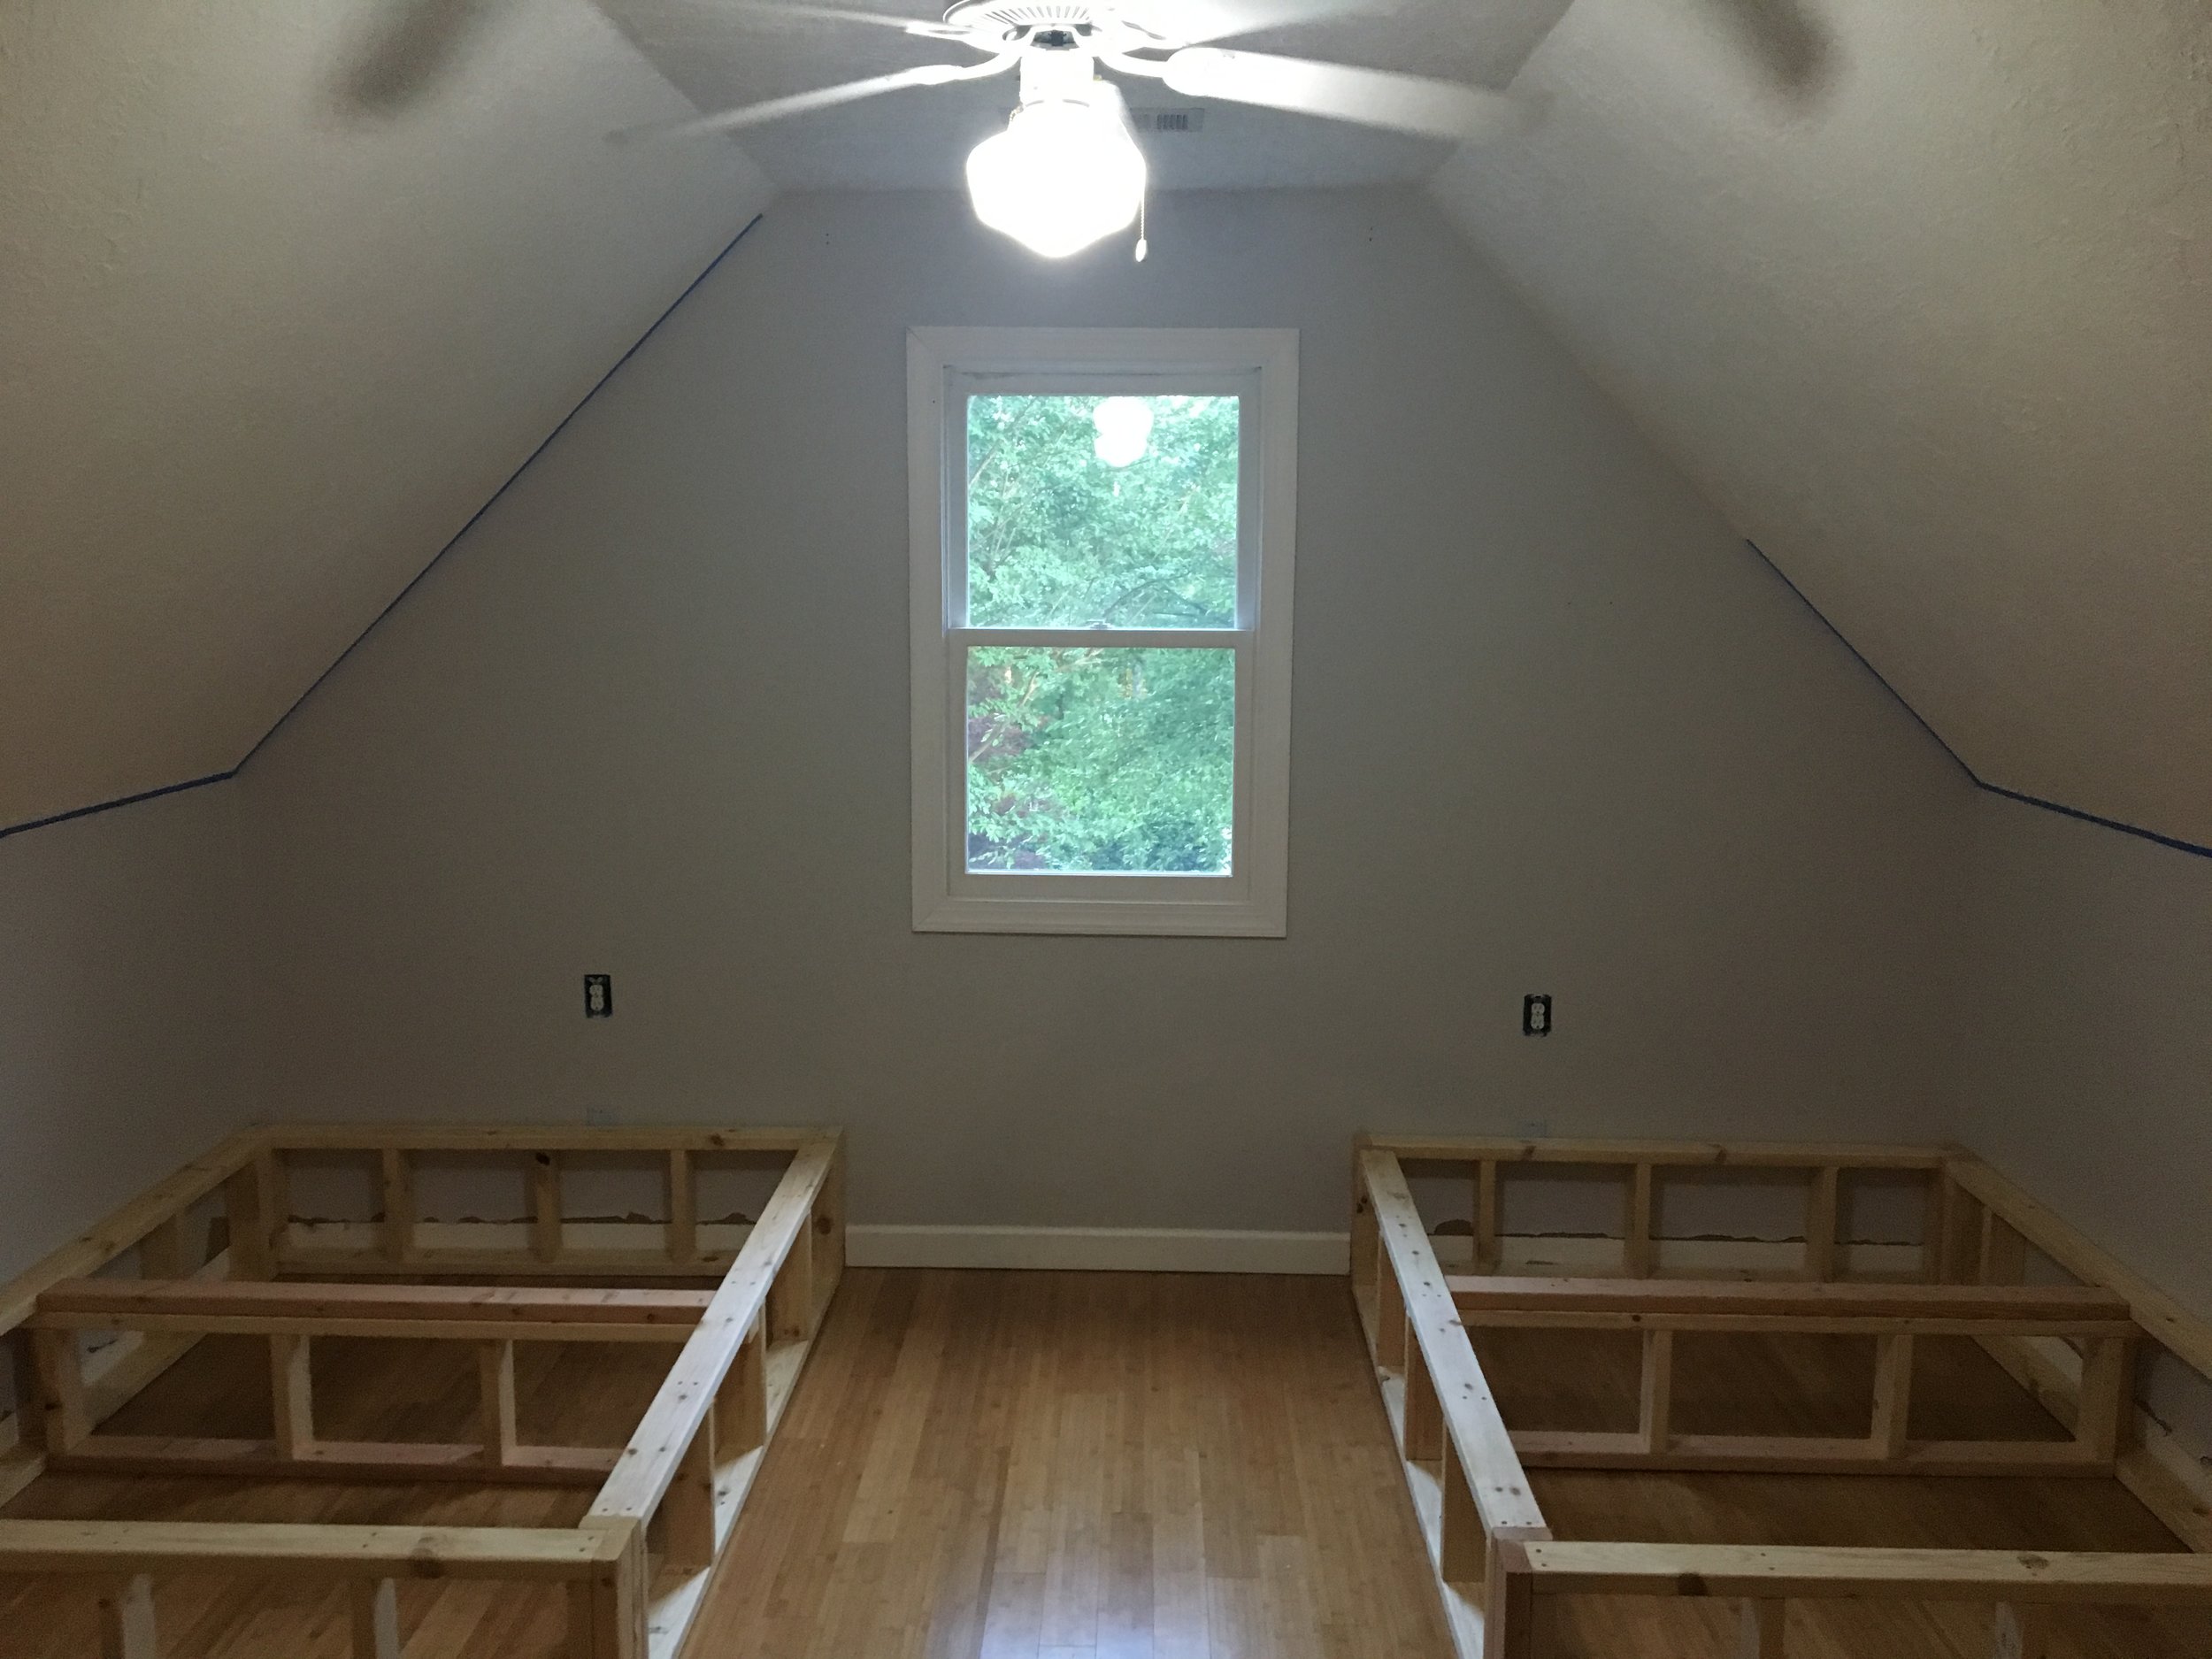
Once Josh installed the built-in queen bed framing, he added DIY shiplap walls to surround the perimeter of the beds and the footer of the bed. Once the installation was complete, I painted them the same color as the walls-Chantilly Lace.
Once everything was dry, it was time to install the mattresses. We’ve never bought a mattress online before, but this particular one had over 6,000 positive reviews on Amazon and was priced under $200. Since we had to buy 2, we thought we’d give it a try. They came rolled up in a box, and all we had to do was unroll them and let them air out (to get rid of the plastic smell). They really are super comfy mattresses. Click here to see the Linen Spa mattresses we bought.

Amazon Linen Spa mattresses
For the “built-in” sconces, as I mentioned we used the Nesting with Grace lighting trick. Here are the two products we bought to go above each bed.
LED LIghting Pucks with remote are here
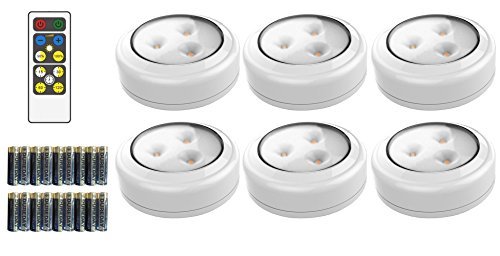
The industrial sconces are here

Once the queen beds were in, the shiplap installed, the lighting installed and the mattresses placed on the beds, it was time to decorate (my favorite part).
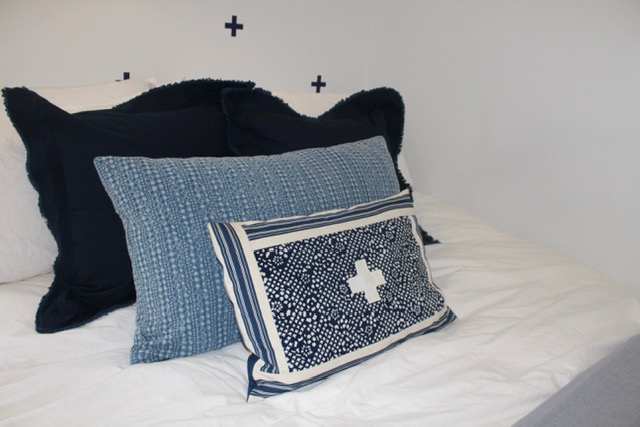
For the bedding, I used Ikea duvets and duvet covers, Pottery Barn pillows, and a custom made pillow from Jason Counce out of Nashville. I had purchased one from him years ago at a City Farmhouse sale, and I texted him wondering if he had enough fabric to make me a second one! When he said he did, I was ecstatic.
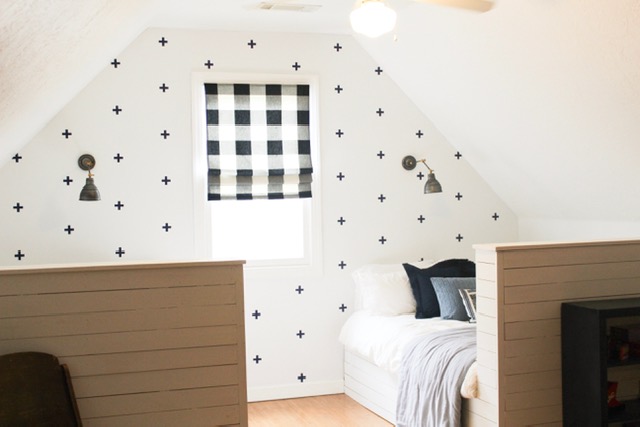
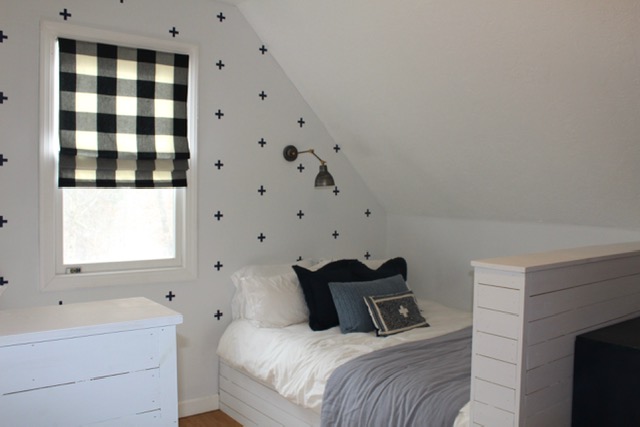
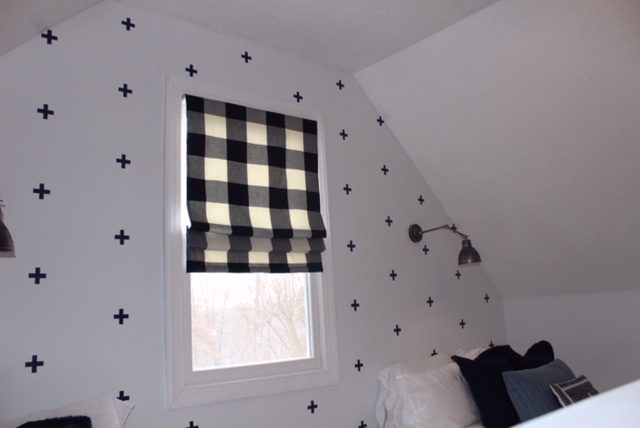
Then, I had a navy blue and white buffalo check Roman shade made. I used Scarlett from Your Decor in Jackson TN. It was super easy-I picked out my fabric and gave her my measurements. With a few weeks, the Roman shade was ready for me to pick up.
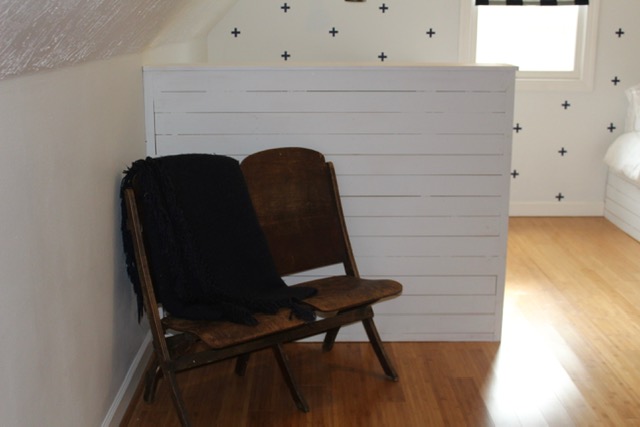
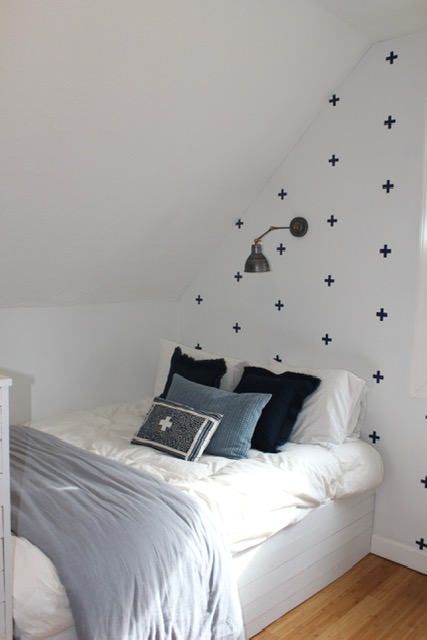
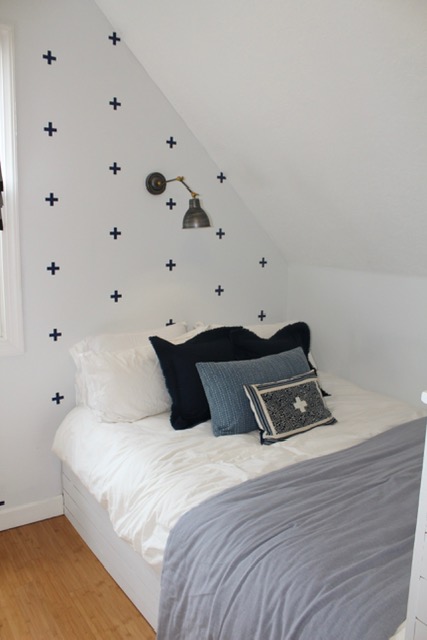
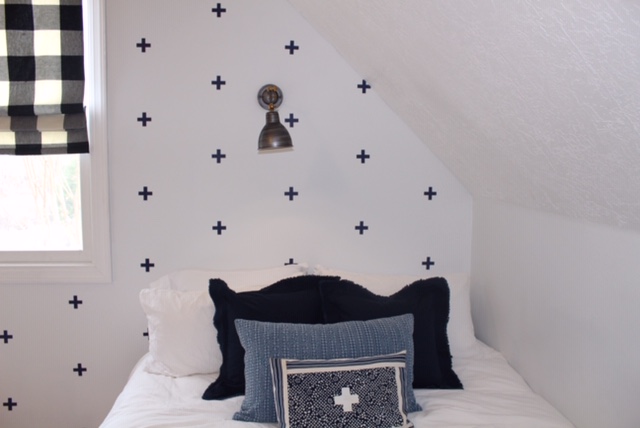
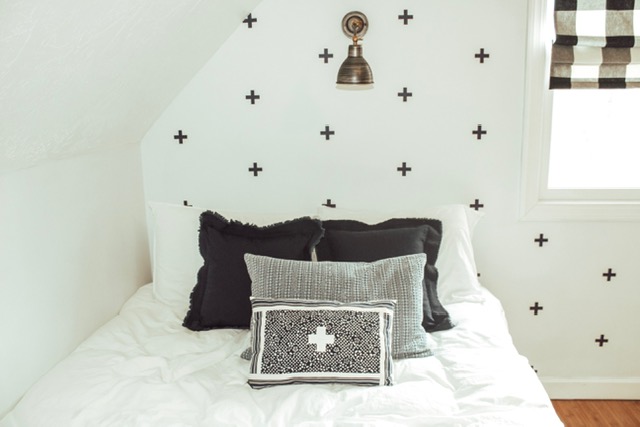
Once we had the bedding in place and the Roman shade installed, I still felt like the room needed a few more things. That’s when we added the fun Navy Blue cross wall decor to the back wall. I found it on Etsy here. I also scored a pair of vintage theater chairs from The Cotton Shed at one of our City Farmhouse Pop-Up Fairs. Finally, I redid a $10 estate sale bookcase I found using Amy Howard lacquer spray paint in Belgium Blue. It’s the perfect little spot for our board games!
After Pictures of Bonus Room Remodel
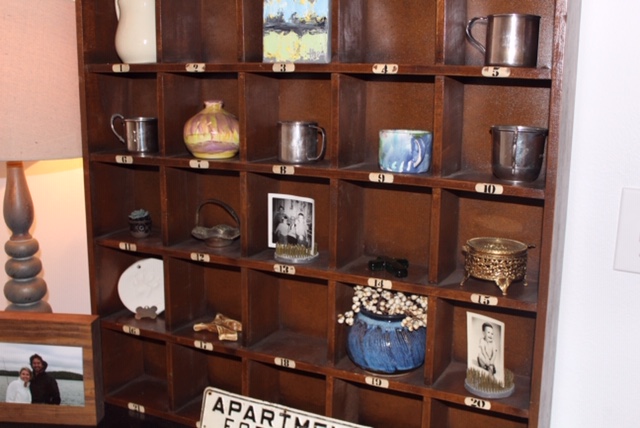
And, that’s a wrap on our bonus room remodel. We will continue to decorate it, as I find pieces. I have a rug that will go underneath the “gaming” table, and I’m always on the hunt for antiques to fill that antique reproduction cubby (that used to hold our paint). I’ve learned from decorating so many houses over the years that I should only buy things for my house that I truly love. Instead of just rushing out to buy something to fill a space, I take my time to decorate it with pieces I love. So, this room will continue to be a work-in-progress!
Now….trying to decide what we’ll renovate next!
~Until next time,
Stephanie